Author Archives: tinpedlar

Unknown's avatar

About tinpedlar

The Tin Pedlar of Maine Chapter of ATHA (Association of Traditional Hooking Artists) shares a common purpose of promoting the art of rug hooking through education, sharing of ideas and group activities.

Free Patterns to Share

At the Oct. meeting the following 3 patterns were shared with the group. These patterns are free to use. If you are looking to print any of these patterns off you can find them in the Tin Pedlar Google Drive: Free Pattern Folder.

Anyone can access this folder using this link.

Free


img_3978.jpg


IMG_3095

Cashmere People Yarns

These attending the Oct. 13th meeting of the Tin Pedlar of Maine were treated to an engaging presentation by Casey Ryder, owner of PortFiber, 50 Cove St, Portland, ME 04101, on Cashmere People Yarns.

Casey shared how she became involved in this Cashmere People Yarns, a 4-year development project funded by IFAD (International Fund for Agricultural Development). The project’s objective was to create opportunities for rural women in remote areas of Tajikistan and Afghanistan for earning income. The project’s aim was to help co-operatives of women in processing local fibers from Cashgora goats into high quality yarns and linking to the global marketplace for sale of the fiber. Cashgora goats are a cross breed between angora goats (mohair) and cashmere producing goats. The Cashgora goats are raised in Tajikistan and Afghanistan. The harvested fiber is washed in Afghanistan, dying and handspinning of the yarn is done by the co-operatives of women in Tajikistan. Cashmere People Yarns are produced in a socially responsible and environmentally sustainable way. The artisans are earning a fair wage and are fully in charge of their business.

Casey shared photos of her March 2017 trip to Tajikistan to meet the groups of women spinning the yarn and learning more about the program first hand. She did not make it to Afghanistan because of weather. She explained how the Tajikistan groups were structured in 2 different parts of the country. How they meet and worked in the group leader’s home until workshops were constructed. How they went from using sheared fibers to hand combed fibers to increase the quality. She provided some history on the strain og goats that provide this incredibly soft high quality fiber. Casey shared her experiences visiting homes and workshops. She shared her experience of the language barrier (English vs Russian), rural travel, and very different culture. Casey shared stories about Skyping with these groups of women as part of their collaboration on marketing their yarn. About how this project has not only provided a source of income for these women, but also an opportunity to gather as women in a social group.

IMG_5611

Each skein of Cashmere People Yarn provides a small bio card on the woman that spin that skein. Casey shared how she is also sharing information on how the yarn is being used by US knitters with the co-operatives.  IMG_5964


Imagine hearing and seeing how a handspun yarn you were responsible for creating has been knit into a beautiful scarf… By seeing the individual who did the knitting and wears the finished item…


Visit the Cashmere People Yarn site to get a complete picture of the project, journey of the fiber and the women of the co-operatives. You can also shop online for this yarn from both the link on the site or if in the Portland, Maine area visit PortFiber. You can also watch this short documentary  to learn more about the history of the area, people, culture and this project.

Casey also shared some of the other fiber art pieces she purchased during her visit, and the handmade socks she received as gifts during her visit.

We are a group of rug hookers, many of whom do a variety of fiber arts, and it’s always fun to see the work of others.

—————————-

You can also connect to PortFiber and Cashmere People Yarns on Instagram and Facebook @PortFiber and @cashmerepeopleyarns.


Mug Rug Workshop 5/12

We just found out that there is an opportunity for members to take a short workshop on Saturday 5/12 with Doug in addition to his talk.

They would be working on a pattern of 4 mug rugs which I believe are 5″ across. Most wool is included but would need to be cut, probably in a 4 cut. The cost for all including instruction would be $50.00.

We will try to have cutters there.

AAMaude


  2018 Two-day workshop with Ania Knap


Screen Shot 2017-11-14 at 10.26.09 AM


Two-day workshop with Ania Knap, September 7 and 8, 2018

Many members expressed an interest in a two-day workshop with Ania after seeing her  poppy piece hooked with torn strips and background of frozen dyeing, so we have arranged for 2-day workshop in Sept. 2018. The workshop will be held at our meeting location. Workshop is limited to 12 people.


NOTE:  The first regular meeting of 2018/19 is on Sept 8th. The workshop will be held in the other smaller room and the rest of the members will have an open day of hooking.

As of this posting, 13 members have signed up indicating interest, so we are ready to confirm the workshop with Ania. We need members to send in a deposit of $50 to reserve their space (in order of dates deposit received). We know there are times plans need to change, so we will maintain a waiting list. We encourage other members with an interest to sign up to the waiting list. If we have 20 people interested, we can schedule another workshop with Ania, and divide into 10 in each class.  So, do not be discouraged…..    

SEND CHECKS MADE OUT TO:   MAINE TIN PEDLAR  to:  Faith Webster, 70a Clark Road, York, Maine 03909

The remaining cost of $140.00 will be due in June.  We will send out a reminder.

~~~~~~~~~~~~~~~~~~~~~~~~~~~~

Please read and save the following information:

With class size of 10-12, the price for a two day workshop, which includes all wool for background, dyes, utensils, materials, pattern, pre workshop individualized color planning, hand outs and instruction:

  • with pattern is $190.00 **
  • without pattern  (you may want to use a poppy pattern of your own choosing is $155.00

**The pattern included for the $190 is not the one pictured on this post. There will be a poppy pattern specially design for this workshop. The pattern in the photo is a design of Wanda Kerr, of The Welcome Mat. If anyone wants that pattern specifically it can be obtained directly from Wanda Kerr.

Prior to workshop (4-6 weeks or earlier as needed) there will be discussion with each participant regarding pattern need, color planning and suggestions for each as required or requested.

THE FLOWER MATERIAL IS NOT INCLUDED IN THE PACKAGE.   YOU MAY PURCHASE FROM HER OR PROVIDE YOUR OWN

Recommended for you to have for the poppies:

  • 6-10 values for poppies
  • 6-8 values for stems/leaves
  • 2 grays/1black for centers

~~~~~~~~~~~~~~~~~~~~~~~~~~~~~~~

Workshop Schedule:

Day 1:  Dyeing background ~ Ania will provide:

  1. Wool for background prepared and frozen for dyeing
  2. Formulas, dyes, utensils, trays and materials to complete dyeing
  3. Zip lock bags for taking dyed wool home for washing and drying for next day of hooking
  4. discussion of effects of dyes in different conditions with wool.

Day 2:  Hooking Poppy rug

  1. Handouts and discussion of hooking flowers
  2. additional wool available for purchase for participants not using their own stash
  3. Individual instruction
  4. Group discussion of wide cut shading, light source, warm vs. cool color effects
  5. Equipment necessary on site for the day:  hooking tools, patterns, wools and other needs.

My Personal Take-away from Ania Knap’s Presentation

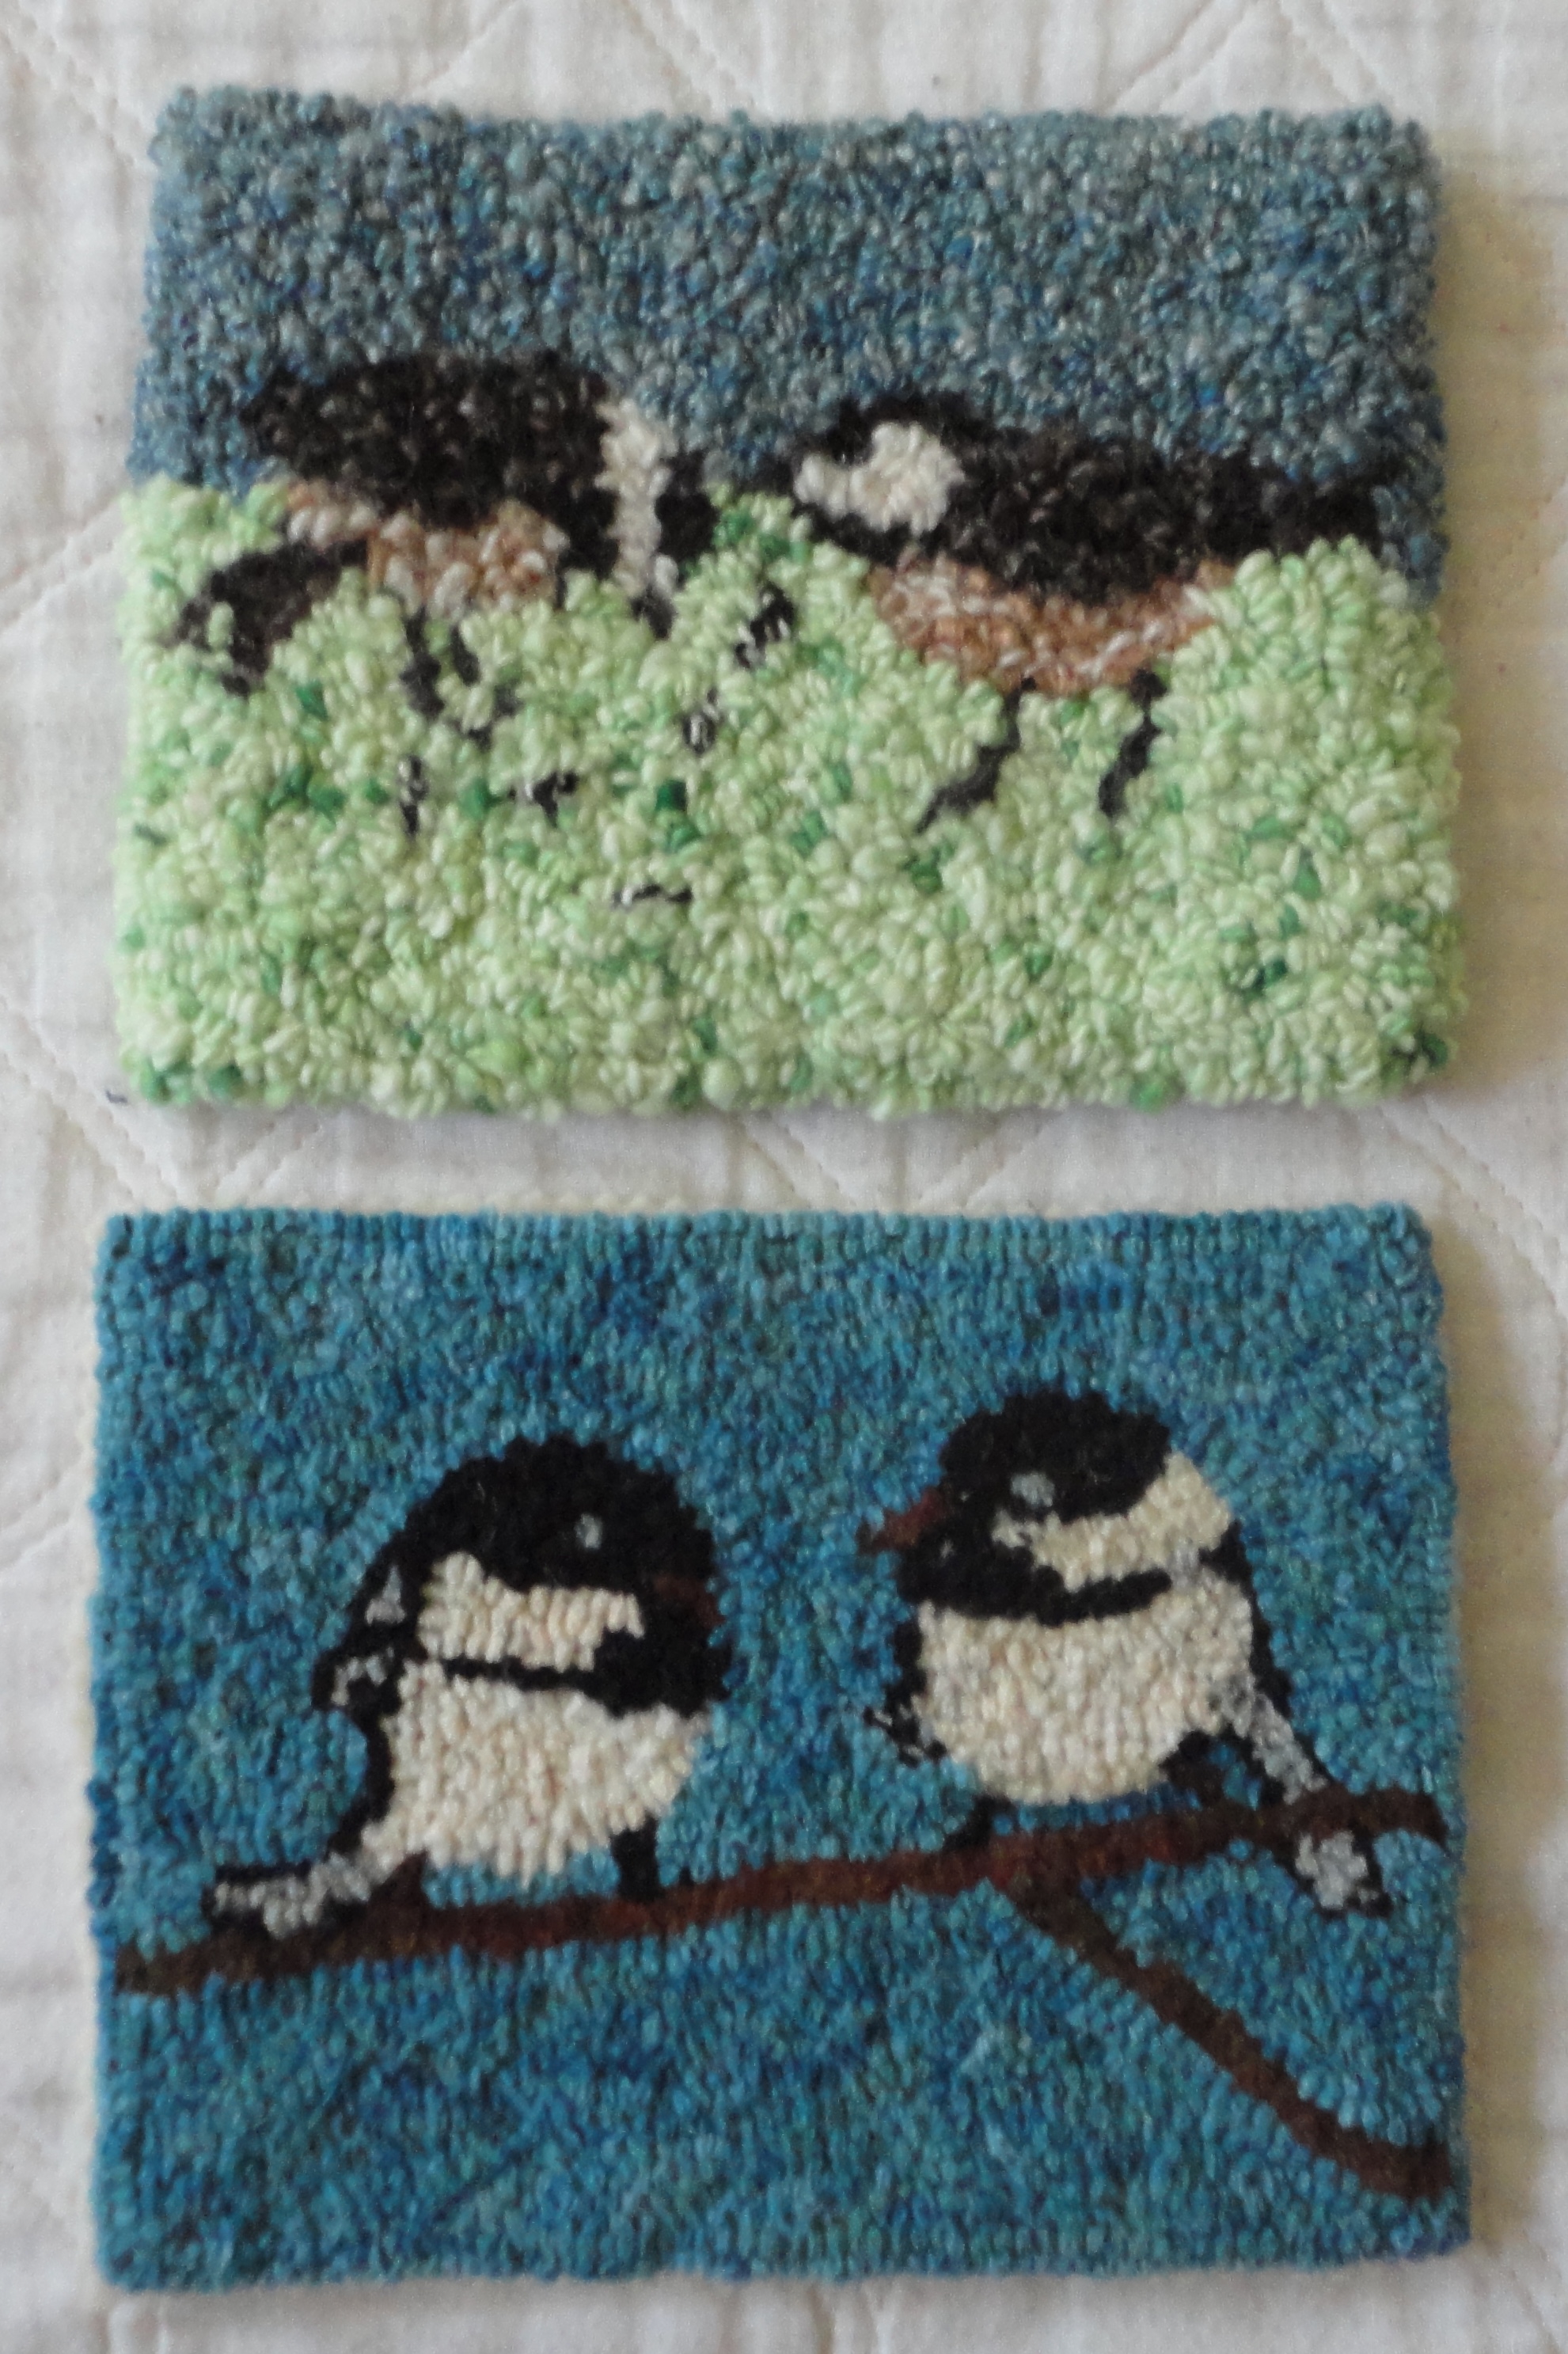
Before I share the notes I took during Ania Knap’s presentation to the Tin Pedlars at our Nov. ’17 meeting, I want to thank her for allowing me to take (to share here) whatever photos I wanted of the many hooked items she shared during her presentation.

It was fun to hear how she started her rug hooking journey at an Adult Ed class and how the scientist she is impacts how she looks at it for the art and solutions to questions. The natural world and color drive much of her creative exploration. You will see Ania’s favorite color throughout her shared work – ORANGE!

Here’s my personal take-away from Ania’s presentation.   ~~~

There are many ways to hook circles, triangles, etc., only thing important is to have fun while you are hooking and learning along the way.

Always look for the pattern and deeper for the reflection in the pattern.

Screen Shot 2017-11-14 at 3.09.41 PM

Screen Shot 2017-11-14 at 3.10.47 PM


Symmetry is really what makes something pleasing to the eye. It is found throughout the natural world and it is how we simplify what we look at. Symmetry does not always equal mirror image. You can find symmetry within smaller components like in this pasley piece.

Look for symmetry to get to the simplest pattern when working a piece.

Screen Shot 2017-11-14 at 3.10.27 PM


Symmetry also does not have to be perfect. Sometimes the surprise is important. Think about how when you buy one kind of bulb to plant there is often 1 odd one in the batch.


screen-shot-2017-11-14-at-3-17-10-pm-e1510694578661.pngThis piece shows rotational Symmetry. It all starts with the center flower. Diagonally you notice the design compares, but it is not a mirror. The symmetry works as you rotate viewing the rug. There is also symmetry within the smaller components.

Screen Shot 2017-11-14 at 3.14.28 PM


Notice the bits of reflection from the pieces of fruit onto each other…… It’s easy to see the red in the pear by the stem point. Then the purple from the grapes in the lower edge of the pear.


Screen Shot 2017-11-14 at 3.14.45 PM

This is the wool that was used to hook the  background. The worms were cut across the stripes.


Screen Shot 2017-11-14 at 3.11.44 PM

Flora and fauna. Ania worked it from the point of Primary Colors – notice the border – red / yellow / blue. Looking more at the rug you see the flora are all cooler  – blue / yellow / green. The fauna is warmer – red / yellow /orange. You will also see purple in both flora and fauna, but the depth of color is cool or warm following along with the overall idea.


This rug is all straight line hooking of a dyed wool that progressed through colors.

Screen Shot 2017-11-14 at 3.13.32 PM

The worms were cut along the whole dyed piece to get each of the colors. Often we cut the opposite way to get wools from just one color area. The back view clearly shows the straight line hooking.

When you get to dying wool how many get concerned that there will be white spots – no dye? Well, white spots on dyed wool when hook provide the look of light hitting and reflecting in the piece. So those white spots are actually pluses.

Then how many have heard of “snow dying”? Well, what if you don’t have snow? Ice works, but you need a lot. Solution: Freeze your wool before dying. When the dye hits the frozen wool the colors separate.

And here’s my favorite!

Screen Shot 2017-11-14 at 10.26.09 AM

For me this piece shows everything – color, reflection and symmetry.

~~~ Debbie Arcaro

Loretta Scena’s Doll Brooch Workshop

October has the Tin Pedlars hosting Loretta Scena, from New York, when she presents a short talk and following workshop. Those that wish to make doll brooch similar to those pictured above will join Loretta in our separate workshop room.

Workshop and kits for the doll brooch are $25.

Some have already signed up, but for any others wishing to participate please sign up by sending a note and check to Rachel by Oct 1, 2017.  The check is made out to: Loretta Scena.

Maine Tin Pedlars’ Stonewall Gallery Rug Hooking Exhibit

Part of the Maine Tin Pedlars’ purpose as an active organization and an ATHA chapter, is to promote the art of rug hooking through education, sharing of ideas and group activities. As part of this over the years we have participated in museum exhibits and held rug shows.

This Spring (2017) we will have a rug exhibit that will run from the beginning of March thru the end of April in The Stonewall Gallery, at the Yarmouth History Center .

stonewall-gallery2Throughout the year, the Stonewall Gallery hosts a number of individual and group art exhibits. The Maine Tin Pedlars will be one of the 2017 group exhibits.

The Gallery’s most prominent feature is the gray stone wall, a structure that was once a part of Yarmouth’s Water District Building built in 1923.

This photo is from the Yarmouth History Center, 118 East Elm Street, Yarmouth, Maine, Stonewall Gallery’s page

Tin Pedlar members are encouraged to exhibit some of their work. Any member that is interested in putting some of their pieces up for sale are also able to do that. A portion of proceeds from any sales during the exhibit will go to support the programs of the History Center. For members not sure about pricing of their hooked pieces, there will be additional information shared at the Jan meeting. It will be posted on this site also, along with any additional information, as we get closer to the hanging of the exhibit.

Here’s an outline of the existing timeline for this event ~

The exhibit will be taken down on May 1, 2017 starting at 10am.

The organizing group of this exhibit would like to have an idea of what items members will be providing. If you are going to be exhibiting, please be sure to let Faith or Trudy know the following:

  • Your Name:
  • Number of rugs or wall hangings larger than 2’ x 3’:
  • Number of rugs or wall hangings smaller than 2’ x 3’:
  • Other small items (type and # of):
  • Number of items for sale:
  • If you can drop off at the Gallery the week of 2/21 – Tues thru Thurs. 10-5

If exhibiting you will also have to complete our 3 “ticket” exhibit form. Be sure to provide the story of your piece. It’s not just interesting, but educational, to hear how a hooked piece was worked – from the reason behind the design, to the person it was hooked for, or maybe you were experimenting with a new technique. These stories add to the enjoyment of viewing the art work.

You can download the 3 “ticket” form here. Remember you will need 1 form for each item exhibiting.


A Maine Postcard Challenge

May’s meeting saw the completion of this year’s challenge to the group: A Postcard from Maine. (For the few members who could not be present yet participated in the challenge please bring in your challenge mat at the June or Sept. meeting.)

At the inital introduction of the challenge there was a lot of buzz around our state bird: black-capped chickadee. DSC06595  (Jackie Hansen)

We wondered how many we’d see once all the mats were completed? If not the chickadee what would members design and hook? With the sharing of the completed mats the variety was wonderful. Hearing the stories for the choice of design added another component. (Look for a later sharing of these.)

Here are the mats that were shared during the May meeting. (Owners are labeled clockwise starting at upper left.) * Copywrite protected – Please do not copy any of these designs without requesting permission first.*

DSC06580

1) “Maine Symbol” Priscilla McGarry; 2) “Whoopie!” Pat Ring; 3) “Down East Breakfast” Jeanne Voorhees; 4) “Baked Beans” Natalie Sanborn

DSC06582

1) Terry Parent; 2) Harriet Johnson; 3) “Tatah” Bob Galloupe; “Sea Dogs” Norine Bucknell

DSC06583

1) Connie Castles; 2) Joyces Knowles

DSC06585

1) “Puffin” Martha chaput; 2) “Loon” Linda Bradley; 3) Edna Olmstead; 4) Sheila Kilgore

DSC06586

1) “Maine State Bird – Chickadee” Janet Cameron; 2) Trudy Winne

DSC06590

1) Daisy Higgins; 2)”Buoys” Deborah Arcaro; 3) Joyce Goff; 4) “Fish Market” Patricia Connors

DSC06591

1) Ann Galloupe; 2) Kathleen Newell; 3) Trudy Brown

DSC06593

1) Ann MacIntyre; 2) “Chowdah” Chris Antonak; 3) “Weather-beaten” (by Winslow Homer) Bailey Ruckert


Fur and Feathers with Jon Ciemiewicz

Jon’s presentation in Feb. 2014 was to walk us thru the process of creating great shading and dimension in our fur or feather rugs. As a side bar members were encouraged to bring in any rugs they had hooked with fur or feathers. (Some of those rugs are pictured within this posting.)

IMG_0724Jon started rug hooking because he was looking for a hobby. His wife suggested a visit to an area shop. When Jon visited and was told one could learn to hook in five minutes, he bought a kit and started. Jon is what many of us would call “self-taught”. After about 4 years he took his first class. At the class it was suggested that he begin teaching. His first weekend class had 19 students. They were spread throughout the facility which provided its own adventure. Jon has continued to present workshop since then.

Jon started dyeing wool when kits he was purchasing didn’t have the colors he wanted to complete the design. 

  • Mottled wool is great for hooking fur/feathers as it gives more life than a solid/plain natural wool. 
  • Let the wool work for you when hooking fur – dip dye, heavily spotted.

Jon has no formal art background, but he saw a huge amount of the world through flying with the Air Force. He started to draw his own patterns, so he could have the design to hook that he wanted. Since he started hooking Jon finds he is noticing more details of the surrounding natural environment and animals.  He notices the variety of colors present, which shows in his pieces. Knowing the habits of animals for eating etc. helps when you are hooking as you are more awareness of special features.

Following are details that are important to become aware of and bring into your hooking to make it more realistic.

  • IMG_0723Start by being aware of the light source direction as that provides your shadows. Shadows go from darker color to lighter to provide depth.

 Fur:

  • When hIMG_0730ooking fur think about direction fur going on the animal you are hooking.  Hook in that direction. Our eyes pick up ditches in the hooking. Hook in the direction that you would pet that animal body part.
  • Colors provide depth seen in the image. Example: A black panther needs purples/blues/grays for shadows. Whites need grays also pinks, purples.
  • The natural length of fur affects the length of your hooking line.
  • Fur/hair does not grow in straight lines. Hook fur with curves and not exactly side by side, vary the direction for a realistic appearance.

Feathers:

  • Watch out when hooking feathers, so they do not end up having a too symmetrical appearance. Feathers do not grow that way. To hook for a natural appearance you need asymmetry in width and length. Vary the shape of the tips. Feather tips are different shapes depending on where they are located on the body. Hook the feather tips first and then fill in. Check for quill lines, if you can see them, then you need to hook the quill lines in.
  • When feathers are dark use light for tips to help create the natural appearance/illusion of feathers covering the body in the finished piece.
  • Many common backyard birds have areas of solid color that need to be hooked with a solid color.

Eyes:

  • With faces as a main image in the design there will be a focus on eyes.
  • IMG_0733In cats eyes when the light shines on them the pupil constricts to a vertical streak/line.
  • With sheep it is a horizontal streak. With dogs and humans the pupil is circular.
  • The wrinkles around an eye actually support the eye.
  • When there is fur, the eyes will have a dark streak coming from the inside corner of the eye.
  • IMG_0725Not all eyes will be whole. It will depend on the head position and direction the creature is looking. It will also matter on where the eyes are naturally set on the head – front or side – prey will be on the side (squirrel).
  • Eyes are flatter top and rounder on the bottom on mammals.
  • Reptile and bird eyes are very round, as there is no eyelid that drops on top.
  • When hooking an animal getting the eyes, then nose/mouth right really makes the image. Since this is true its best to hook these features first. Hook around them some before make a final decision on reverse hooking or leaving as is.IMG_0727

General Hooking Tips:

  • Moths do not eat clean wool. They eat for the food and oils that are impregnated into wool. Freeze recycling wool for 2 days to freeze moth eggs, then bring in and wash.
  • Pattern lines are the outside edge of a feature, so hook inside not on the line.
  • How long a cut worm of wool is needed to hook a run?
    • #4 needs 4x length of the run 
    • #5/6 needs 6x
    • #8 needs 8x
    • Loops for 6 and 8 have higher finished loop so more fabric needed.

IMG_0731  IMG_0728

IMG_0729  IMG_0726