
Usually the posts here are about presenters and information shared or very simple sharing of information on upcoming events. Today, I’m going to write a personal experience story in the hopes it might encourage some others to follow through with their Maine Postcard challenge mat.
I’ll start off by stating that I was excited when I learned about the idea for this year’s challenge at our August board meeting. I had just completed a long fun filled preschool unit on Maine and had a ton of materials on hand to pull design ideas from. Having only bought 2 rug hooking pattens in all over the 15 years I’ve been hooking, I wasn’t thrown by the design side of the challenge. In fact I looked forward to encouraging members who hadn’t tried designing a pattern to do it with this challenge. For me the challenge would be to hook with something less than a #6 cut. I mentioned to another Tin Pedlar about doing 4 designs and making a Maine pillow after having sketching up multiple ideas and not being able to decide on one. Feeling comfortable and confident.
So, it’s 8 am New Year’s Day and I’ve resolved to get more rug hooking done in 2015 and what better place to start than with this challenge mat due in March. Should be quick and easy. Right?
- I had my design set.

- I had a wonderful supply of colorful thin cuts that found their way to me and if I needed more colors I could rotary cut them.
- I had a full day without a need to do anything else.
Wrong!
The hooking with very small cuts took a little getting used to, but figured it out enough. Not working with a design that needed too much detail the buoys worked up in good time. Then the trouble happened. As you can see from the design I figured the buoys to be hanging on a cedar shaker sided shed – grays and blacks to depict each shake. This would give a simple texture to the background. Good idea, but not one I could get to work. I tried my grays and black. Pulled the black and tried dark gray tweed. Pulled that and tried dark brown. Pulled it all and rethought the background. (Now these tries were not just a line or two, but at least half the background. On such a small mat, need to hook an area big enough to see what is happening and that means most of it.) 🙂
Tried a few sample lines of browns. Nope!
Maybe straight hooked solid background with a tweed. Nope! but closer.
Maybe diagonal lines like laying on a lobster trap. Nope!
Ok, I have now done more reverse hooking than hooking on a what 4″ x 6″ mat with a simple design. Time to laugh at myself, set the hooking aside and step away. Maybe good time for dinner as it’s about 6:30 pm. (Told you I’d done a lot of reverse hooking.) 🙂
About 9 pm I checked out my Pinterest boards for a bit of inspiration searching the Challenge board and a general search for lobster buoys. What I realized is that it had always been about the colors and patterns found in lobster buoys when I’ve seen them hanging, whether in photos, painting or in walks along the waterfronts in Maine coastal towns. What they are hanging on is backdrop. Why had I chosen this buoy design from all I had sketched? I love colors and patterns and the buoys allowed me to do that. So solution – fill the mat with more buoys.
A quick grab of the mat and sketch in some buoys.  If you look close enough you can see the red shaker markings. A few black diagonal lines. But finally some extra buoys set under the already hooked ones to work as most of the background. I’d figure out how to complete the background once the buoys were all hooked.
Ok, I’m feeling better and not figuring I’ll have to start totally from scratch or hand over a mat I’m not proud to put my name with. But no more hooking tonight. I should be able to finish this off in a few hours tomorrow. Packed it all away.
Now it’s Friday morning and time to pull some more fun colors to get some buoys hooked. This took no time at all and no reverse hooking!
Once the buoys were all completed there was very little (what I was now thinking of as colorless) background. The way the buoys were hanging I decided to split the piece and have it appear they were hanging on a shed corner with sky. This worked up quick, especially where I went with a larger cut. Probably a #5, so still below my usual width of #8.
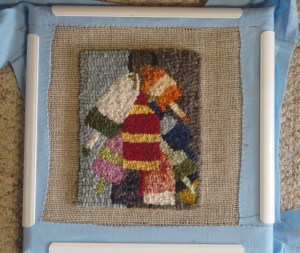
My lessons and hopefully encouragement for others is:
- feels good to step up to a challenge, because it about learning new things (Yes, I’ll hook with small cuts again, and maybe more detail next time.)
- sometimes just have to change directions – STOP and step away!
- thank goodness you can reverse hook 🙂
- good to refocus on why you wanted to do this design – to clear the direction going (or not going)
- when you get it right it just flows!
- Creating is fun for me and being able to laugh at myself is a part of that.
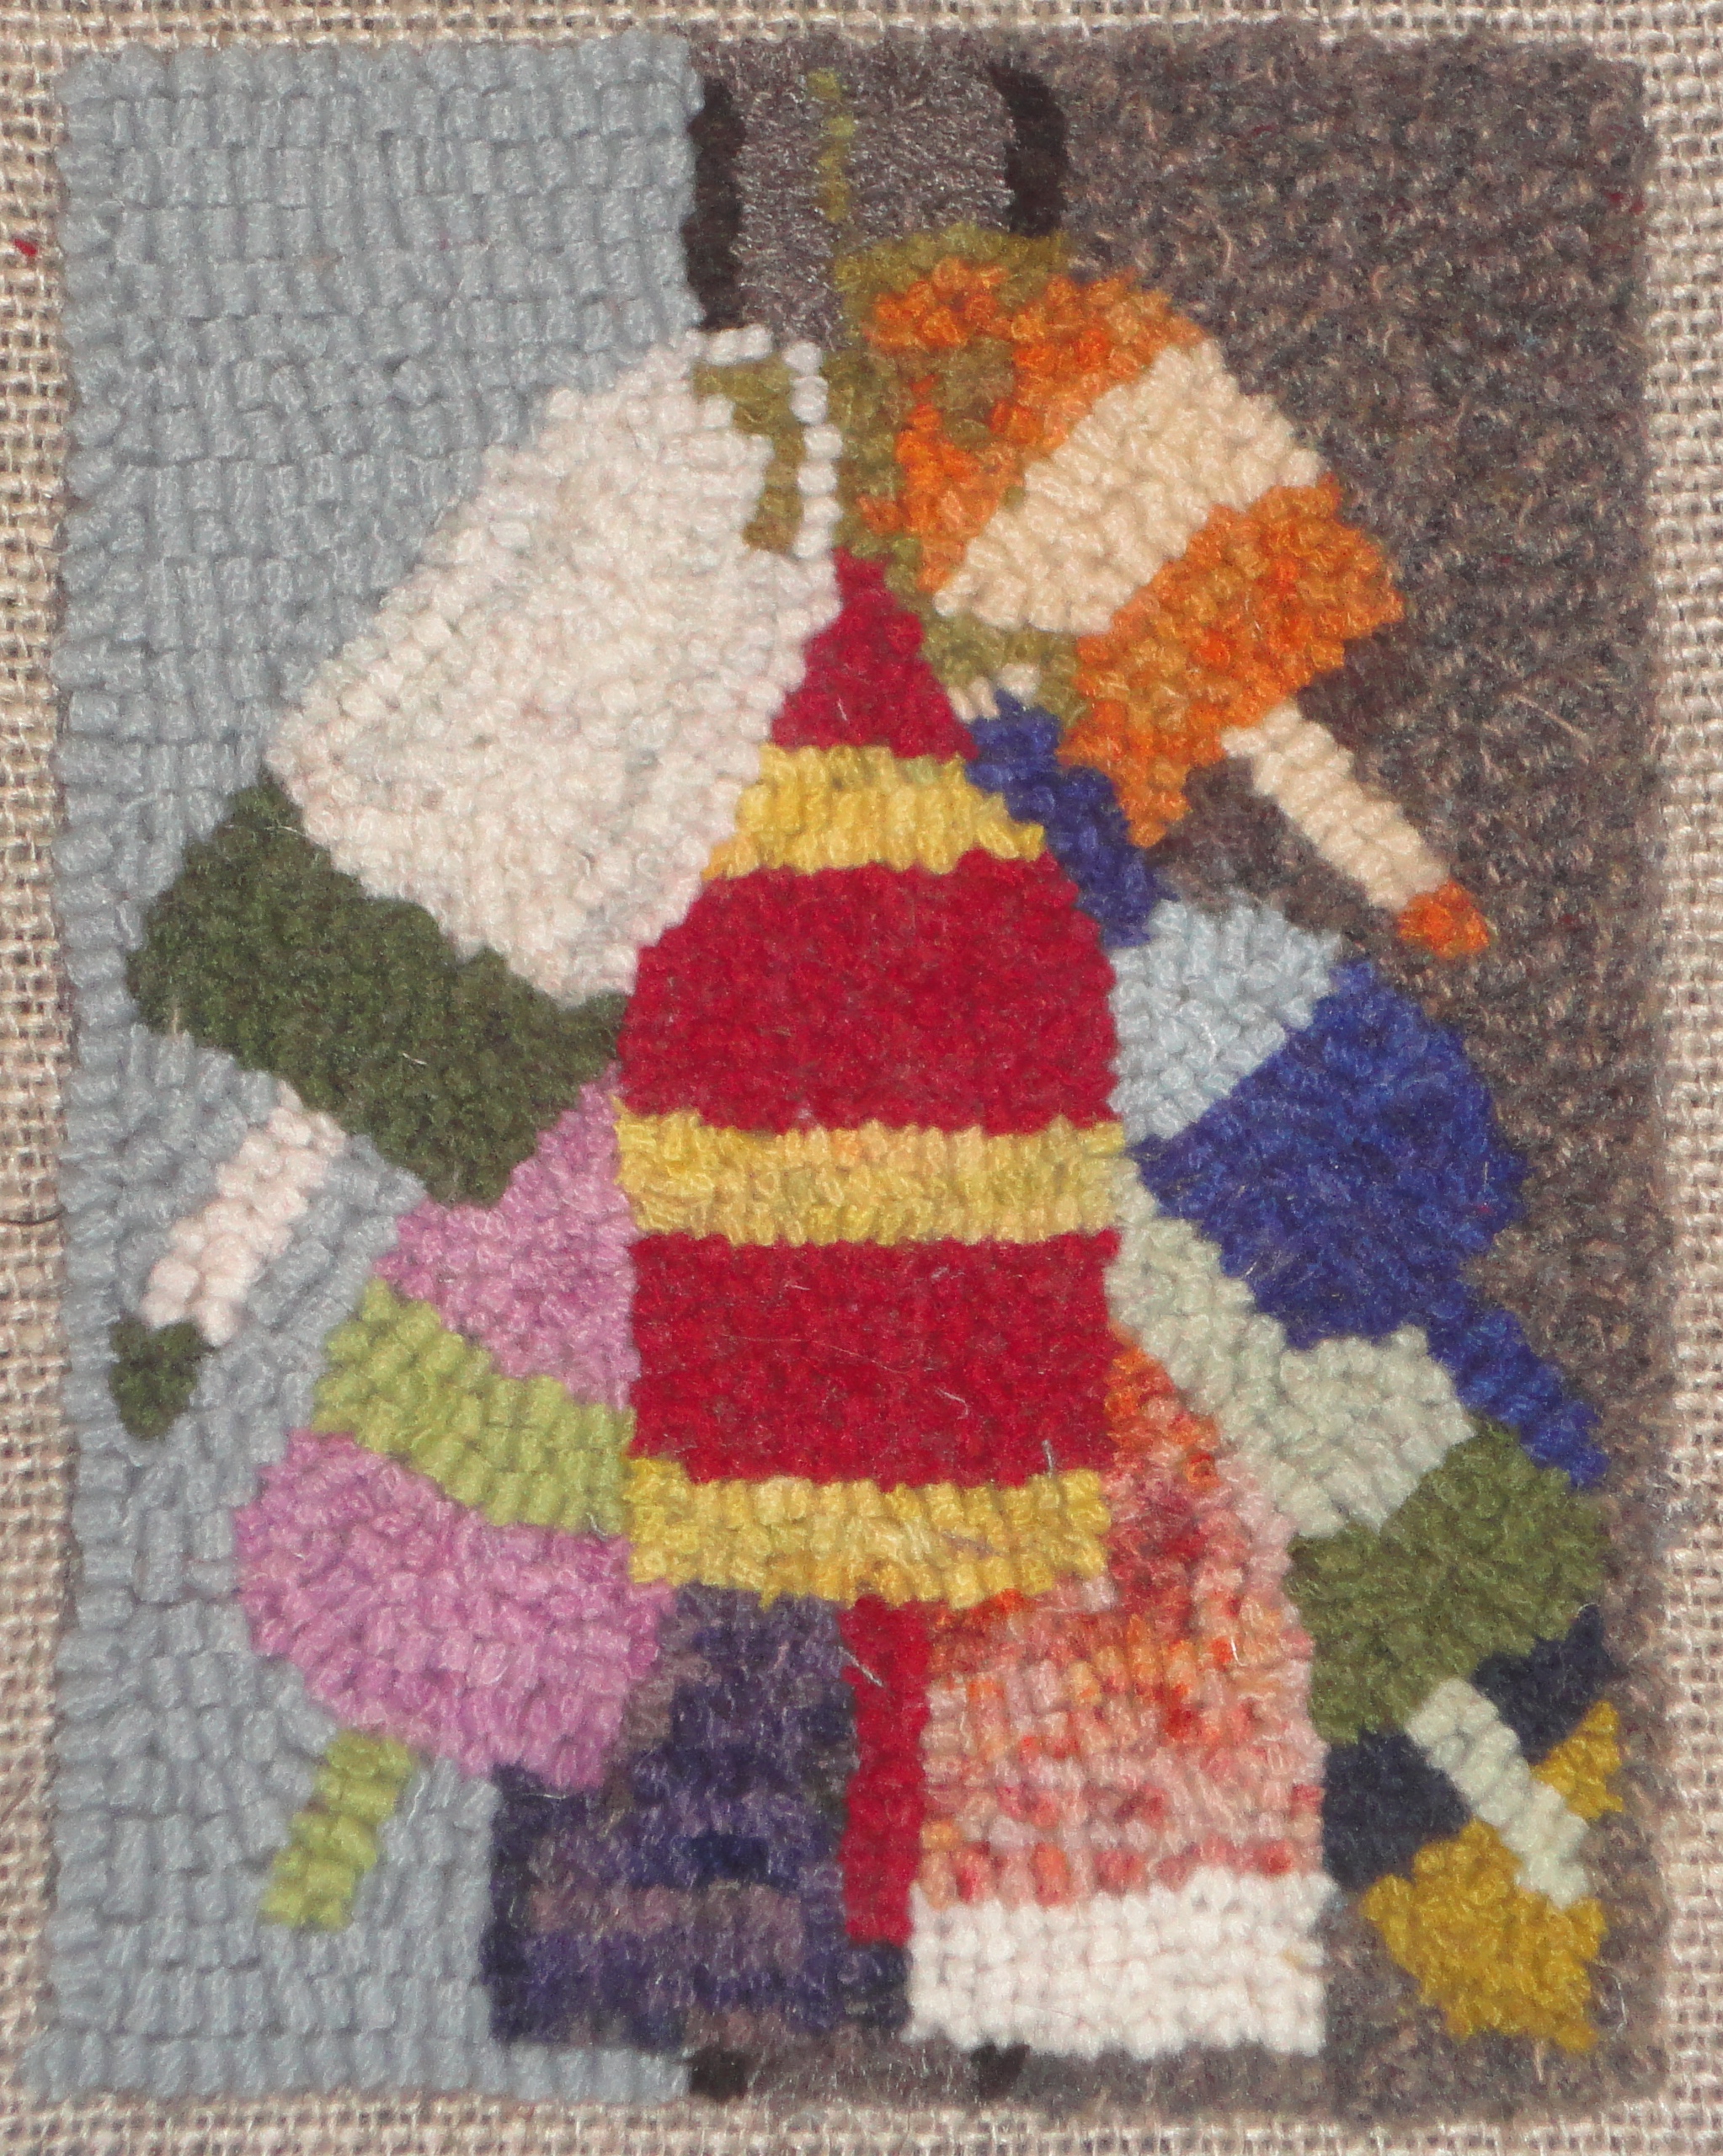 Can now say I’m proud of my mat, but still not sure if I want to do the 3 others needed for a pillow. 🙂 Think I’d rather work on a new rug design.
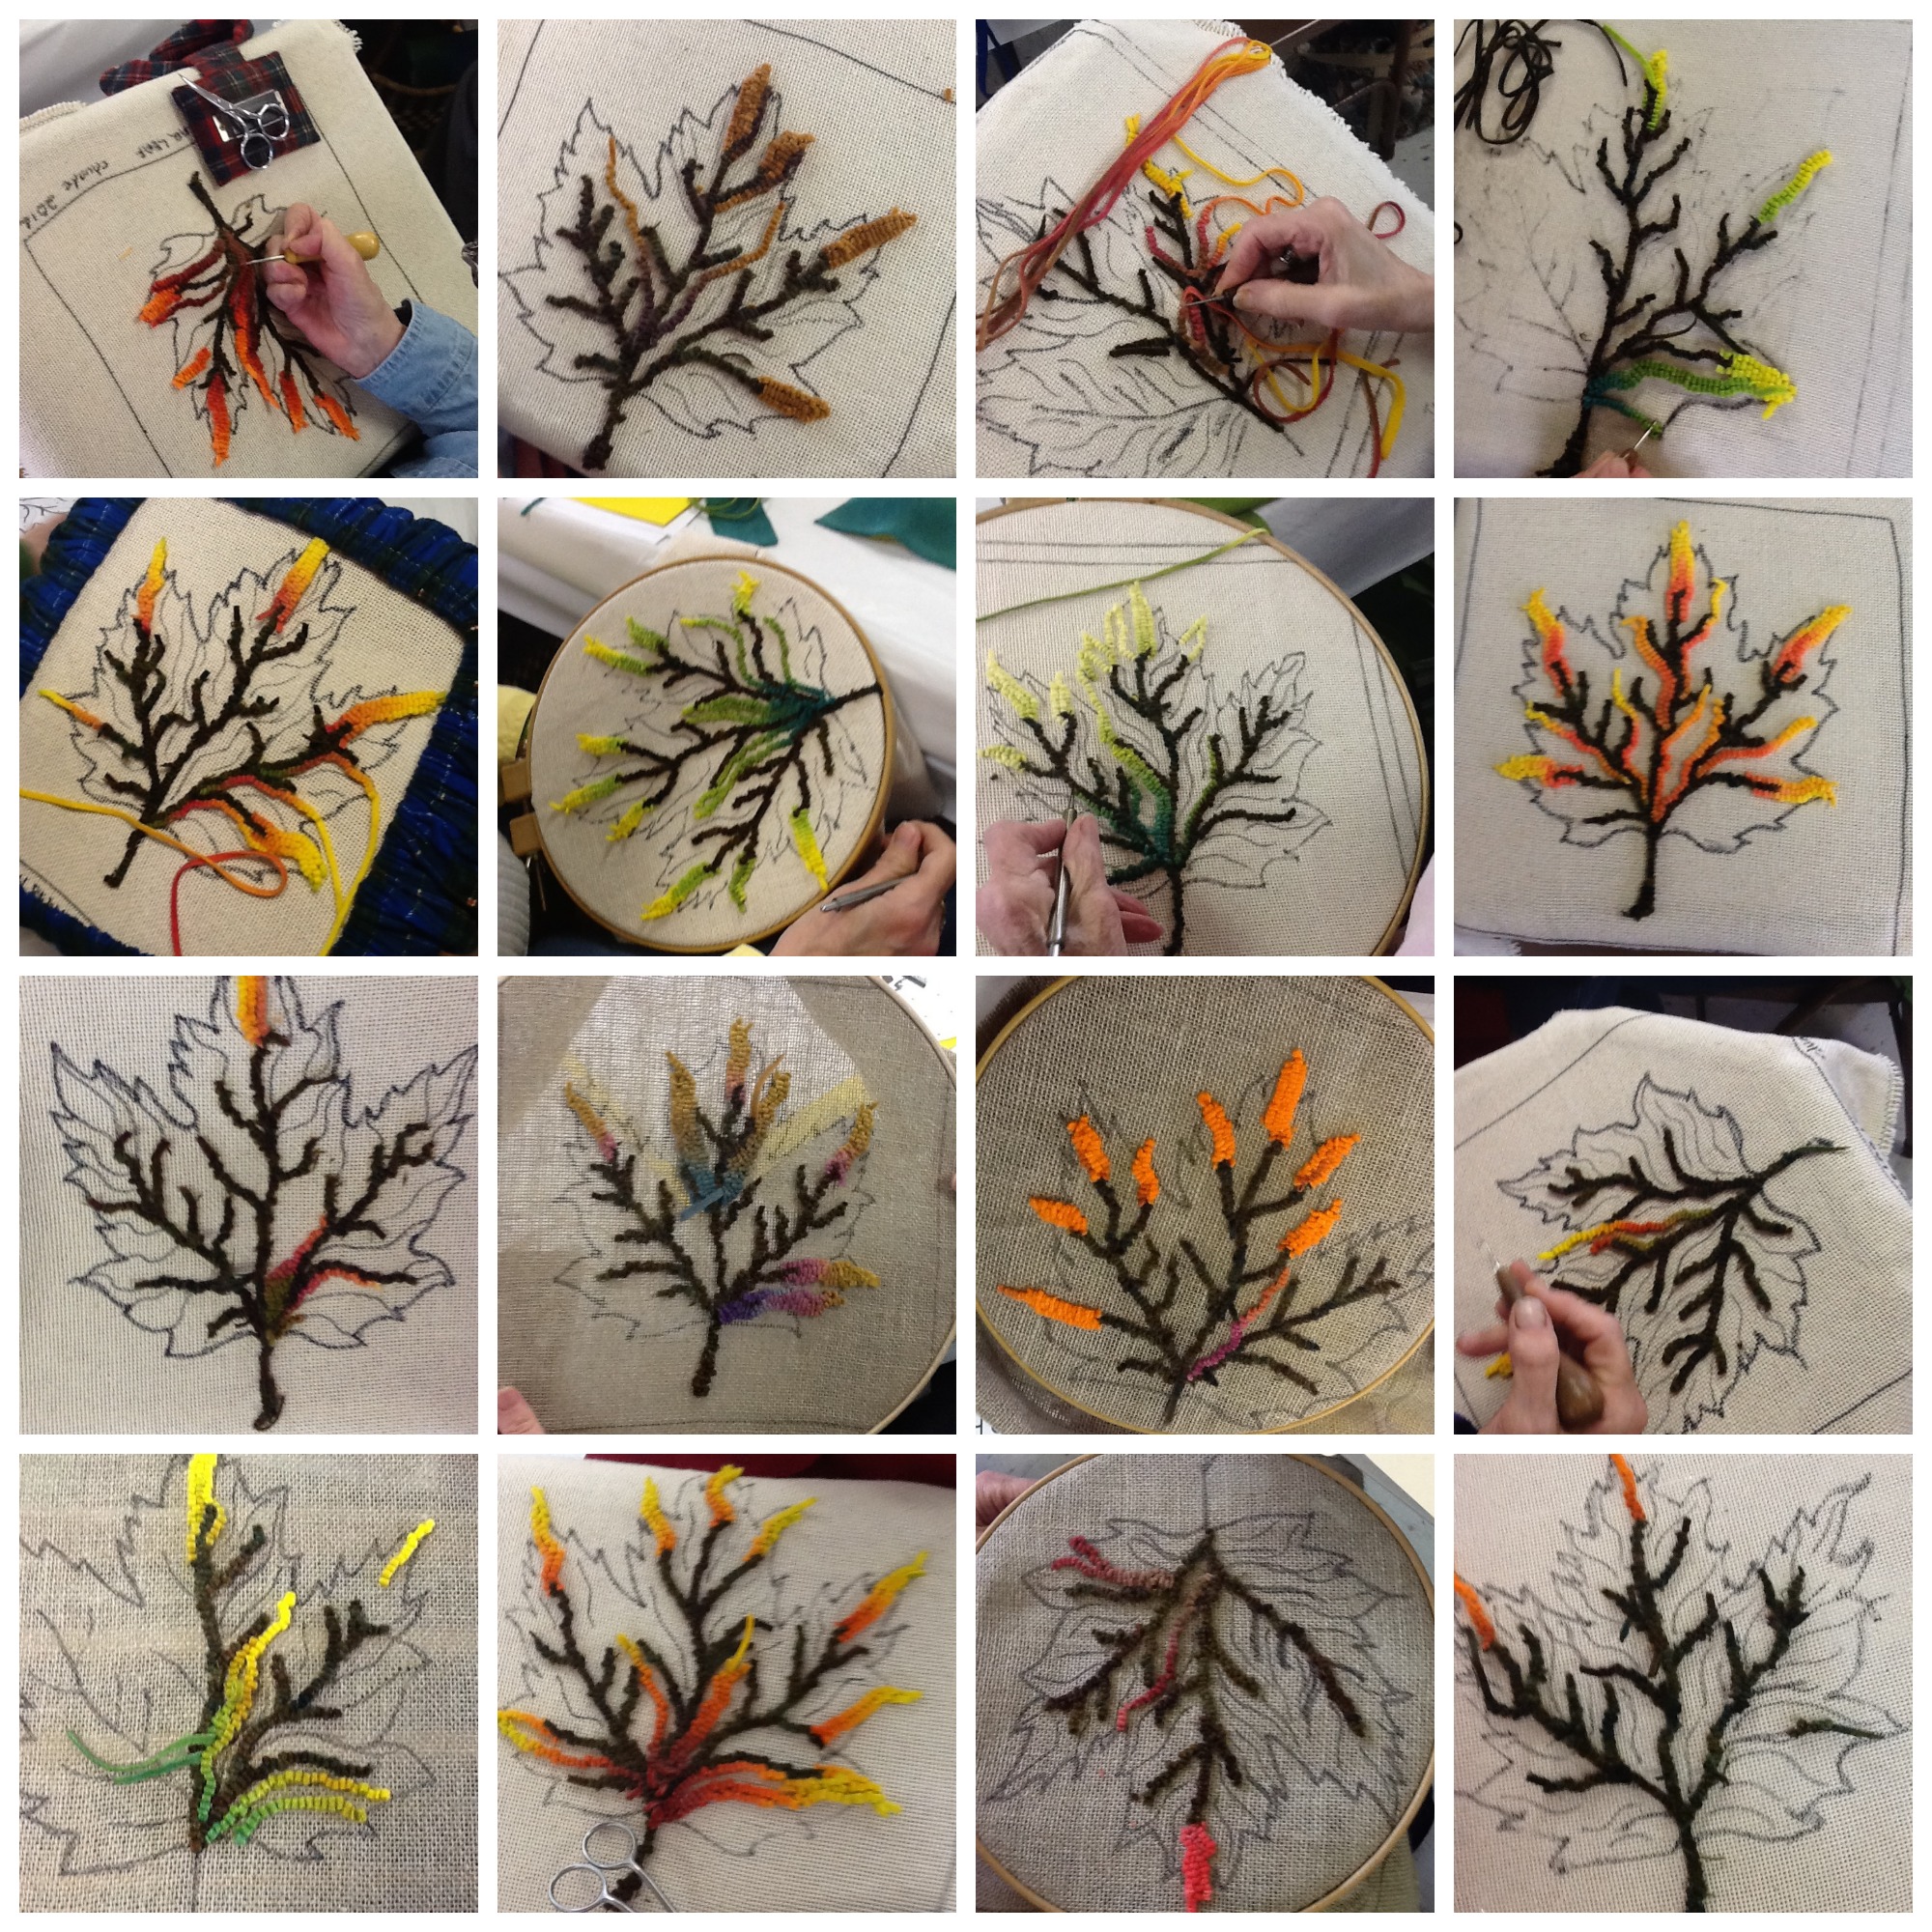
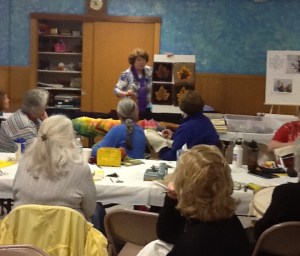 It was a wonderful workshop with clear information, helpful tips and a teacher willing to help and allow time for members to work each step. Members were definitely busy hooking away. We seemed to have a much larger group still hooking after the noon pot luck than usual.
 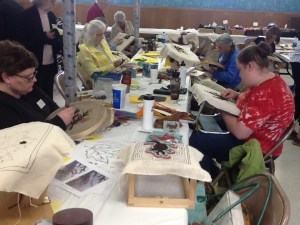 (just one of 3 table areas)
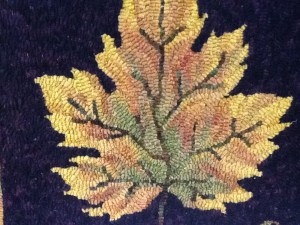
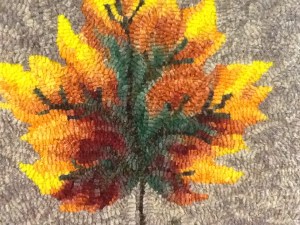
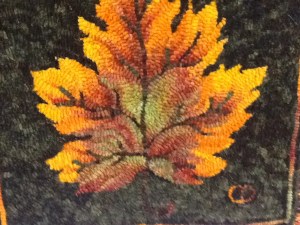
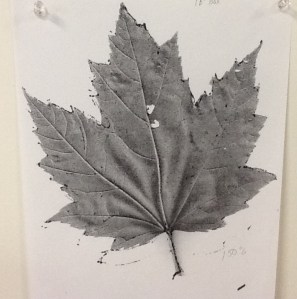 Using a real leaf, Cindy designed a special leaf pattern for use at this workshop. The pattern was copied onto foundation of choice. Red dot is great for that.
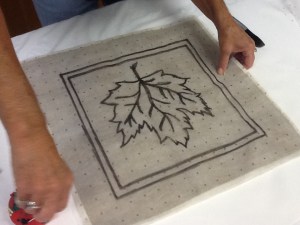 These who participated in the workshop got an informational folder with such items as the pattern and photos showing progression/steps
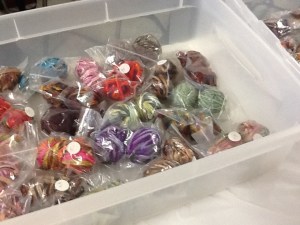
 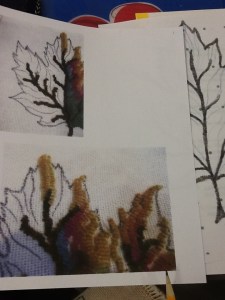 and casserole dyed wool.
  It was fun to see what members chose for their pieces. Wool was cut #4
 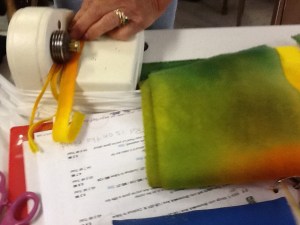 , then carefully placed in order. Tip: use folder with masking tape to maintain the cutting order.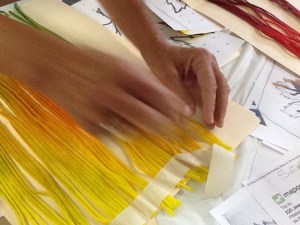
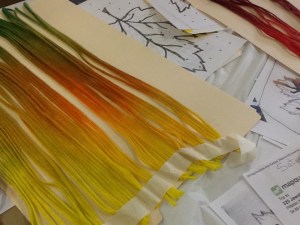 Tape over ends or loop the tape so a sticky side is up to just lay cut strips on.
 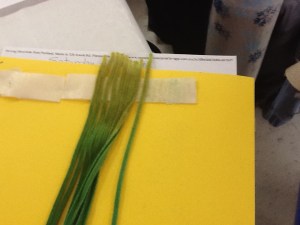 One side can be used to organize the cut off pieces.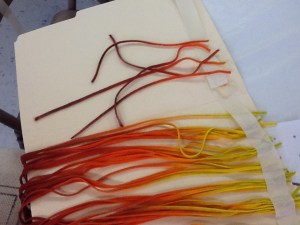
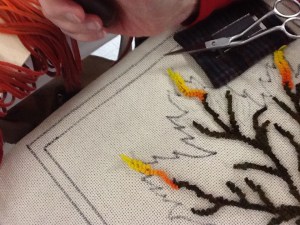 Once have these main points hooked in, time to start work on center. First draw in additional curve lines into design for guidance. Start at base (vein) with opposite color end than points (dark here since points light) and hook the strip out.
 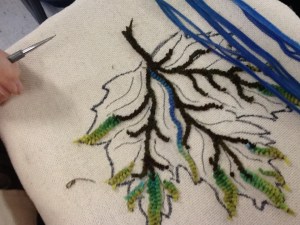 (Can see the dark blue in the center along vein. Hooked all the way to a minor point.)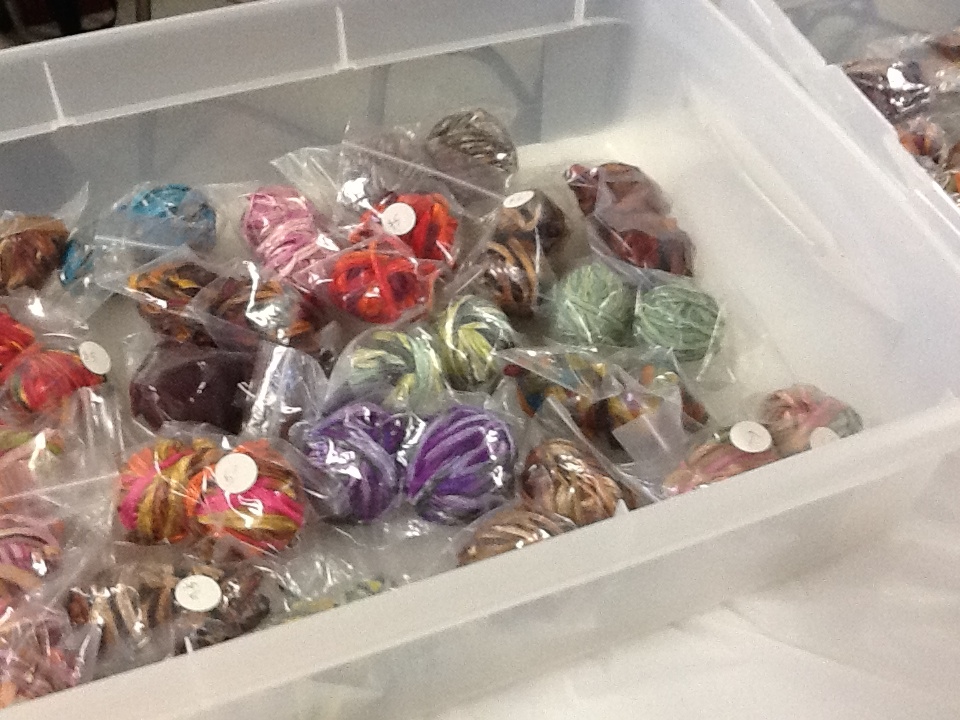
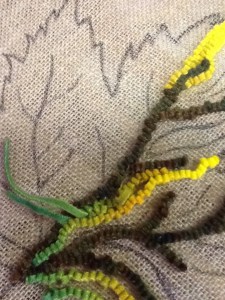 (I would also be checking those cut off sections to match up colors, as I’m a use every piece type of rug hooker.)
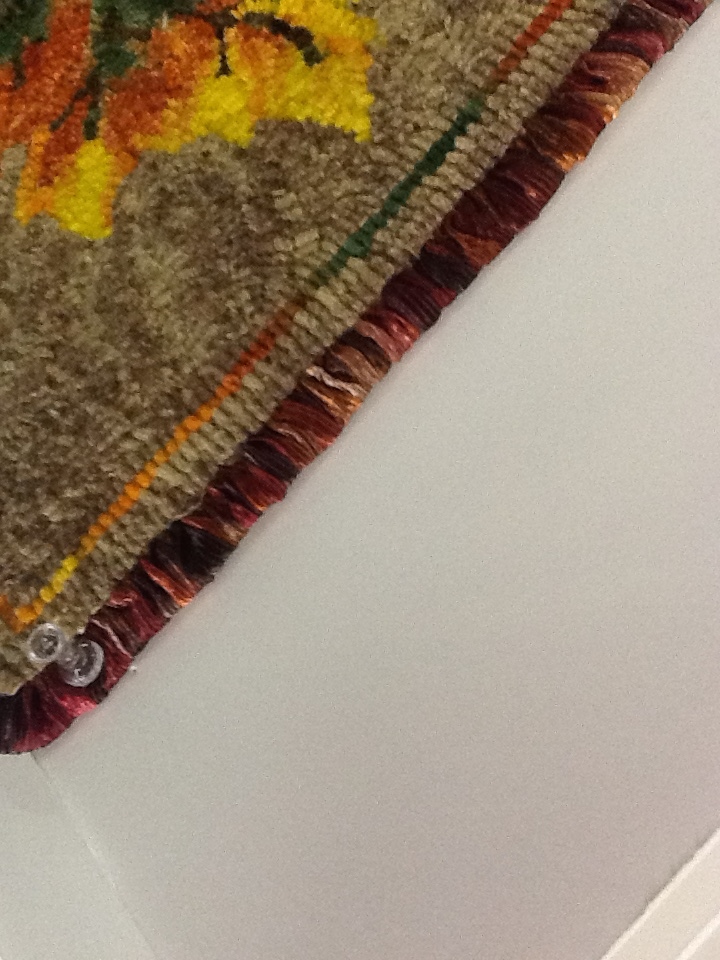
 Tip: to sample the look the ribbon will give once whipped, wrap some around a pencil and check against your background fabric.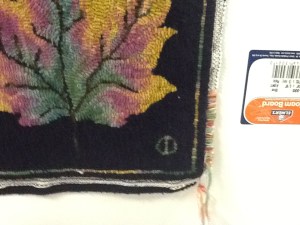


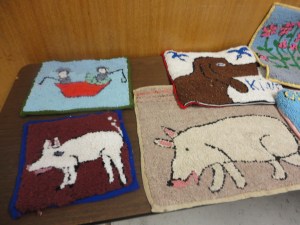

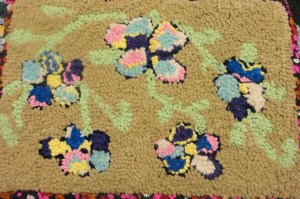

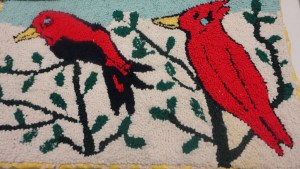

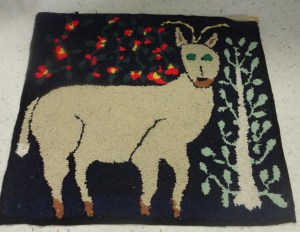
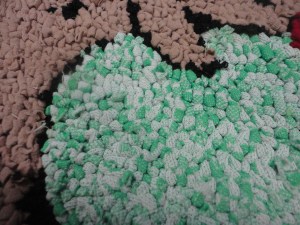
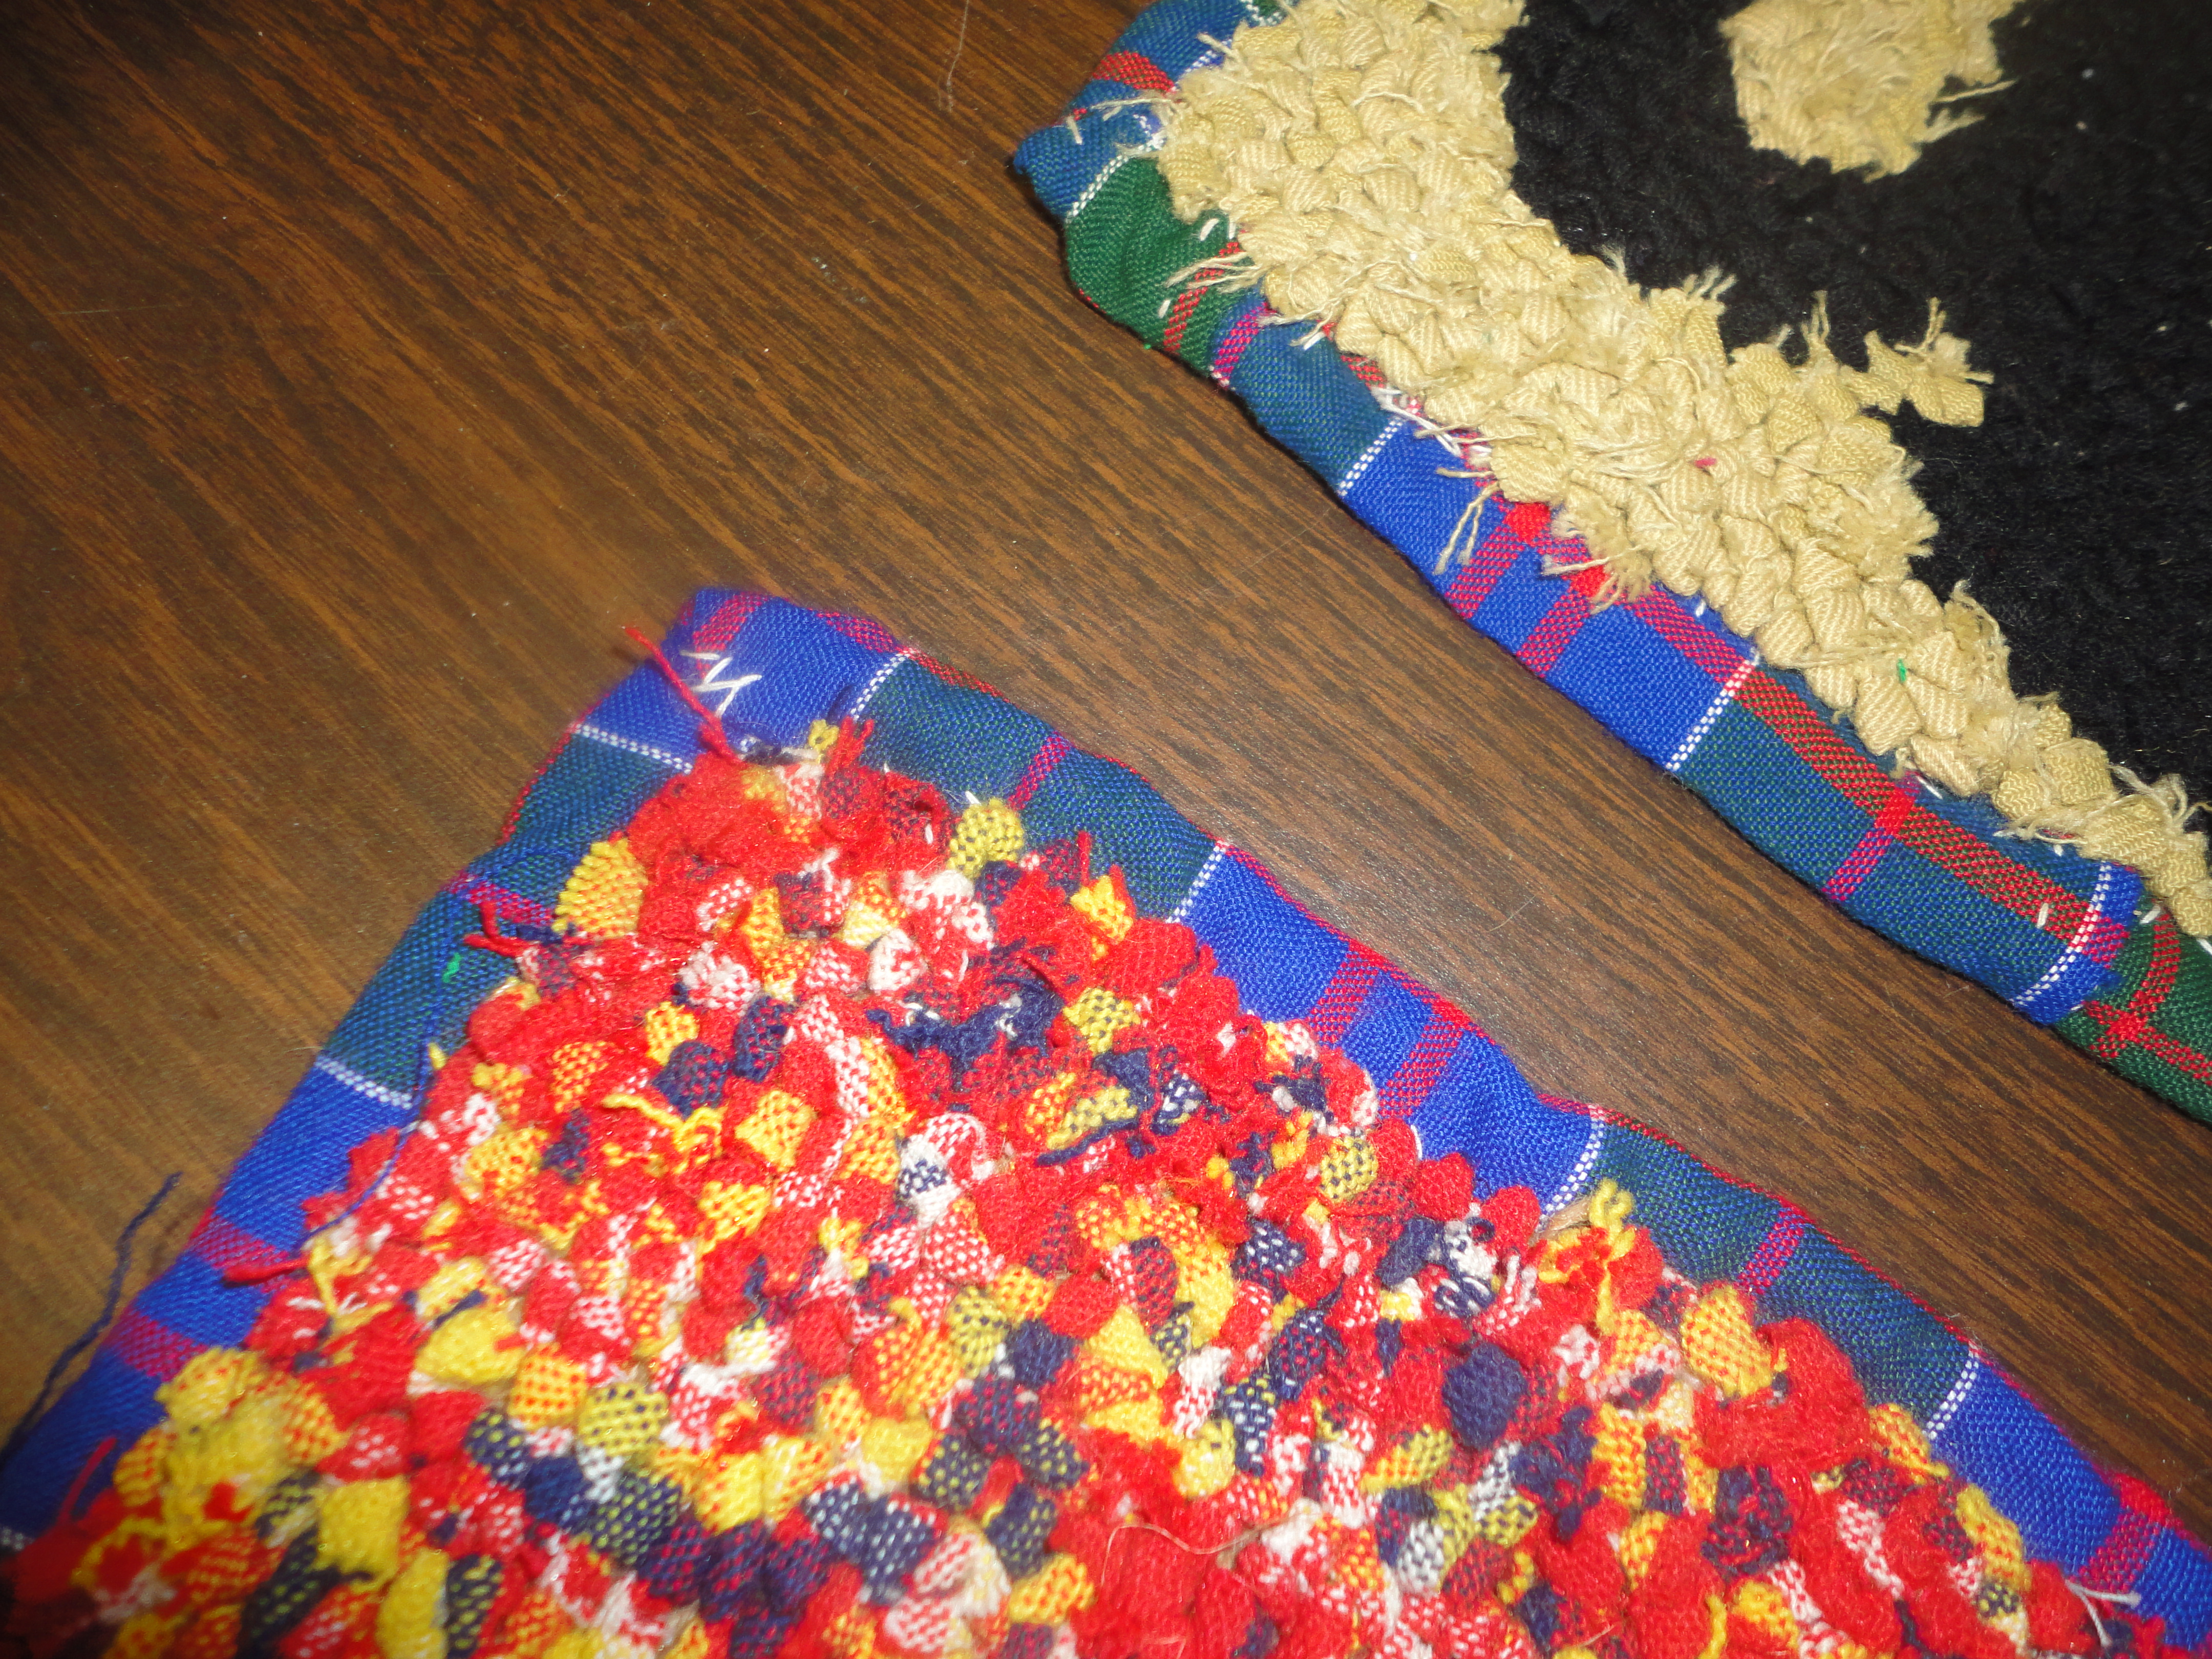
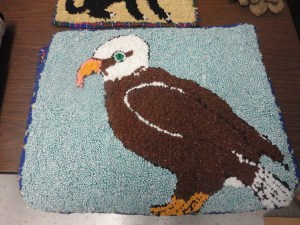
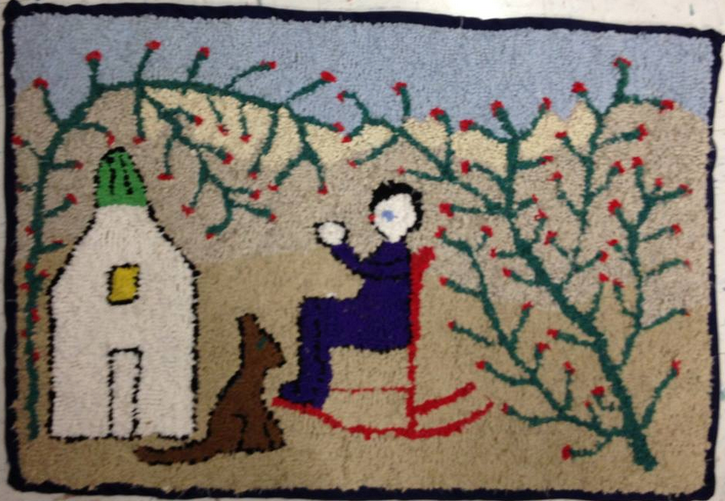
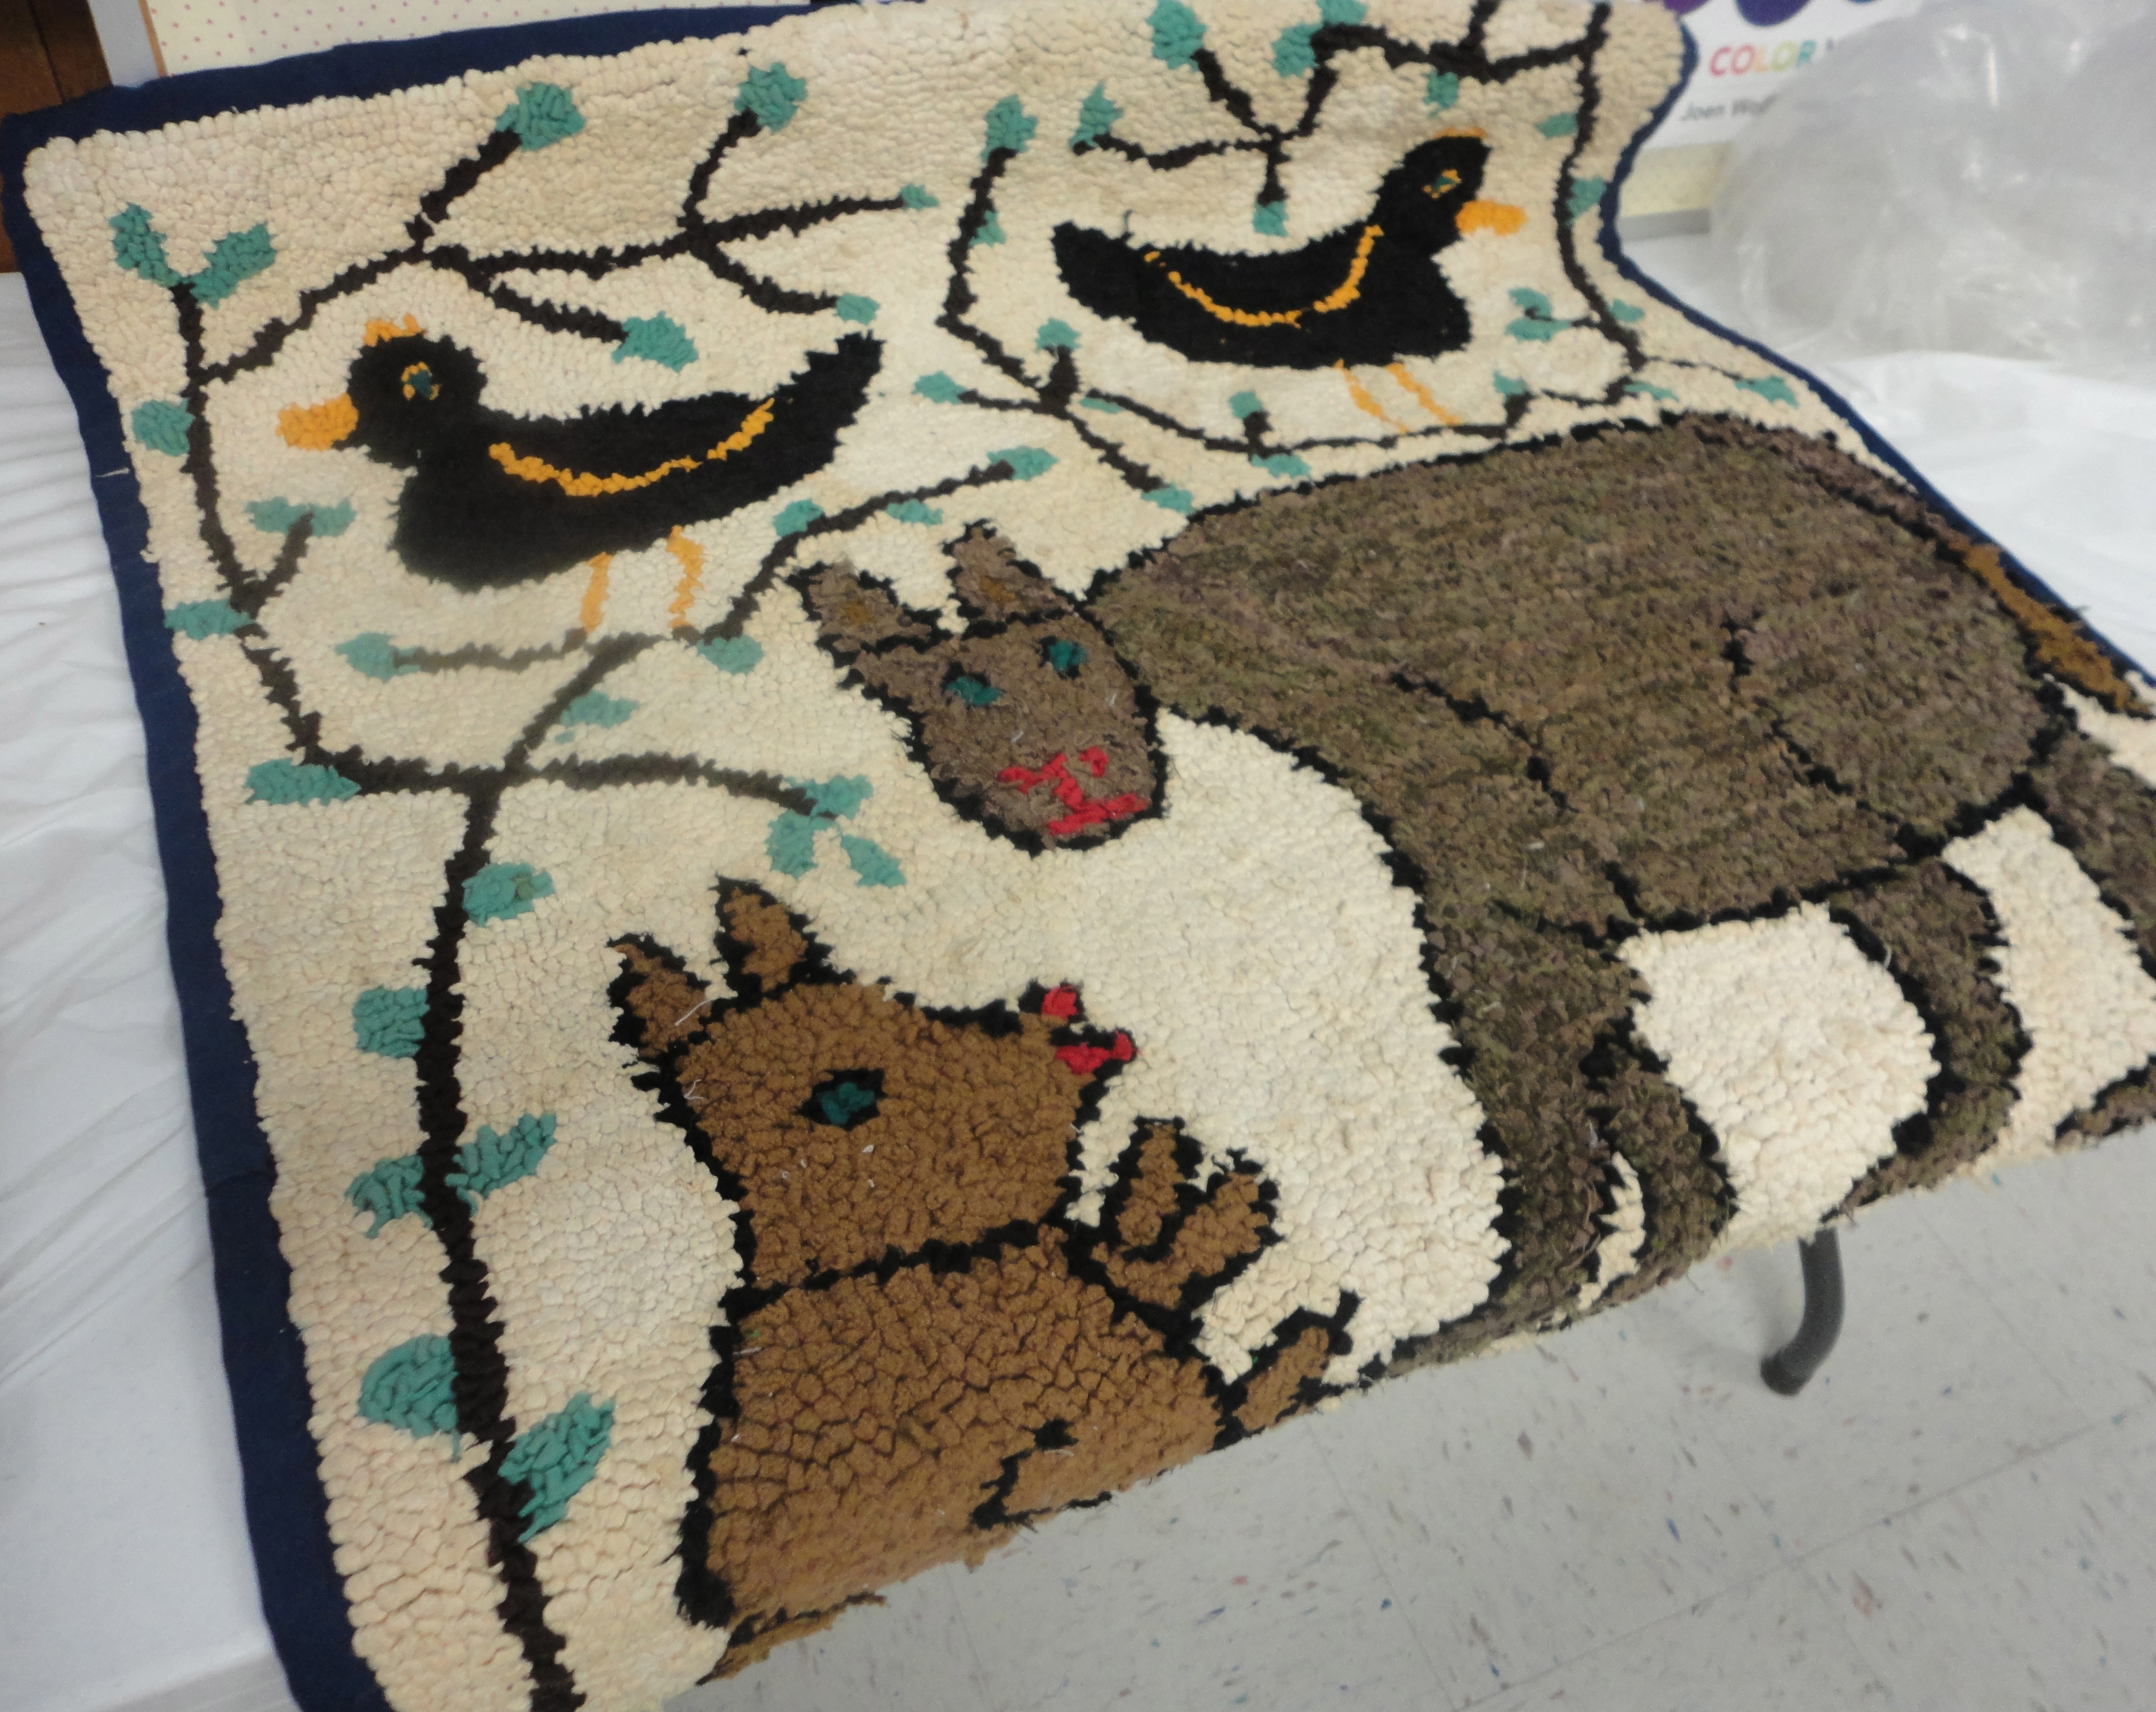
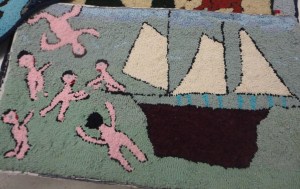
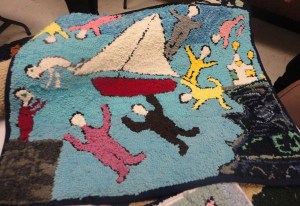
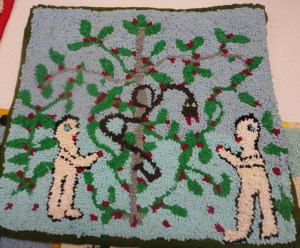
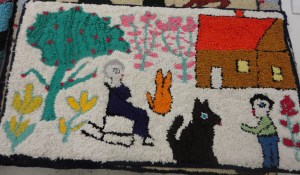
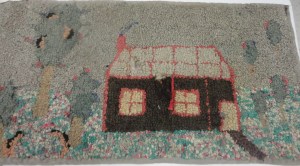 John recalls this rug as being inside the door of Ellen’s home. The family used their rugs throughout the house, but also hooked over the winters to have rugs to trade for linoleum mats/rugs. Interesting how they saw more value in the linoleum than their hand-made pieces.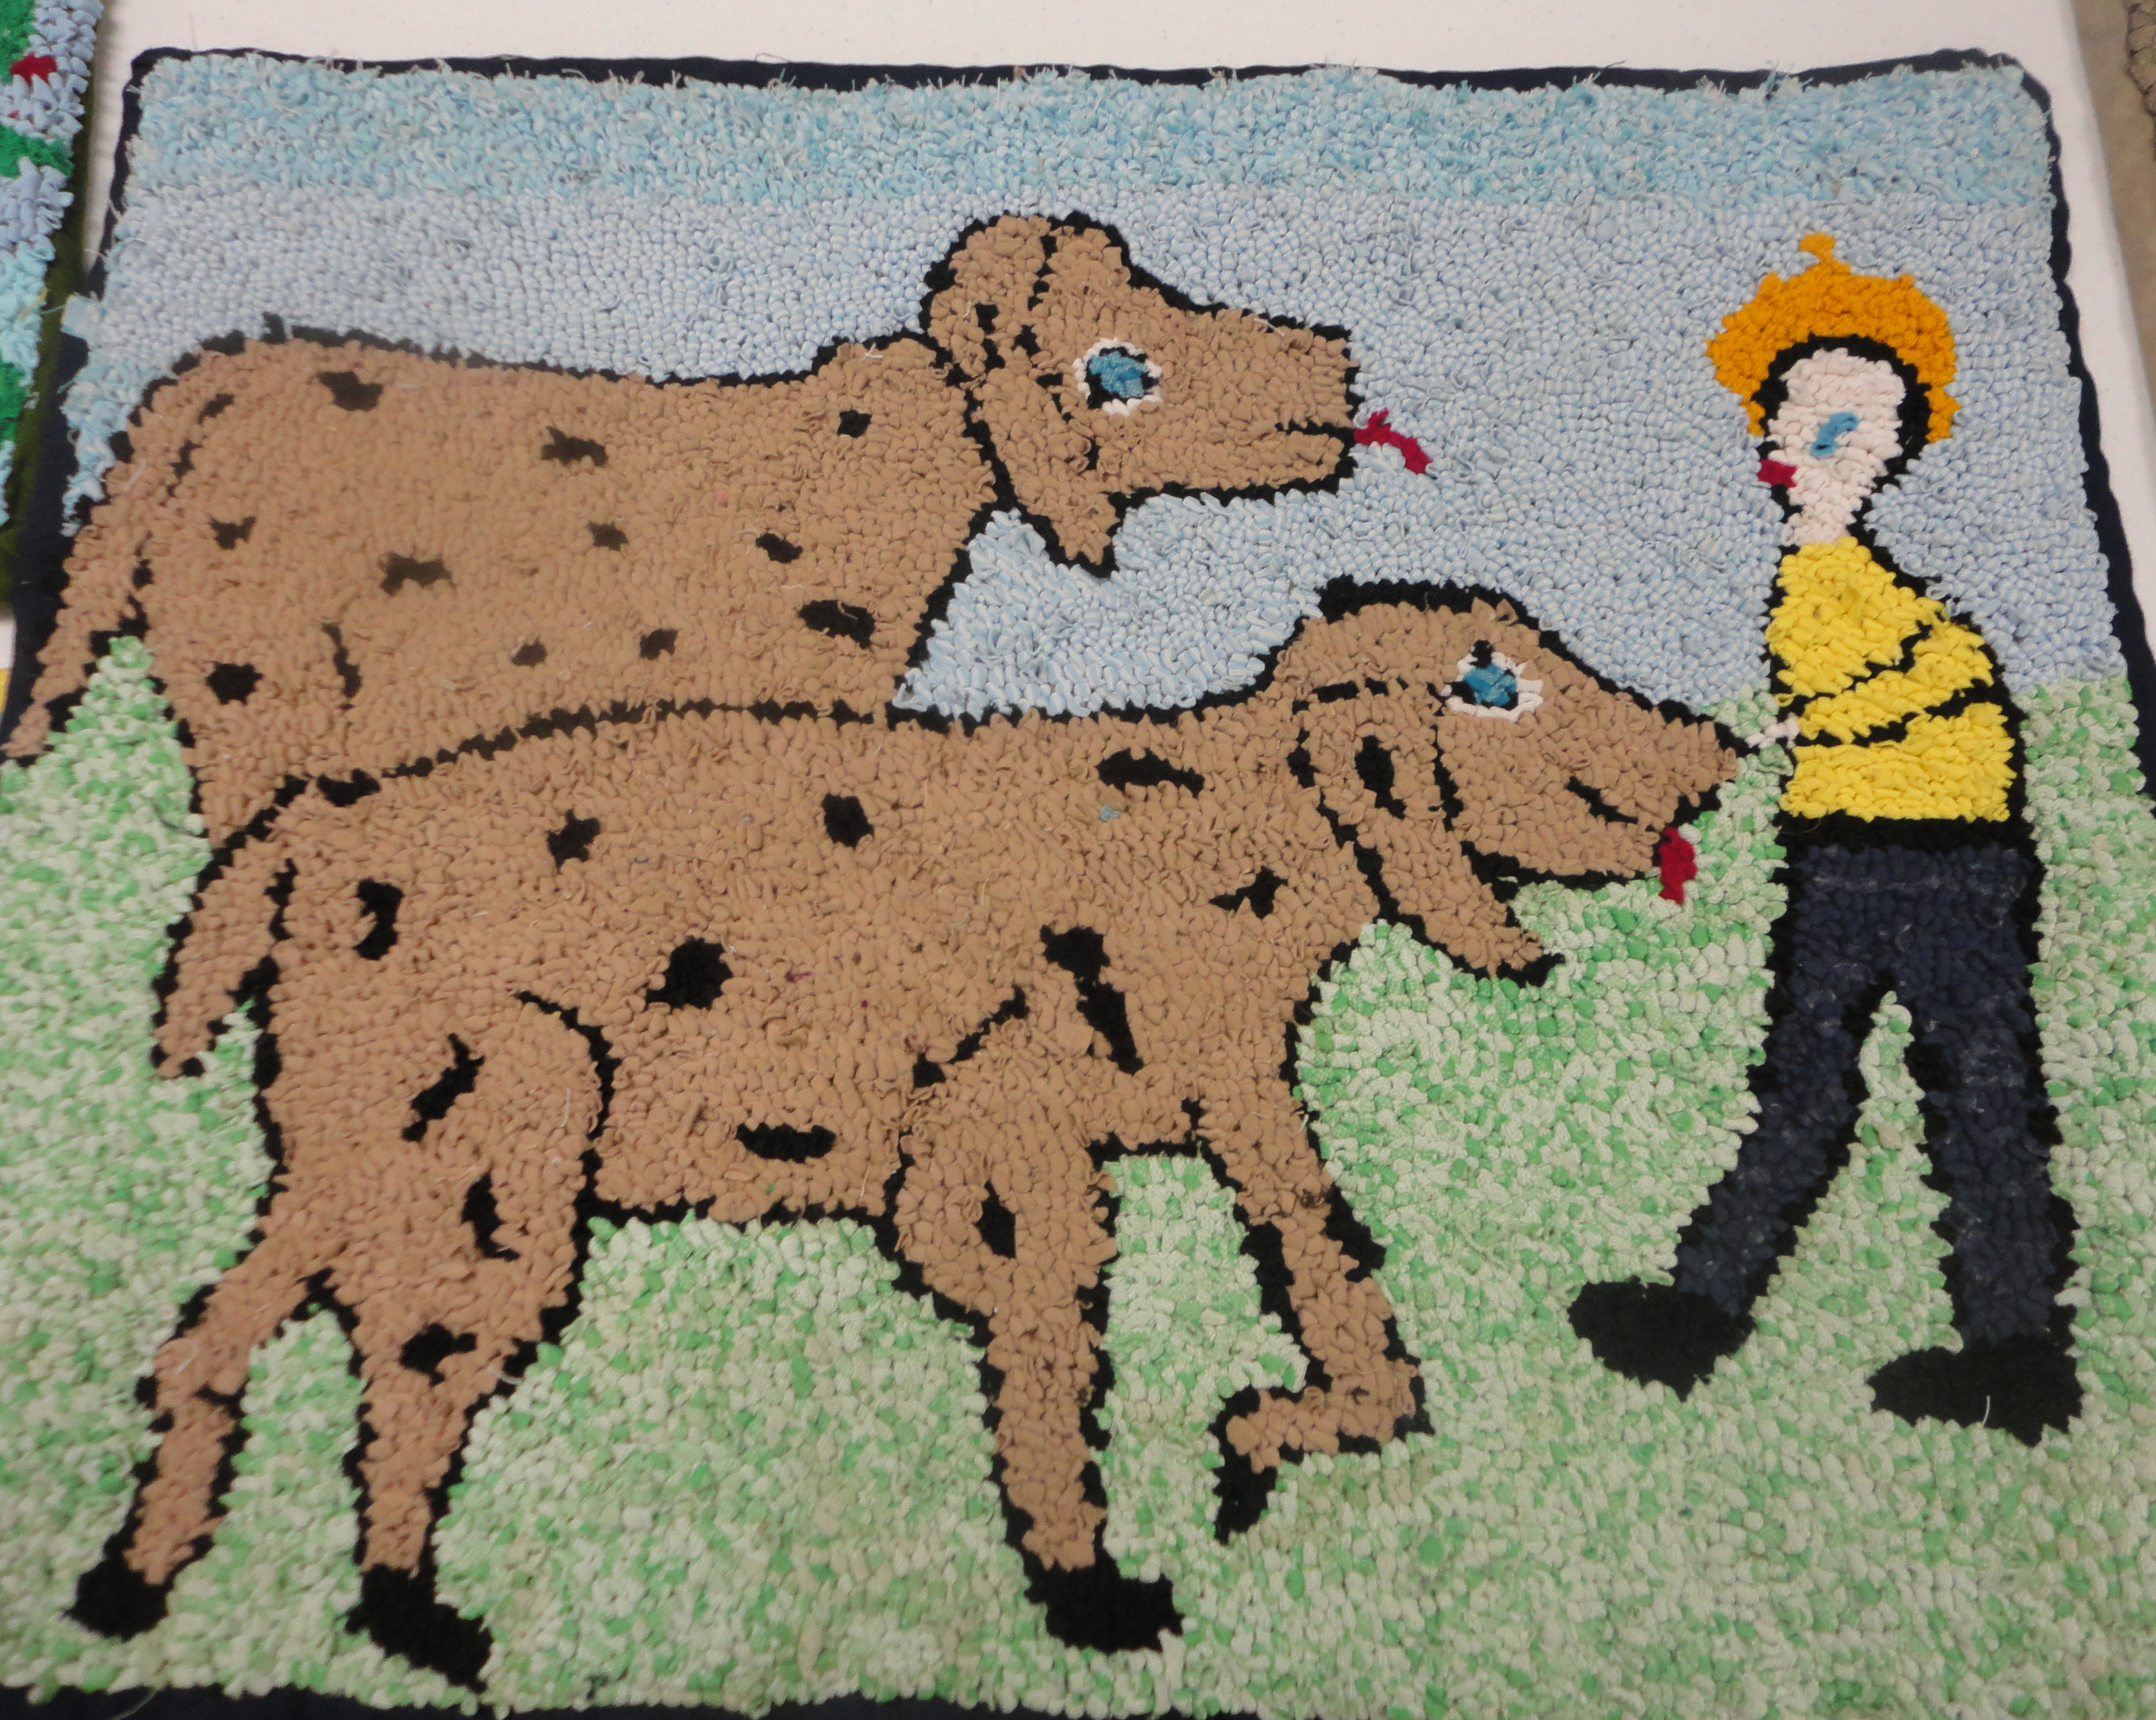
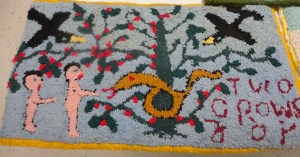
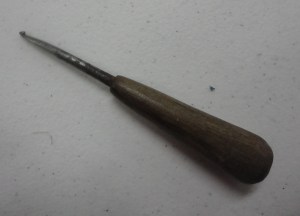 I got to try one of her hooks with aged metal shaft and well-worn wooden handle. Hooking a #8 strip it worked just fine. Ellen also knit (find some gloves knit for John in a photo above – clue look for the cat and eagle). In talking with John afterwards about Ellen’s creativity he told me she had crocheted her own wedding gown. She truly sounded like an interesting and many talented lady.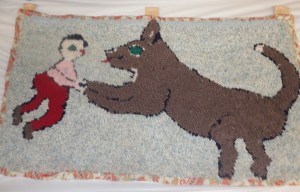
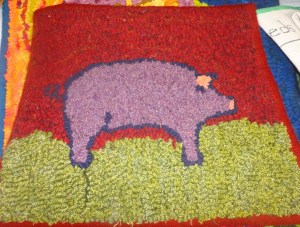



 Mouths often have a white part to them.