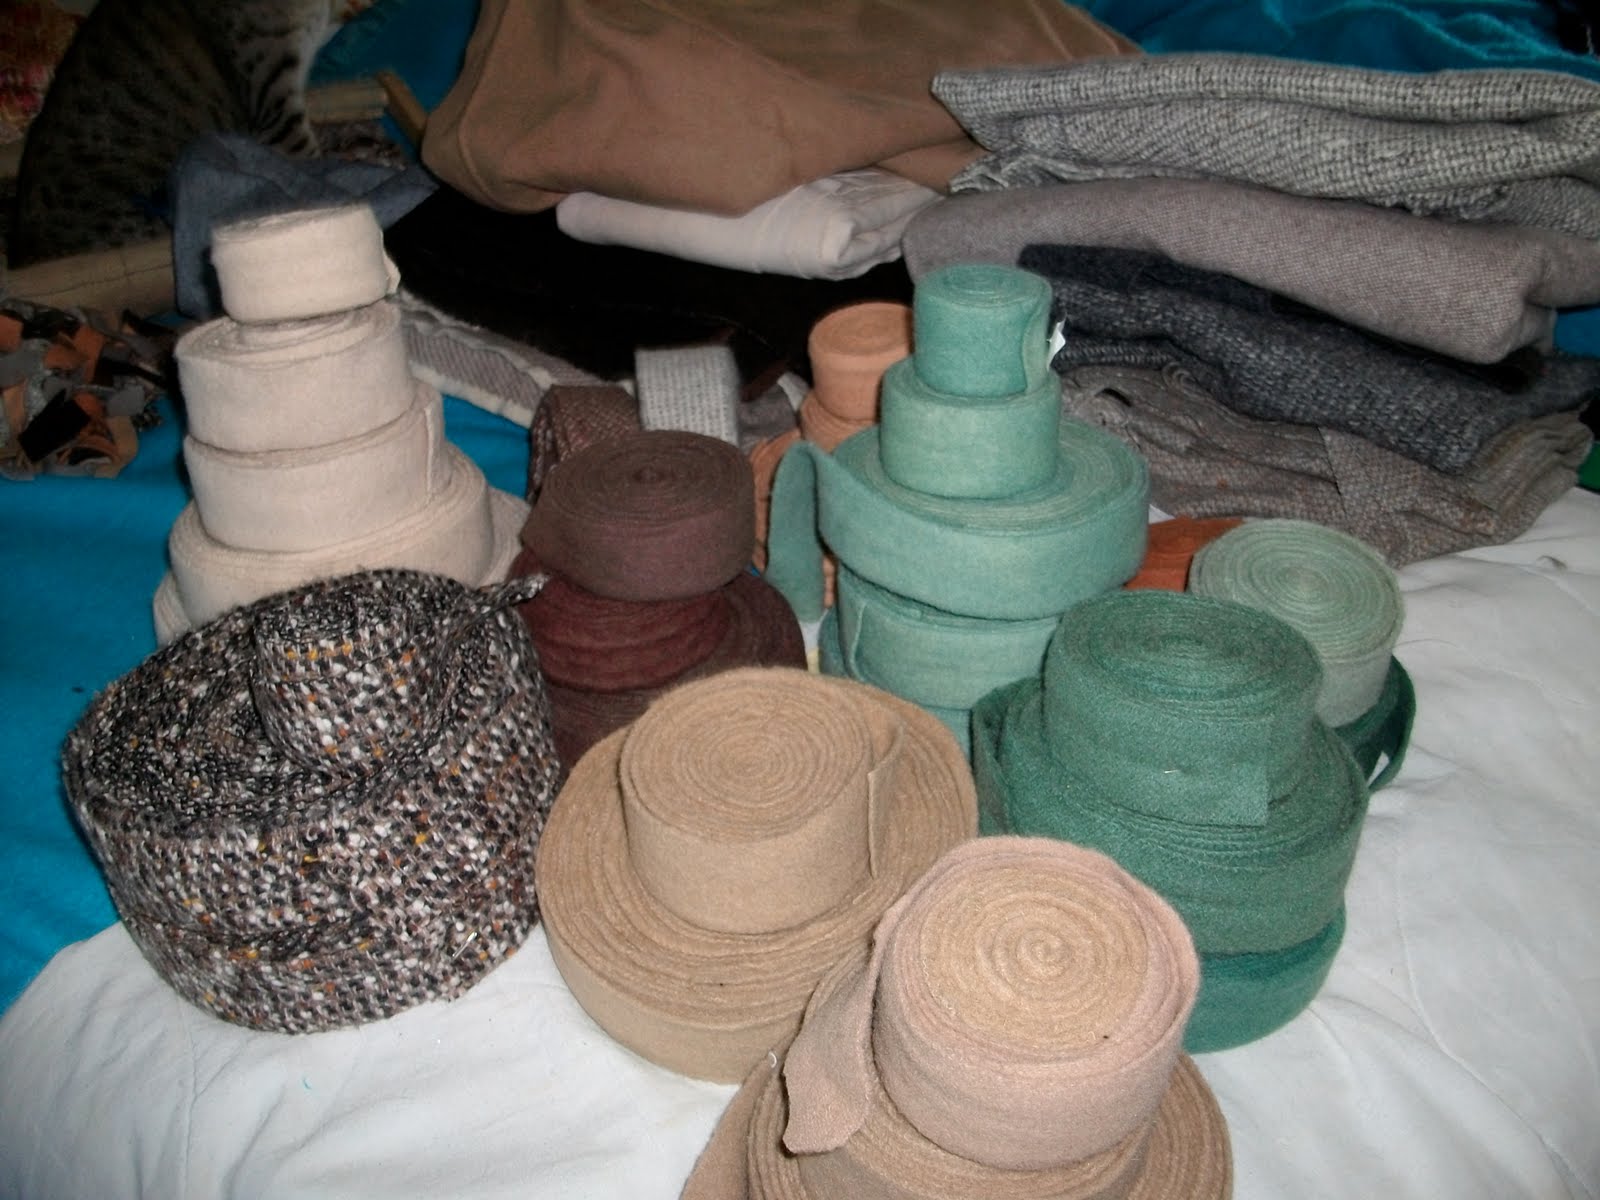
 Recently, I became the owner of a lot of blanket weight wool yardage and pre-cut pieces ready for a braided rug.
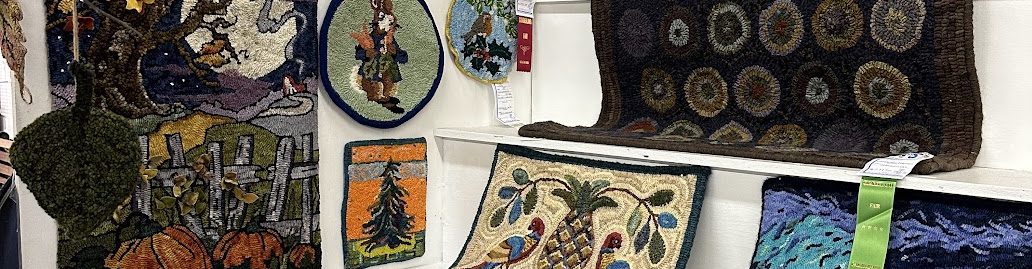
In April, the guest speaker at the Tin Pedlar meeting was Rose Ann Hunter . In 2005, she became the artist in residence at Old Sturbridge Village in traditional rug making. She spoke about and demonstrated some of her adapted and developed techniques for knitting, crocheting, and sewing rugs. Her passion for the shirred and standing wool rugs caught my attention. Here was something I could use the blanket weight wool for! I talked further to Rose Ann after her presentation. She stressed the point that it was all about manipulating your fabric. Our fore bearers used whatever they had on hand, in whatever way they could, to get a finished and useful product.
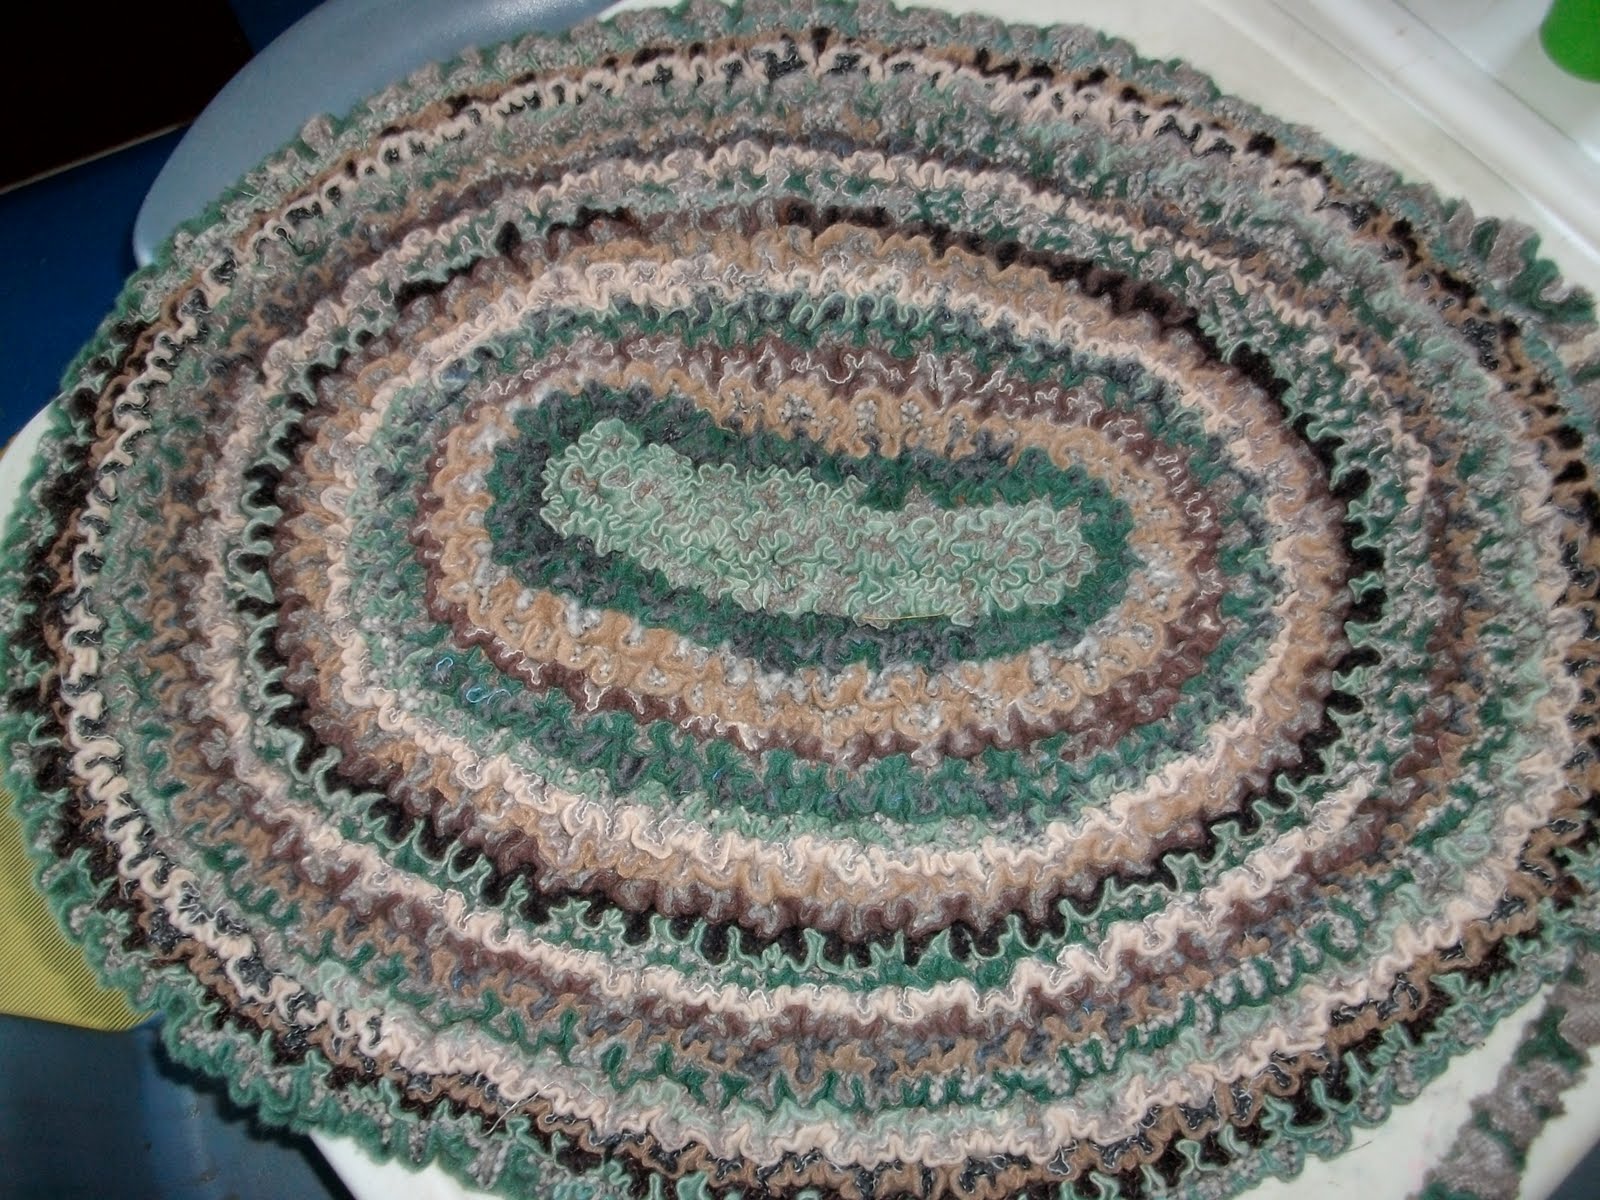
To me this shirring looked fairly simple to do, with the added benefit of needing very little low cost equipment besides the wool. All I would need was a heavy weight thread (10 oz or button) and a very long needle (doll sculpture 3-5″). I started preparing the wool by tearing it into pieces about 1″ wide and as long as possible. Once I had a supply of each color I would be using, I started to play around – manipulating. I tried 1 layer of wool, I tried 2 layers of the same color, and I tried 2 layers of different wool. I liked the look of the 2 layers of different wools. Now how tight to shir? I tried keeping it loose and then pushing it up tight. The tight worked for me. 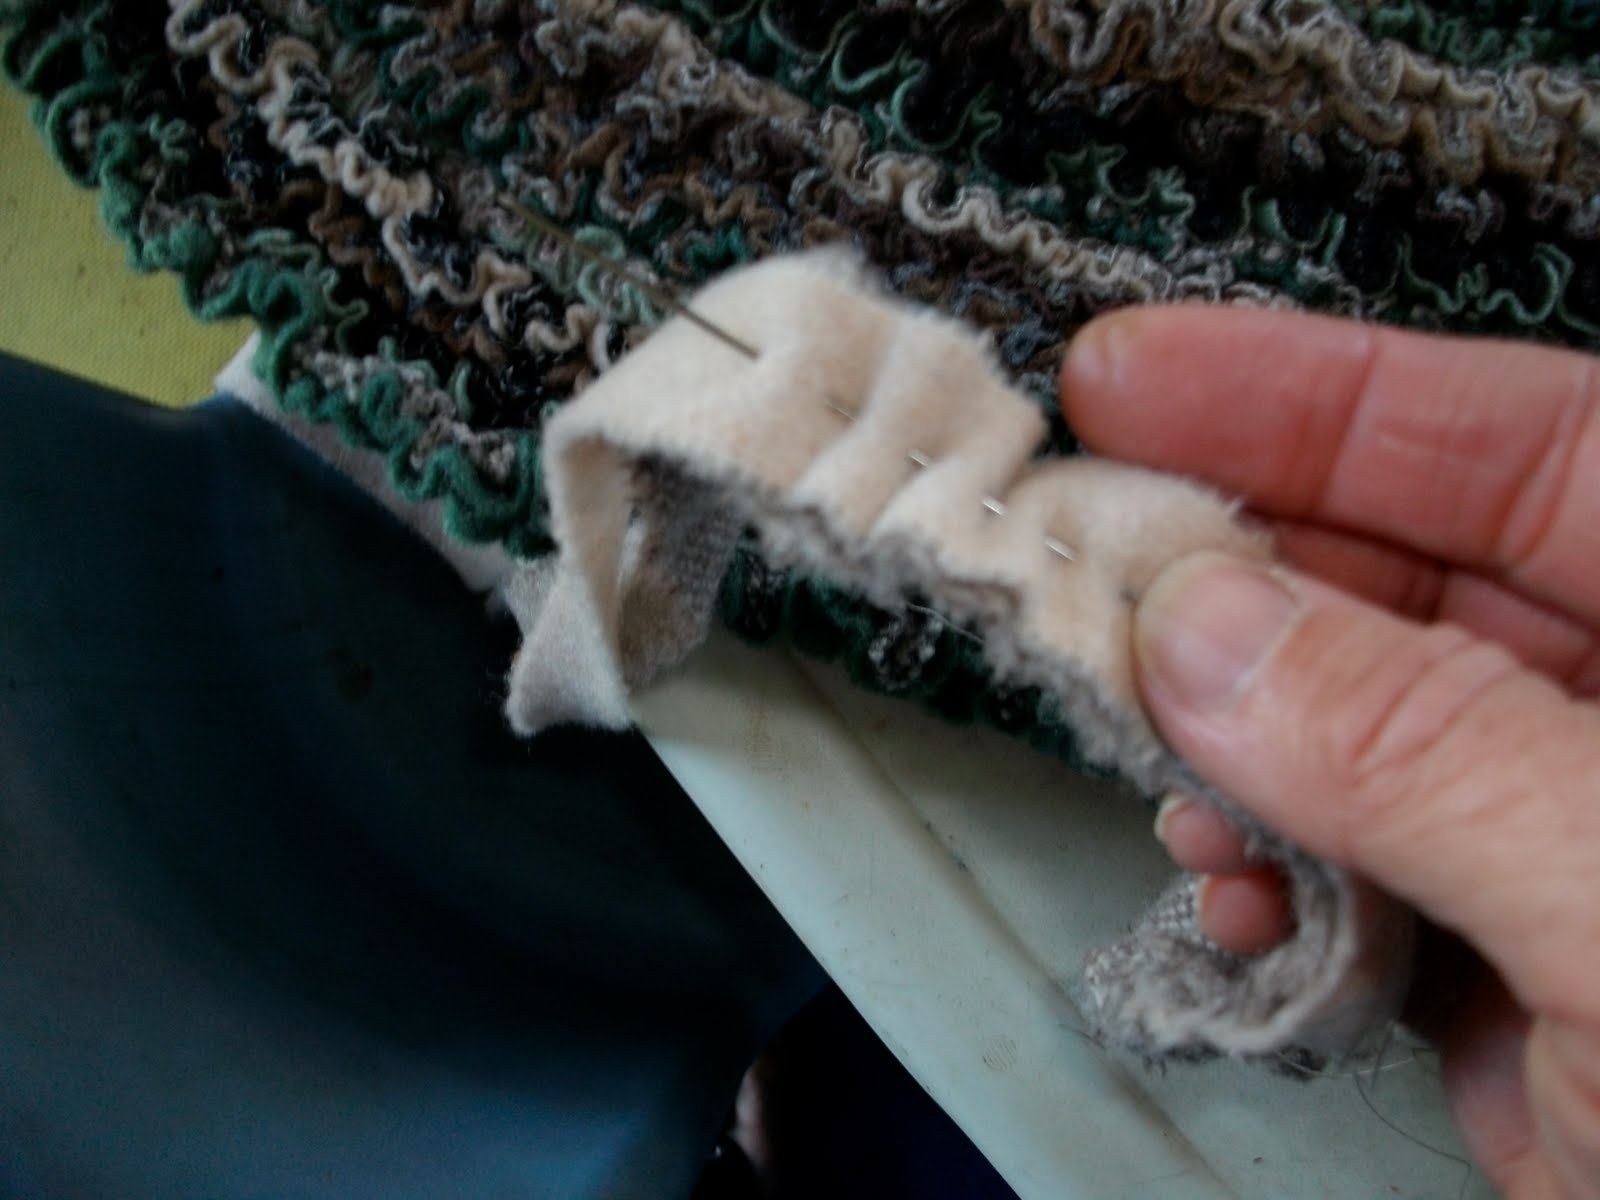 Using 2 different wool layers sown together with a running stitch, pushing them up tight, aligning the different wools and then coiling them I got a braided look with a funkiness. I loved how the colors worked into each other.
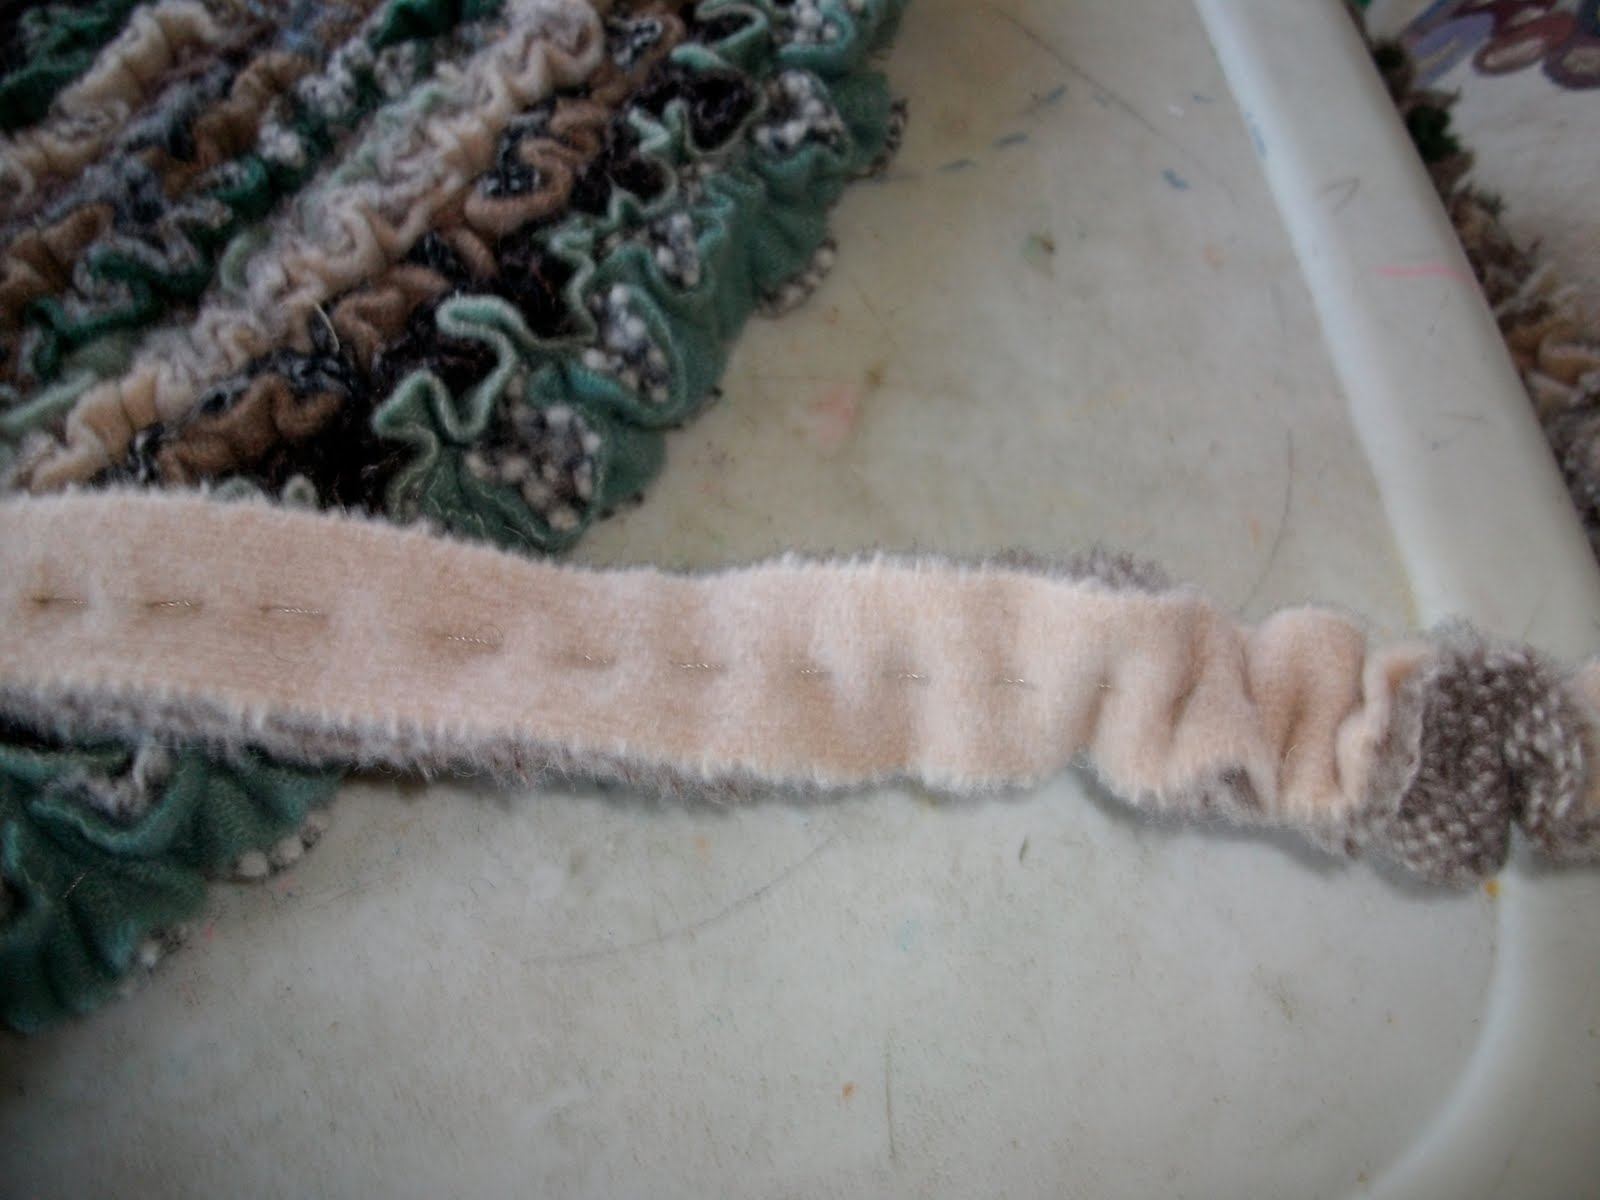 First I’d do a section with the running stitch, push up tight, untwist/straighten the wools and then stitch along the last coil.
 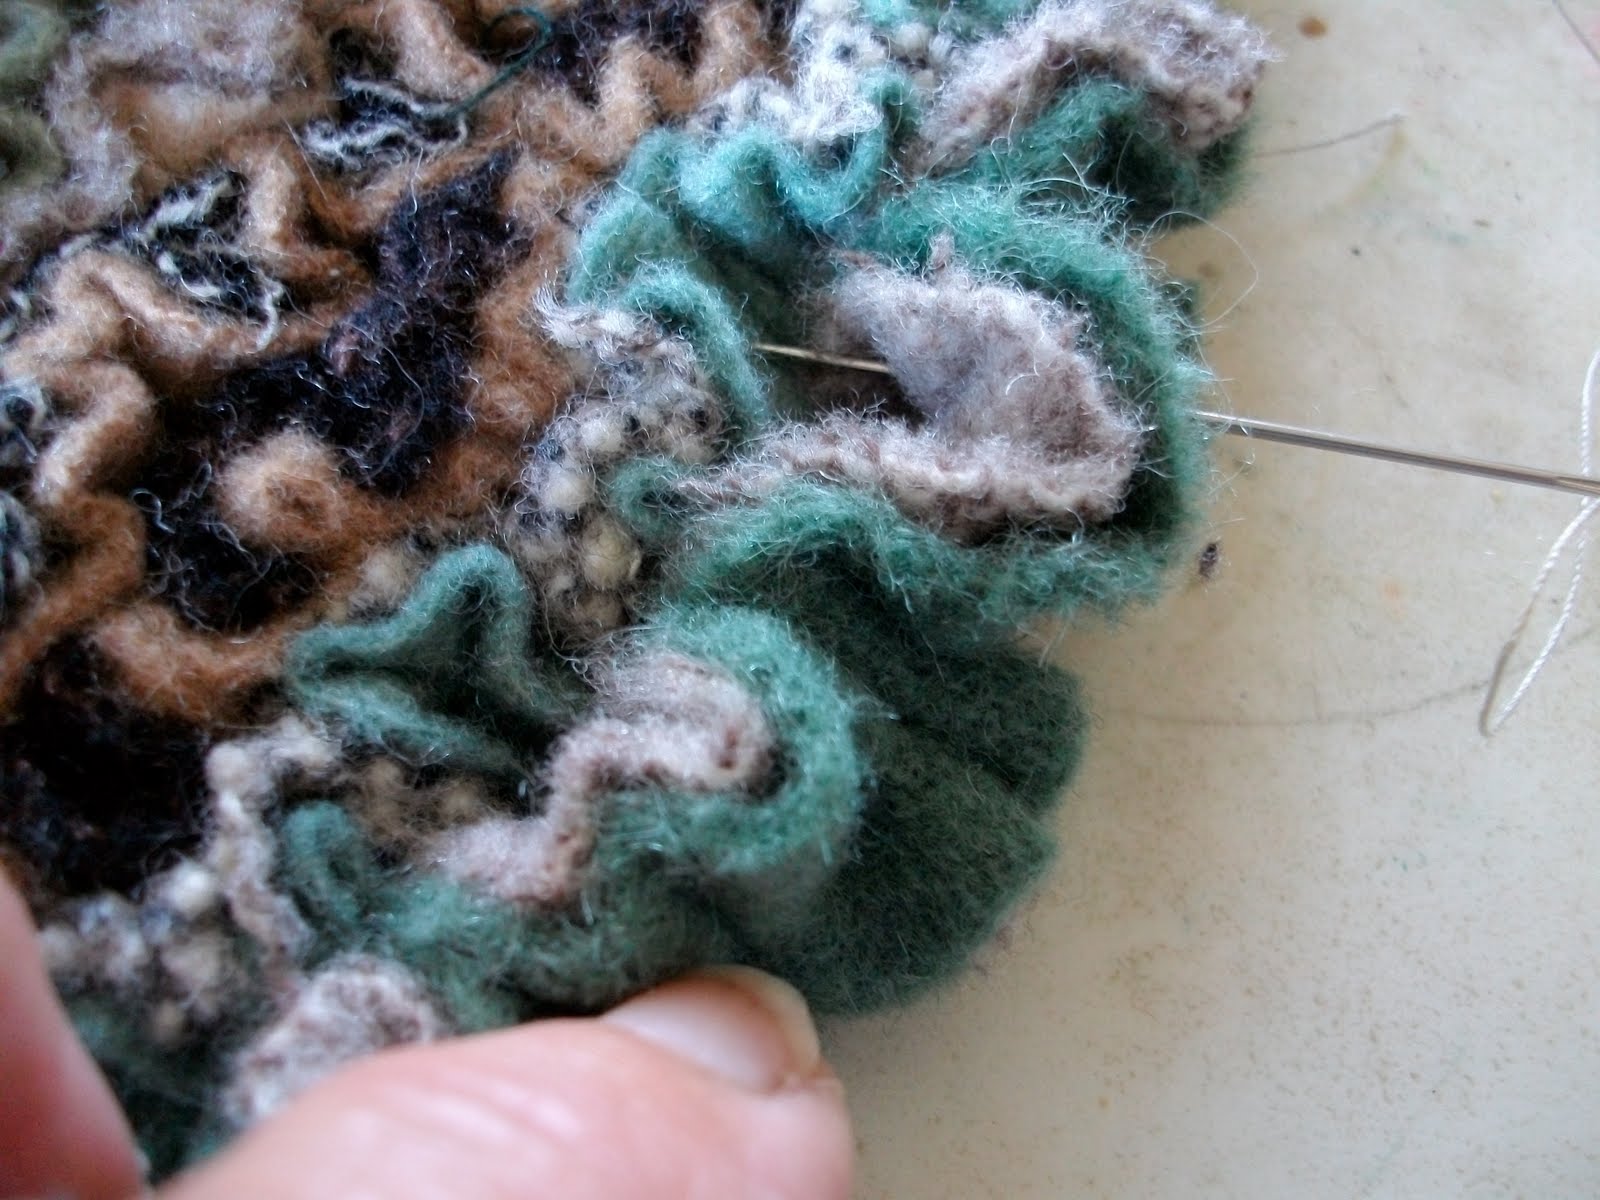 In stitching the rug coils together I just push the needle through multiple layers and then push it back out. In and out every 1/2″ or so.

I’ve never seen this done with a sewing needle, but it looks like a wonderful technique for those who don’t know how to crochet, and/or don’t have access to the special schirren wool rug crochet hook. My grandmother taught my mom, and my mom taught me using the special crochet hook and rug warp. My dad manufactured a few of the crochet hooks out of piano wire (because the only hook I could find for sale was made of very soft metal which bent too much for my liking.) I could look at all the various rug making techniques for hours and never get to my own creations. Yours are lovely.
I’ve been looking for this type of rug. I have one that my mom made after WWII. It was made from old wool coats. It still looks great today. She used it for yrs & I’ve used it for 40 yrs…
How do you attach stirred strip to background piece? Thank you.
Frances, just seeing your comment. Sorry for this delay in response. The shirred rug explored here is not attached to a backing. I’m not sure if this style could be attached to a backing. Would think if using as part of a larger design you might be able to hand sew onto the backing.
Where do you get needle?
The needle is for doll making. Debbie got at JoAnn Fabrics. You do want a long needle.
whould this work with worsted wool sweaters and would I have to cut instead of rip?
If you can get the wool sweaters into strips you should be able to do the technique. I’m not sure if ripping or cutting would work best. I would start with cutting.
Debbie, Thanks for sharing your process with pics and text! Love your color placement, great rug!
Glad you were able to gain some info from this. If you make one would love to see photos.
Debbie , thanks for sharing this layered idea. it looks beautiful and a great oncept. i would love to do one to begin with ,but do not know how to do it. i hv checked lots of sites. so could you please show or suggest how to do shirring and also how to attach new strips to make it into the desired shape. there is no video to show the process of shirring. thanks.
The simple technique is to run a basting stitch down the middle of the wool pieces you are using. This can be single or layered. Then you push the wool together as tight as you like the look. Trick is to use a long doll needle. I did not stitched the new straight wool pieces on to the piece working with as I got close to the end of it. I just keep basting adding new wool sections as I was ready. The thread and shirring keep it all together. Your shape can be changed just by how you sew it together. Sample standing wool rugs on YouTube for some ideas for working with shaping.