Molas with Norma Batastini

(my thoughts – Deb A.)

When I heard our program this year included a presentation on Molas I was surprised. I knew a little about Molas having made some paper ones as part of summer art projects with my child care and wasn’t sure how they fit with rug hooking. Needless to say I looked forward to this presentation and was not disappointed. (disclaimer* In over 15 years of rug hooking I have never bought a pattern or kit until now – 1 kit and 2 patterns)

Oct. Tin Pedlars 018

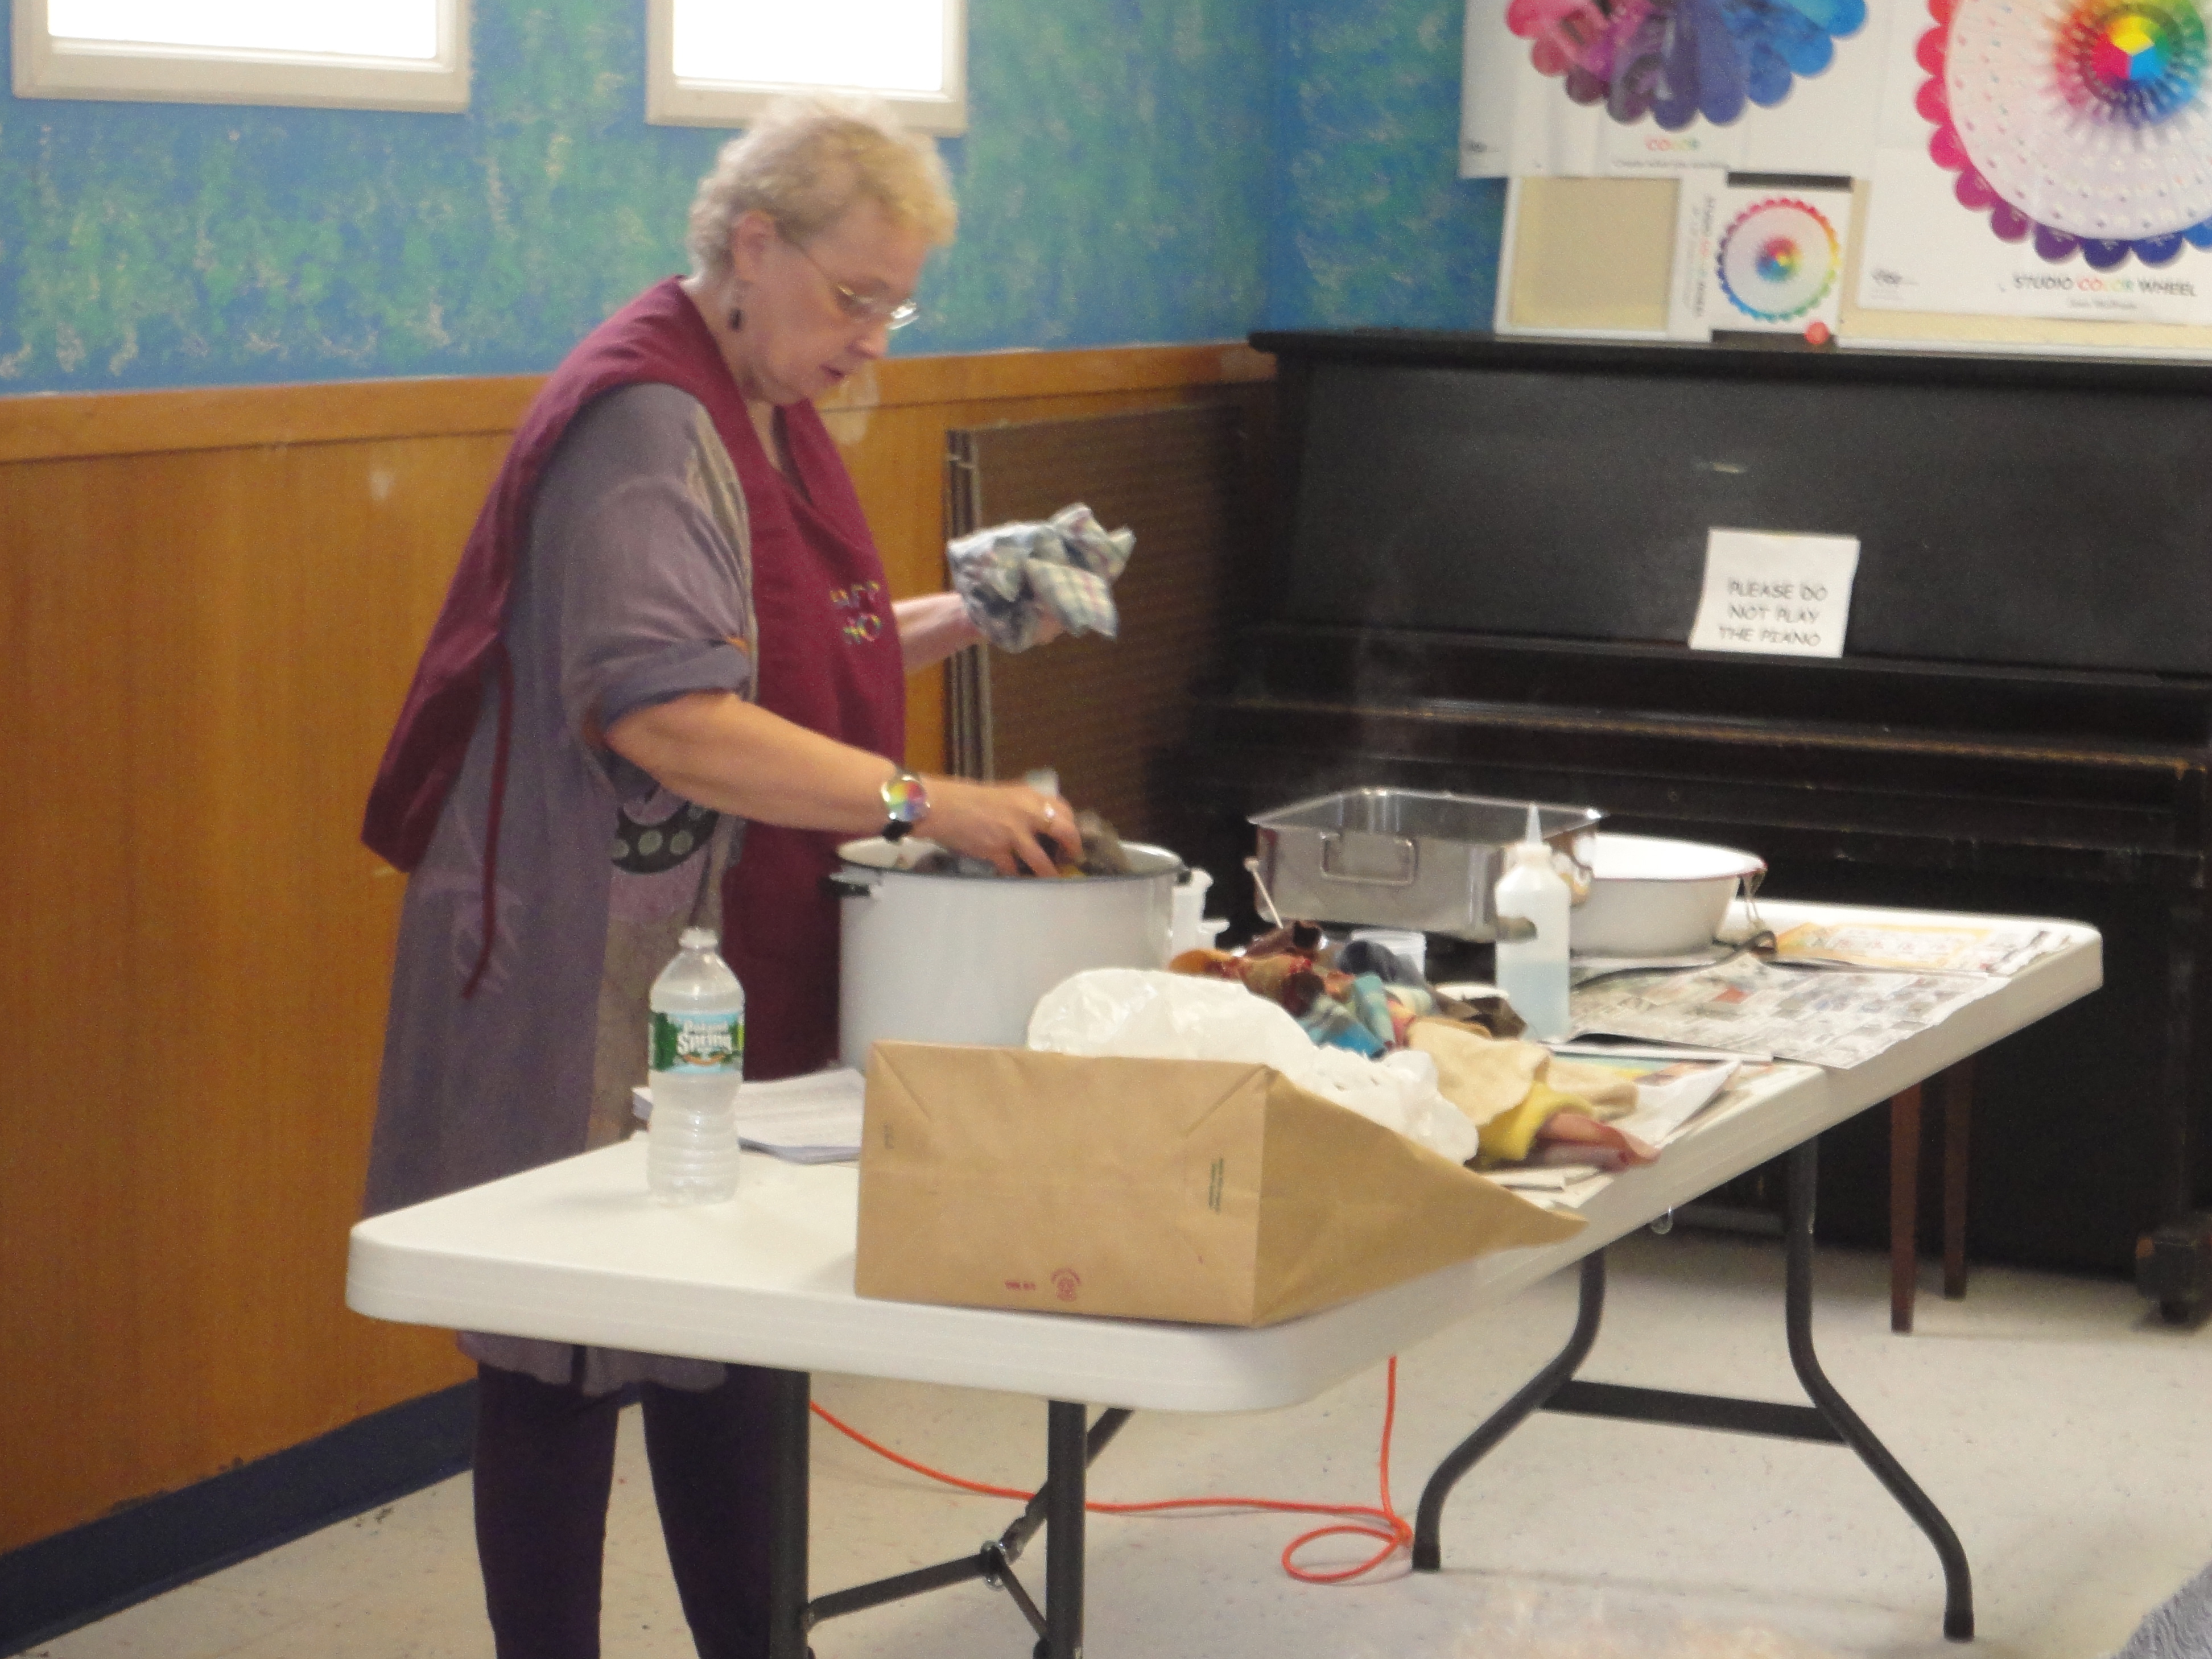
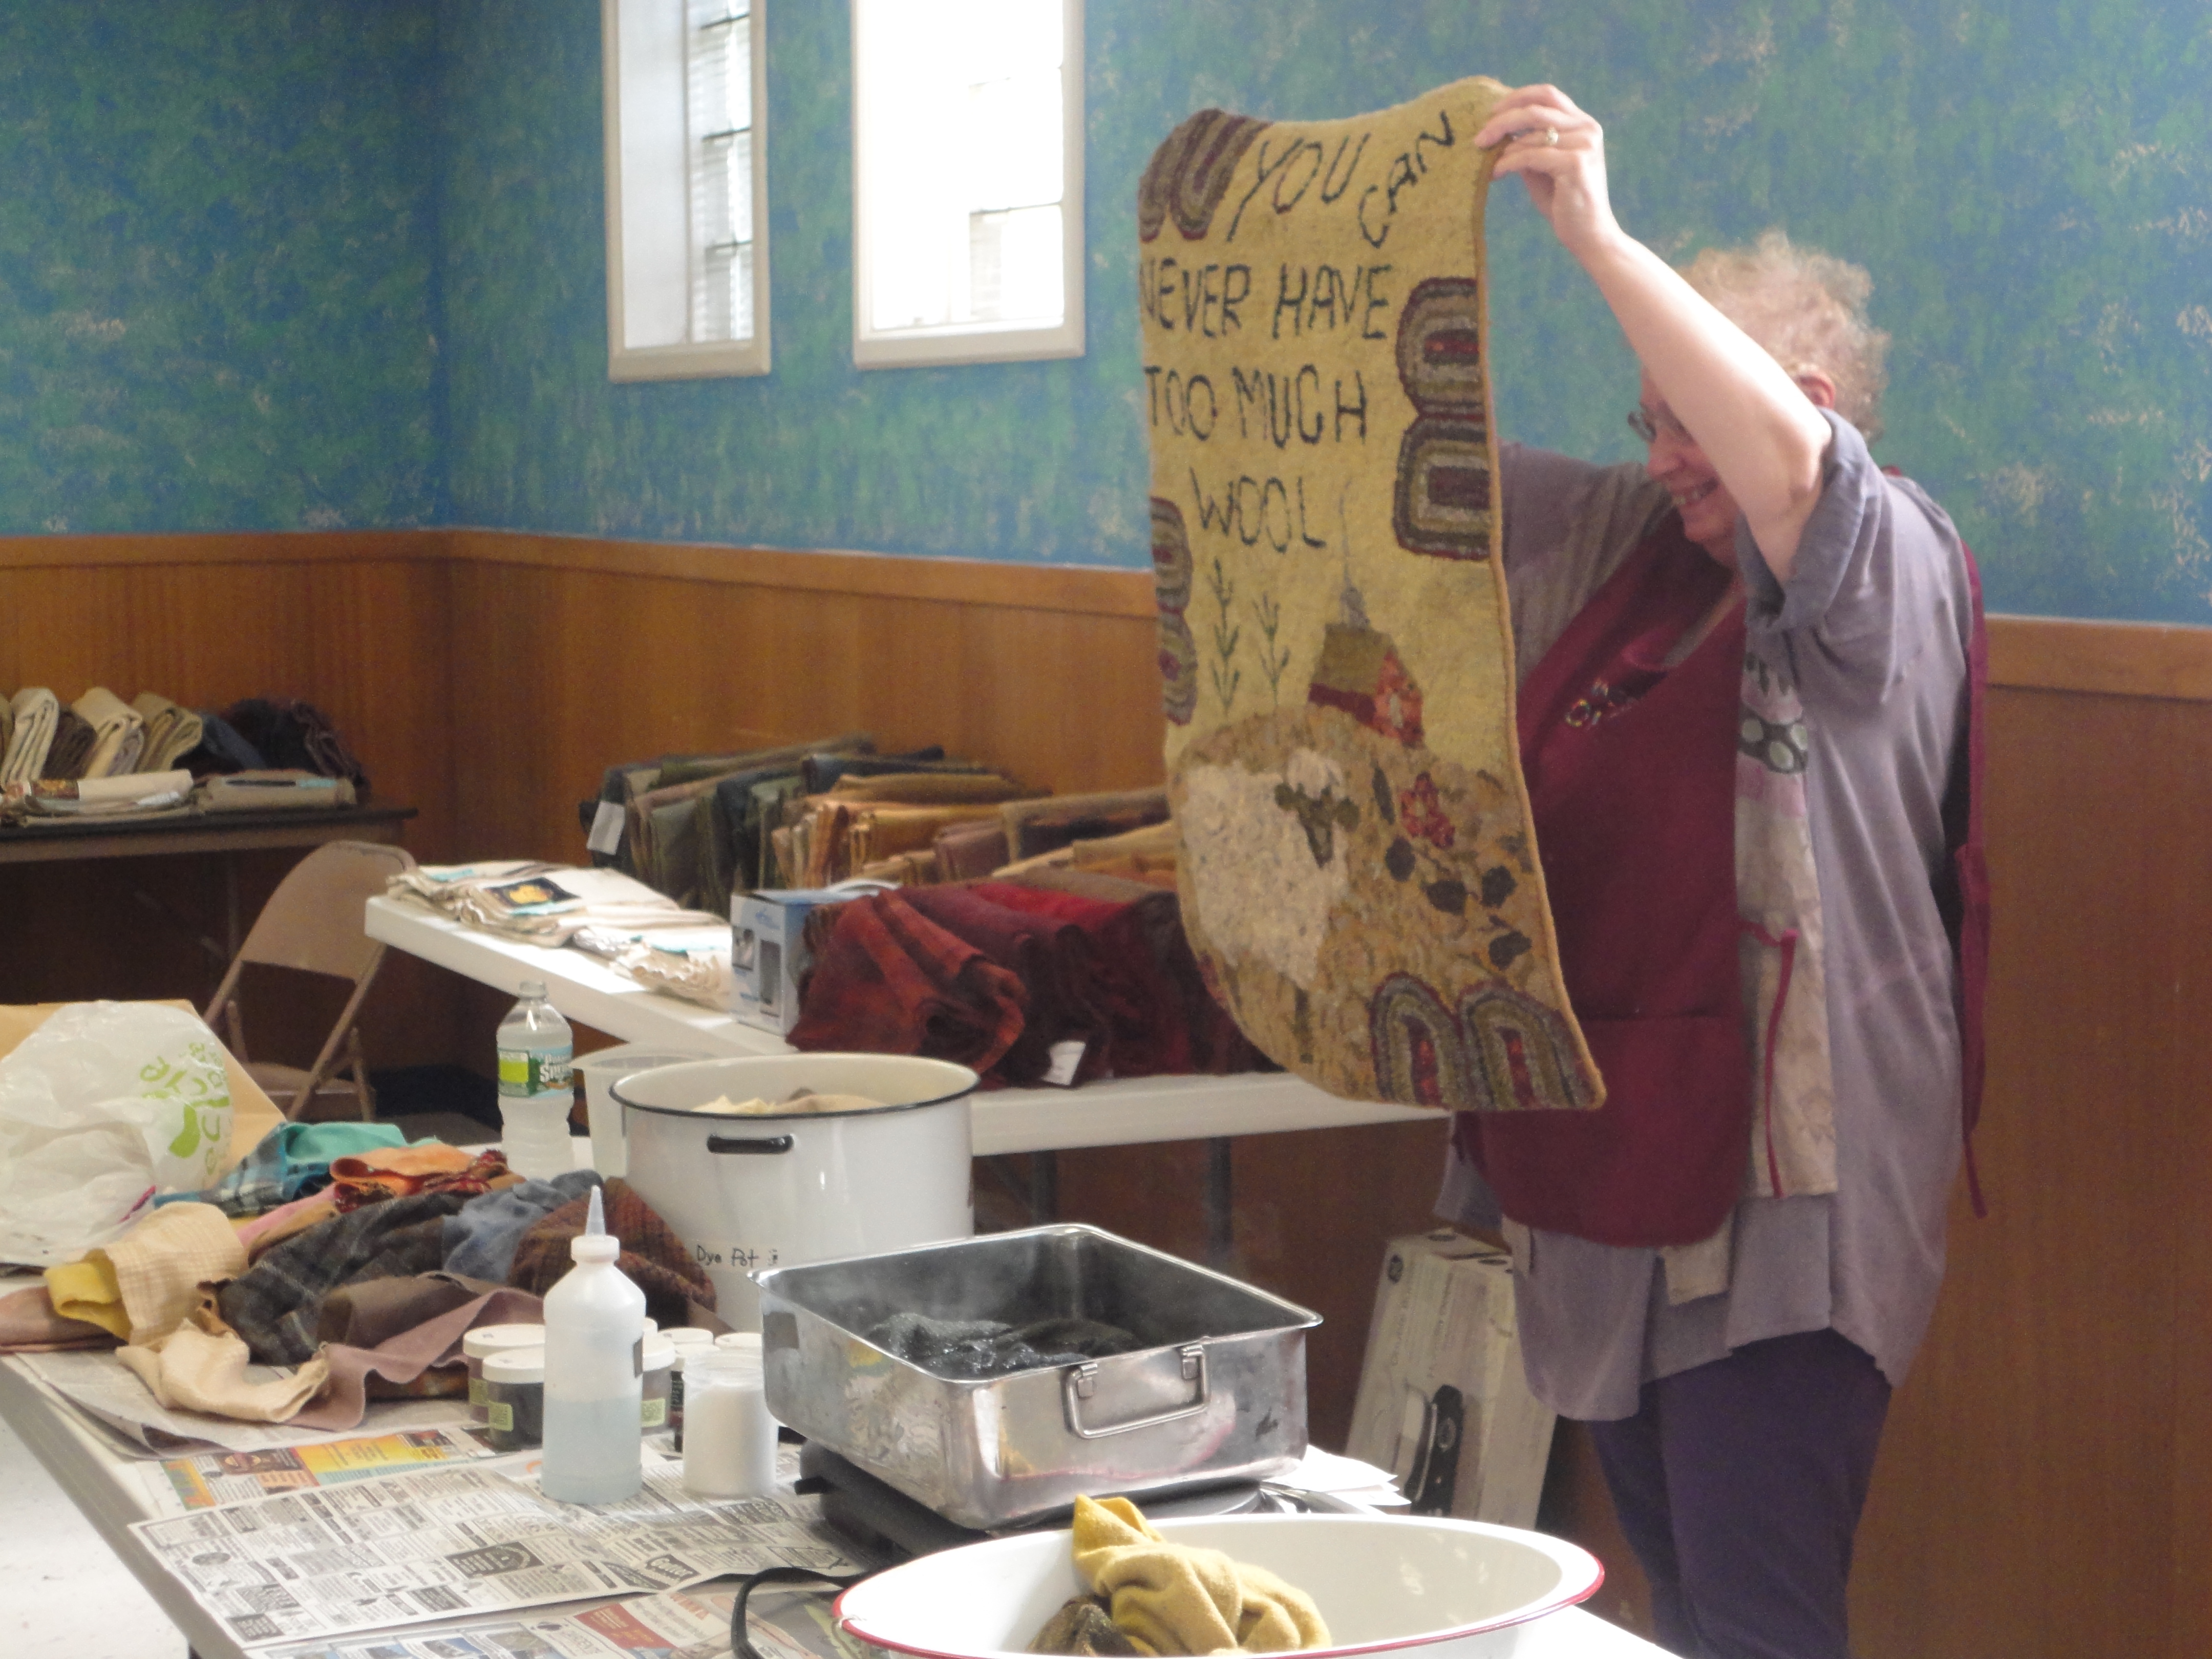
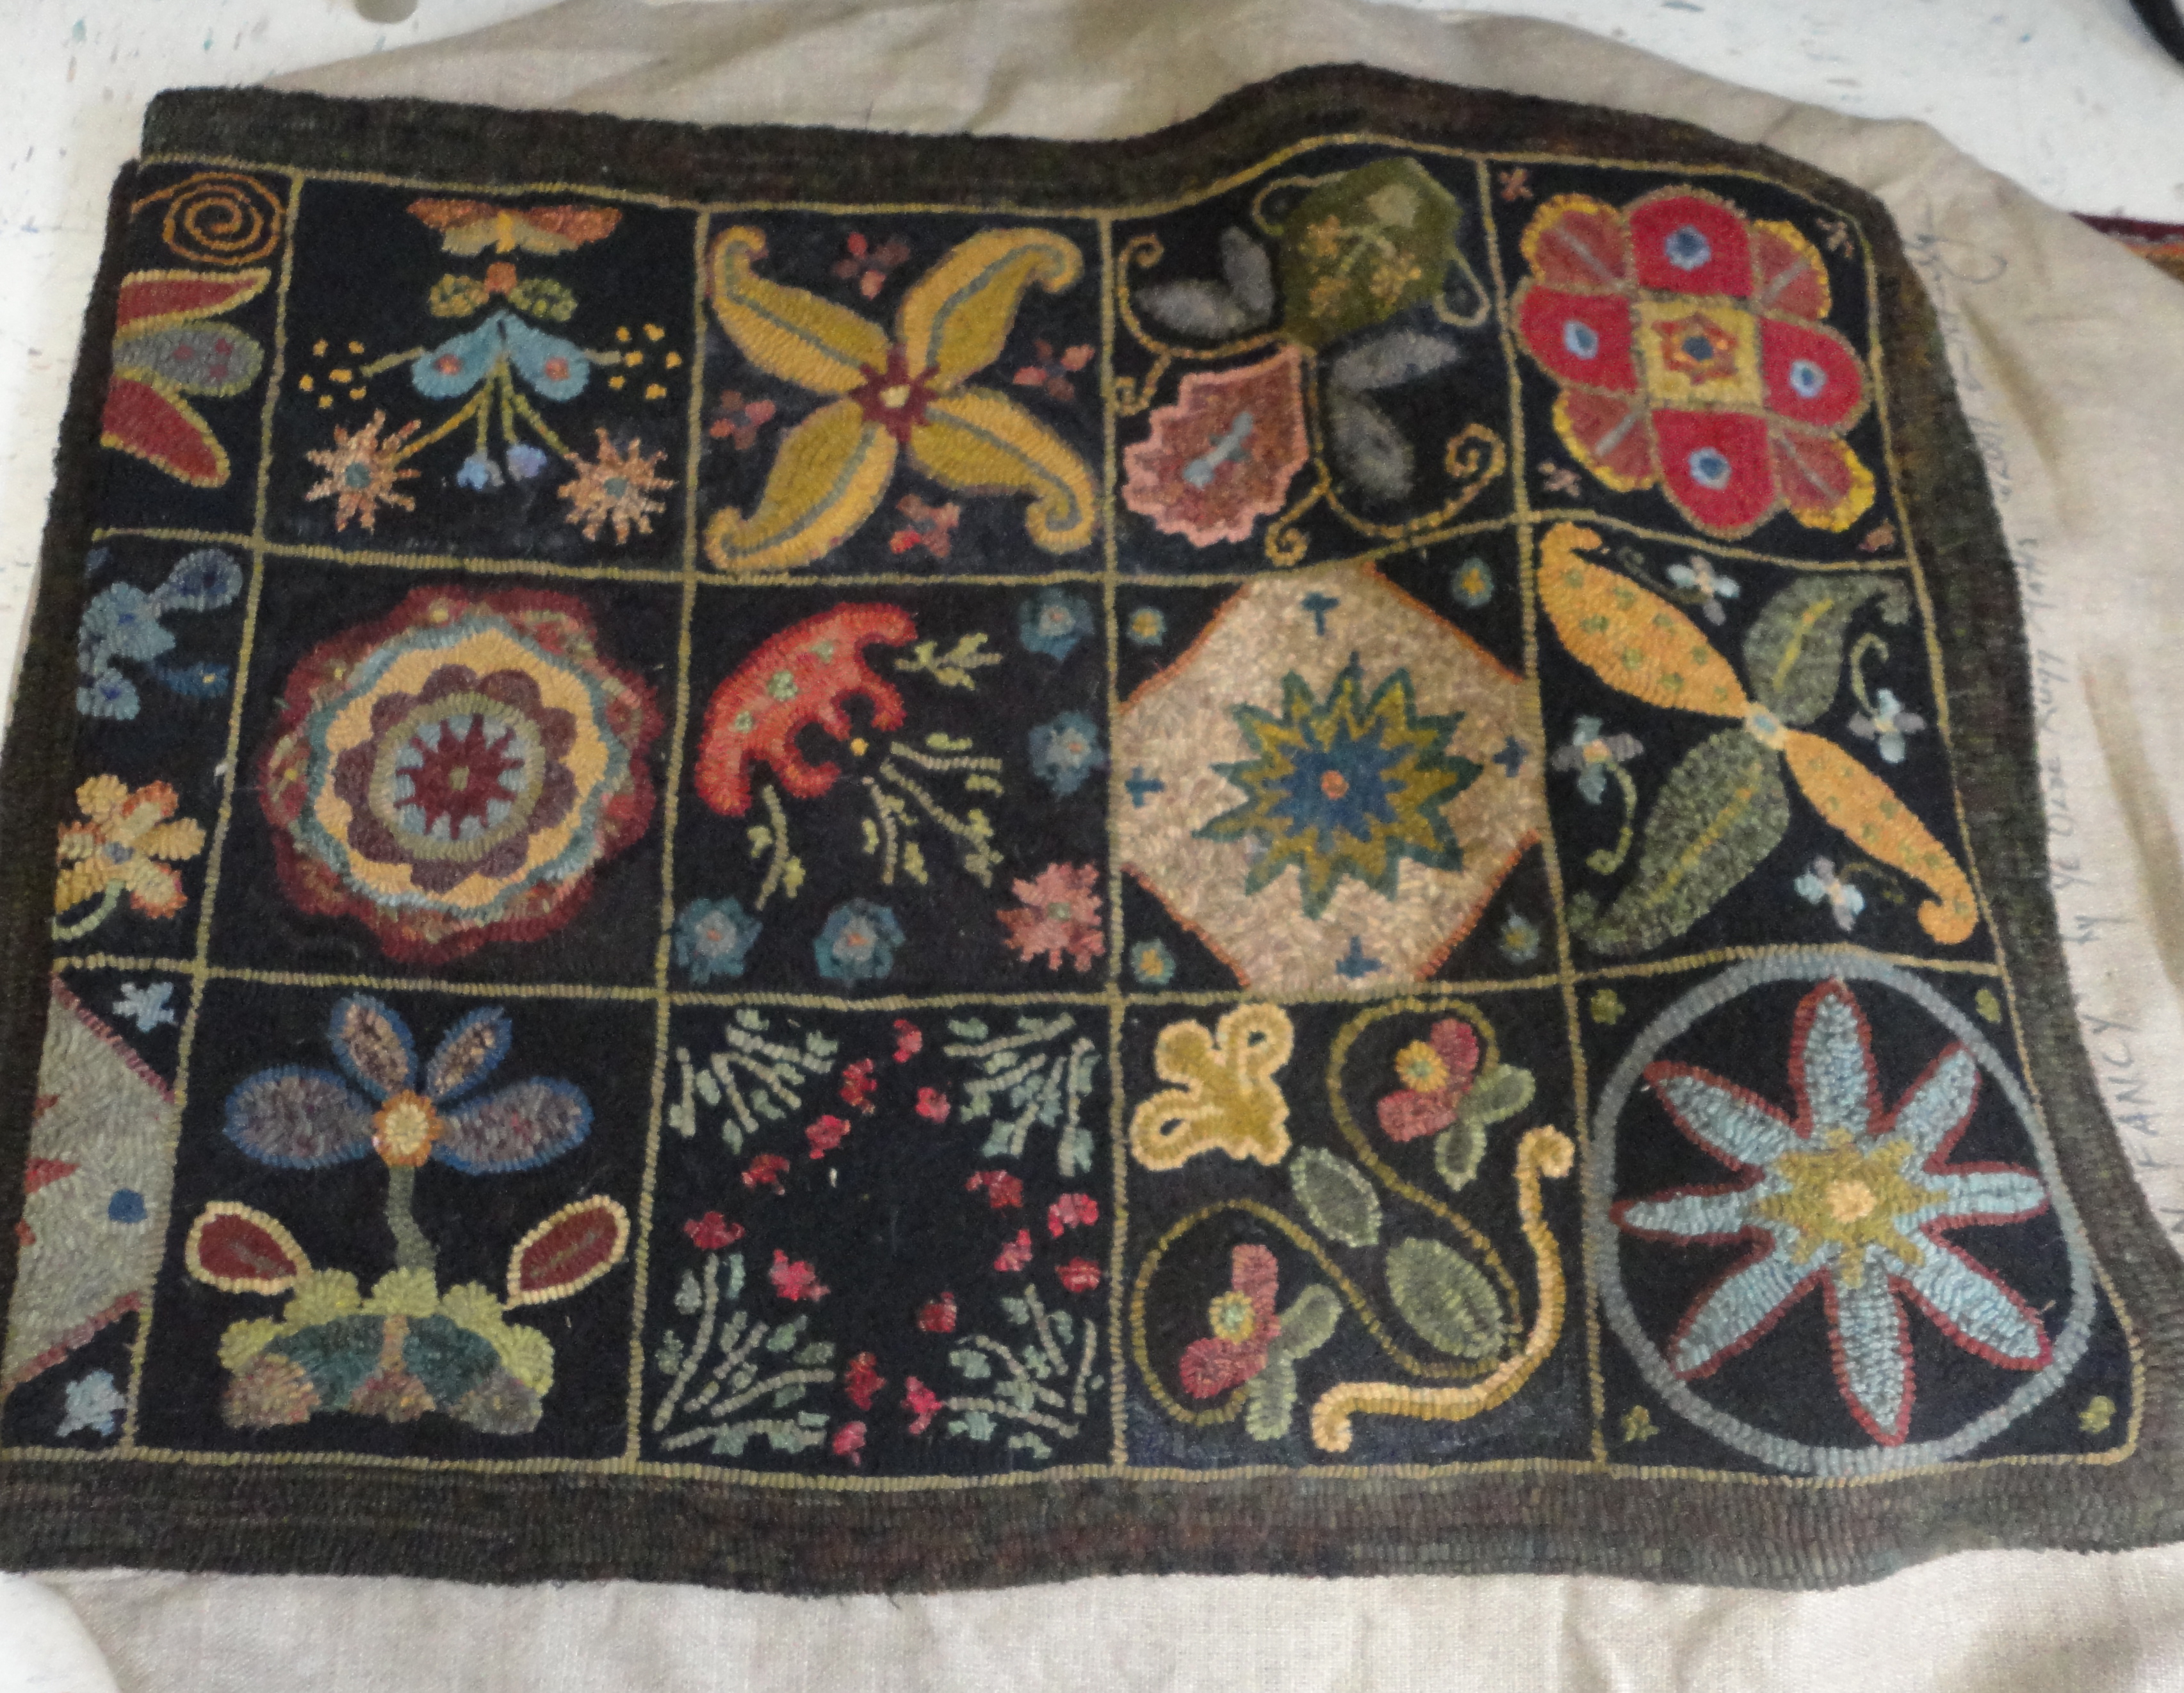
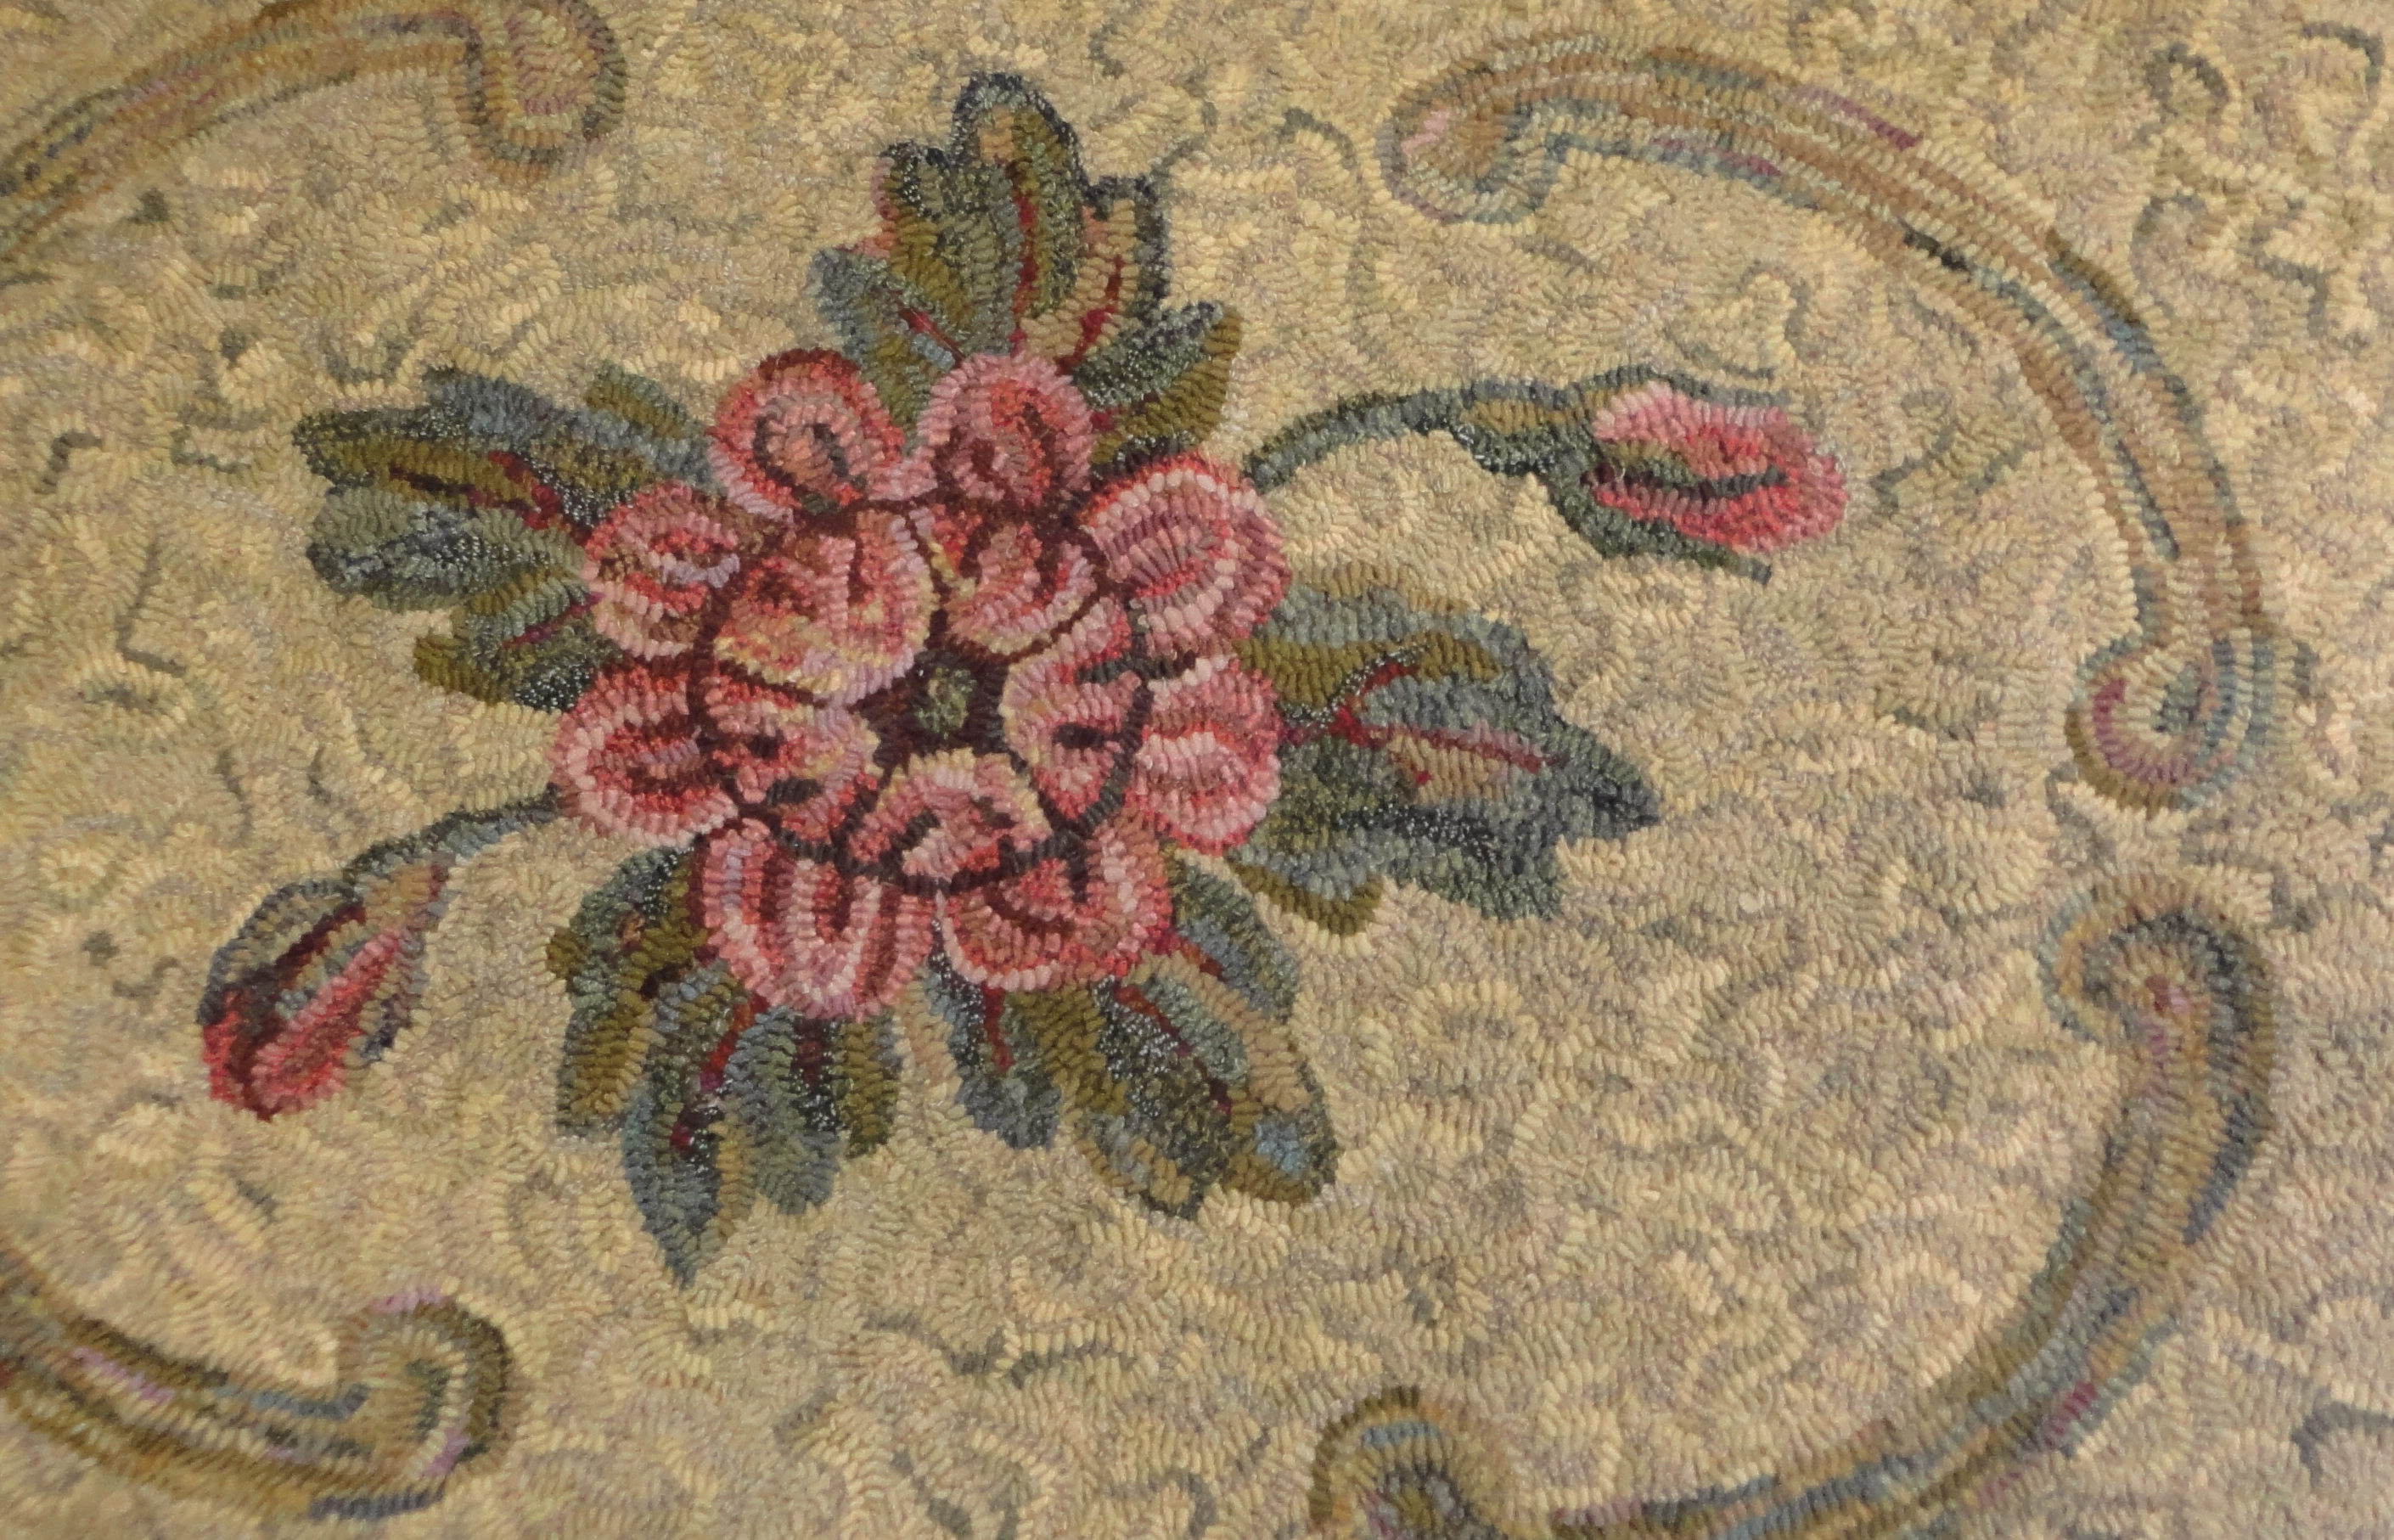
To start – walking into our space one noticed all the wonderful color with the wools for sale and the rugs spread out. (As those in the group know I love color, scrappy and geometrics.)

IMG_0416

The presentation by Norma Batastini explained how she came to research Molas as part of developing a program (I believe she said was for Teacher’s Workshop). While talking about the history of molas Norma shared slides depicting the Kuna Indians of Panama and molas made by the women.  The women wear these molas on the back and front side of their blouses. Oct. Tin Pedlars 001 There was an explanation of the sewing/applique process and examples were passed around for the closer inspection Oct. Tin Pedlars 006 needed to see and appreciate the detailed stitchery.

Oct. Tin Pedlars 010

Through the presentation these are the points that gathered my attention:

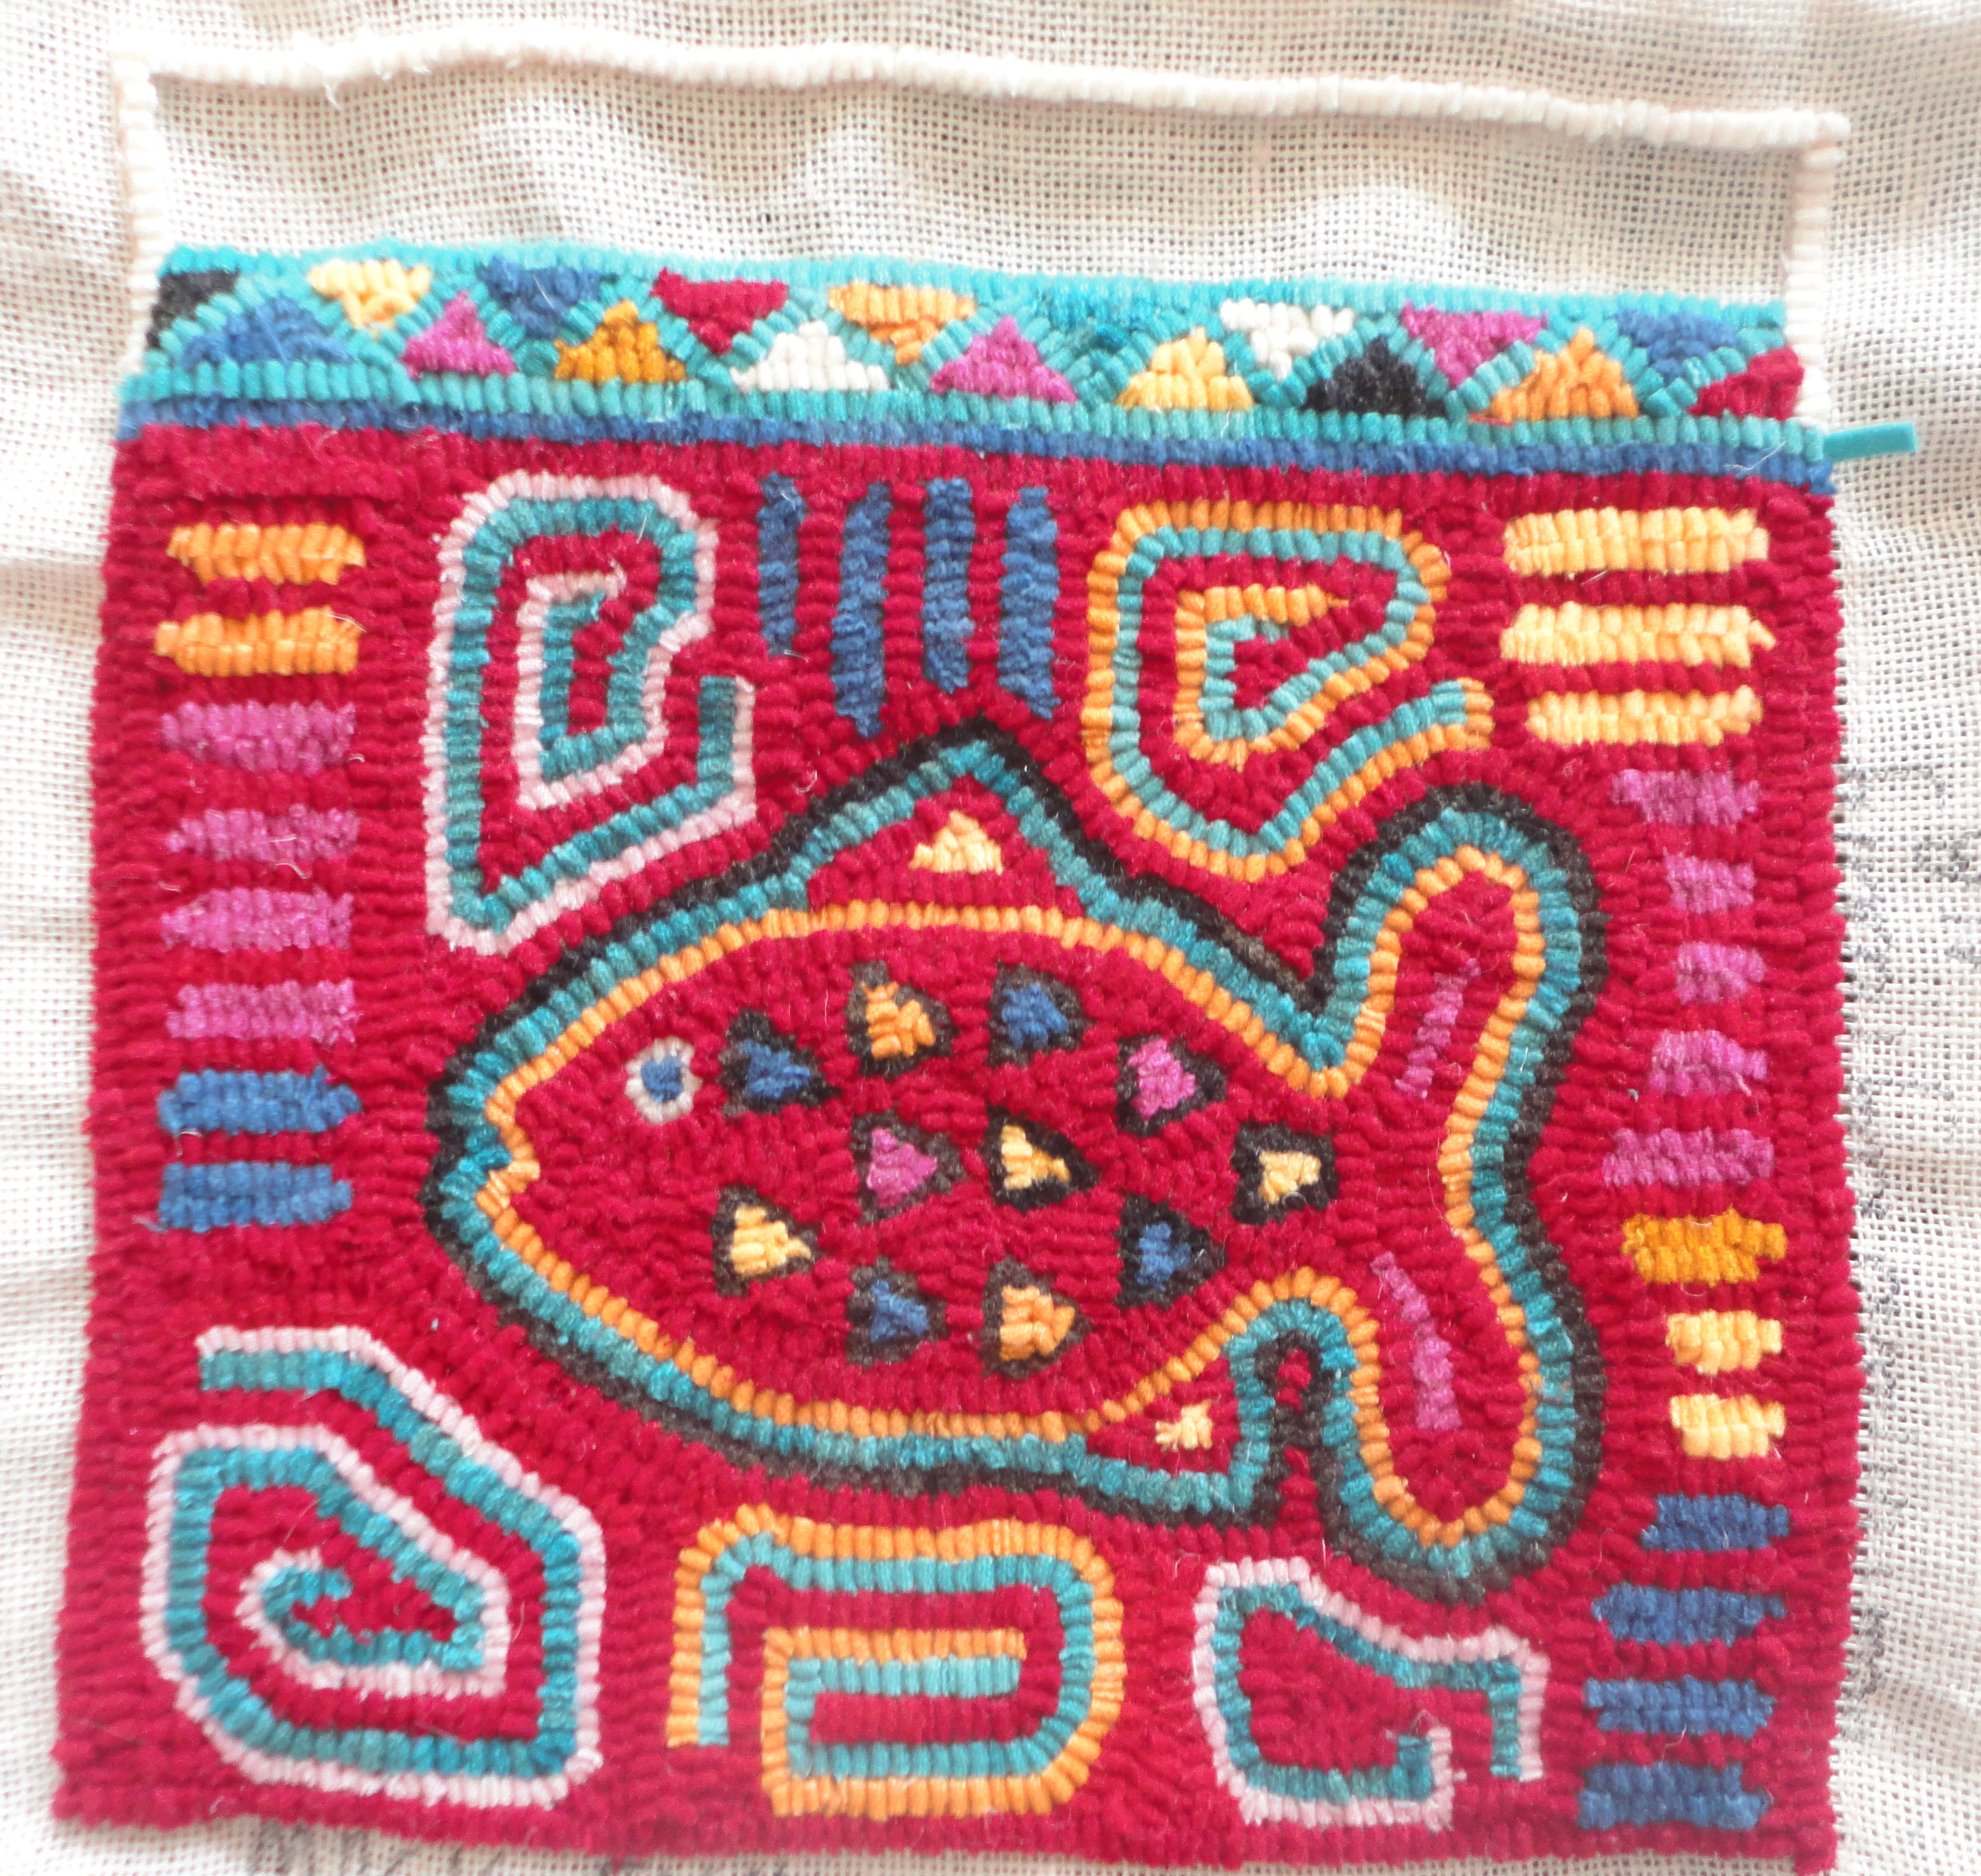
  • background same color as design. It’s all about the outline colors.
  • duality
  • need white for the eye. IMG_0417 Mouths often have a white part to them.
  • intensity of color for the balance, not always the same color – but same intensity
  • darker burgundy background is common
  • dull color used to balance the brights
  • shapes, cut-outs, labyrinth for filling in background
  • designs adapting for touristsIMG_0414
  • always a border at the top
  • for hooking dip and dye work well
  • majority if not all work done with solids, not plaids
  • build design – add leaves, sea, etc.
  • figure out the number of outlines want, then how will fill in spaceIMG_0415

For more information you can check out this link to Norma’s article on Magnificent Molas  found in the November/December 2011 issue of Rug Hooking Magazine.

Before beginning my mola I wanted to see other examples and found this nice site with history and examples: Panama Mola. However, this was the site that I found the inspiration I was looking for in regards to finishing off the kit I had purchased: Molas of the Kuna Indians. I had in mind to make a pillow from my kit, so after hearing about the borders used in attaching the mola to the blouse I wanted to add a border and even a representation of the blouse. Need even more inspiration? If you are on Pinterest try typing in molas. If not check out what I found when I typed it in.

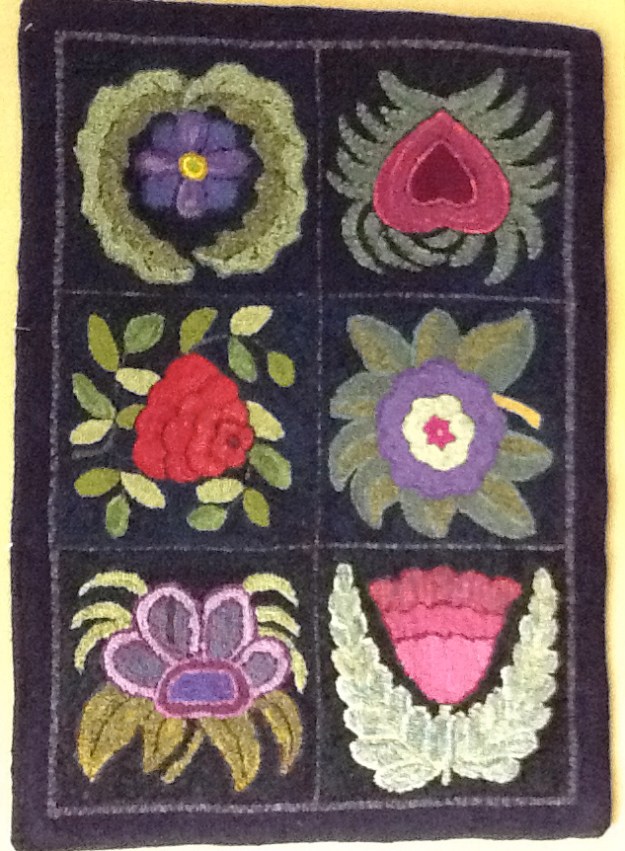
Here is the progress I’ve made with the added border. I used a #8 cut which spread the design, but that was ok by me, just needed a little adapting on the filling in. The area outlined with white will become the blouse and I plan on using a variety of greens for that.

DSC03789

A few other members had worked on their kits/patterns and brought them to Nov.’s meeting. It was fun to see how the same pattern/kits worked up. A few members planned on designing their own Molas and one had theirs on hand.

If we can get members to share their Molas on completion we’ll post them in the gallery.

If you like color, exploring other forms of artistic expression, or just challenging yourself you might find a mola to be perfect for that.

Dyeing for Primitive Rugs with Jeanne Benjamin

Jeanne Benjamin started our 2013/14 year off with a lot of Bob Dylan references as she walked us through her dyeing of antique colors.

DSC03497

Some quick hints:

  • most important thing is to not make MUD (primitives do not need to be dirty and dull to start with)
  • Do want contrast
  • No white – use oatmeal, light mocha, or light dirt
  • to dull a color use it’s complement (opposite on color wheel)
  • the darker the base neutral the deeper and muddier final color will be, especially with grays
  • dyed wools are lighter when done/dry

Jeanne shared some of her finished pieces with us as the wools from our members played in the dye pan.

DSC03501 DSC03504 DSC03506 DSC03507

When dyeing always recover your dyes immediately – no inhaling desired.

Jeanne on average dyes 50 yds a week on her commercial gas stove with pots that handle 3 yds at a time while listening to Bob Dylan. With all that dyeing it helps having a separate cooling section. She’s now including secret messages in her rugs – Bob Dylan quotes.

In a primitive rug not everything is the same value and need some textures.

Jeanne believes you learn more by doing and playing than just reading or watching. She loves to play around with no set recipe just seeing what she gets. Doesn’t like – just continues playing with it. When dyeing a color can come out too strong, so use black or compliment color to dull.

Drive-by dying – is not starting with a totally clean pot – just keep using that dye pan for some fun results.

Jeanne recommends clearing your dye spoon in citric acid between dyes. Once that solution gets “black” enough do not throw out save for adding when dyeing antique blacks. She feels citric acid helps pick up dye better replacing vinegar. It also easier to haul around.

Altering colored wools ~
RED: dull with green; deepen with black; adding blue gets you cranberry to purple

ORANGE: add red for oriental red/orange; purple gets copper tone; yellow gets warm red; rust or brown dyes for pumpkin colors; blue softens; spot dyeing for great fall leaves

YELLOW (versatile wool): spot dye for fall leaves; add red or orange for warmth; blue get greens; green gets green; dull with purple; brown gets warmer brown

  • golds brings a little glow or sparkle when over dyed

GREEN: red will gray and dull; yellows swing to yellowgreen; blue swings to bluegreen; purple is just interesting; bronze/olive/browns also interesting variety

BLUE: dye with yellow(gold) get greens; bronze and browns for leaves; reds go to purples

PURPLES: most colors are nice over lavender, except yellow; yellow grays; deepen a dark purple to eggplant

NEUTRALS: light or pale tans, beiges, grays, oatmeals look good with just about any color

  • gray fabrics are great with red dyes

BLACKS: dark plaids and odd leftovers in dark colors make best antique black

Black is nice when it’s finished color is black enough, but still light enough to show some of the original colors/texture.

  1. Take a mix of darks and into the dye pan. Add some black dye (cushing runs to purple – prochem black is truer). Add a couple of complementary dyes like blue and orange to soften.
  2. Dyeing one wool only. With a black watch plaid you would use prochem black and red, as the red complements the green and the black deeps it. Works for red plaid also only use black and dark green dye.
  3. Dyeing antique black with a green cast just use green wool and black dye. Or take dark neutrals and over dye with green and black.

Florals Side Bar

At our monthly meetings we have “Side Bars” as part of the presentation. These side bars are a chance to share hooked items with the membership. Some of these are composed of the presenter’s rugs. Some are exhibits of challenge mats. Or like this month’s they are all demonstrations of a theme.

This month’s theme was “Flowers”. Members were encouraged to bring in any hooked item that contained flowers. As usual we had wonderful variety representing the knowledge and variety of hooking styles of our members.

Paint Brush Dyeing with Faith Webster

Here are written notes on the process Faith presented on. We are pulling together a video of the lesson (sorry taking longer than planned).

Faith Webster presented a fun program at the May meeting, Paint Brush Dyeing.  Here are her notes for those who were unable to attend and want to try this at home, or even if you were present but want notes for future reference:
For all of you who wish to dye with paint brushes at home:
  1. Summer is a good time, do it outside.
  2. For each color, use 1/4 tsp dye in 1 cup boiling water.  Stir well.  I use Cushing dyes.  We used Crimson, Pink, Sky Blue, Buttercup Yellow and Apricot.  Peach would be good as well, but you really only need 3 colors to do a good sky – look at sky photos or the real thing and decide.  Add a dollop of vinegar to each dye container.
  3. If you have old canning jars, they work well.  They will also have covers if you want to keep unused dye for a while.  Plastic is OK as well but use those for hot beverages.  Be sure to label – dyes look a lot alike when they are mixed.
  4. When you paint brush dye at home, use a cookie sheet (as large as possible), cover it with tin foil and leave enough extra to cover your wool after you are finished.  Keep the wool as flat as possible.
  5. When you have achieved perfection, cover the whole thing with the excess tin foil, add about 1/2 to 1 cup water with 1/4 cup of vinegar and bake at 200 degrees for about 20 min.  You may not have enough water in your pan when you are finished dyeing, so check.  The idea is not to let it dry out in the oven.
Rinse and dry.  Voila – sky – or whatever.
P.S.  Mimi found that she could have used an artist’s brush which is stiffer, for vertical lines while doing her northern lights.  Make note of any other variations you may experience.

Loops of Love Project

Loops of Love for Newtown is a rug hooking project to support the teachers of the Sandy Hook Elementary school in Newtown, CT in the aftermath of the recent tragedy.imgres

Volunteers around the globe will be creating a mat or rug that will given to the educators and support staff to let them know that they are thought of and that their bravery and efforts are admired and respected. We do not need to remind them of the day of horror but want to give them a hug and remind them that the world has beauty. Additional mats donated by volunteers may be given to educators and support staff at the other schools in Newtown.

Volunteers should create a mat or rug that is a maximum of 9″ across. In order to open this to as many volunteers as possible you may be flexible on your size and can create a single or set of mug mats, or a larger mat. It can be square, round, rectangular or shape that is pleasing with the design. It can be hooked or punchneedle, wool strips or yarn, and should be a design that will make the recipient smile and feel like they have received a hug.

This is not the project to show your amazing skills with proddy or modern dimensional art but a time to create something the average teacher would want on their desk or in their living room every day. It is a gift, so should have a finished edge and label with your name and State/country at minimum (but you can donate it anonymously if you wish).

Your mats should be sent to the following address to arrive no later than January 18th. Seriously…January 18th!!!  Diane and Lauri will drive the mats to Connecticut the following week.

Loops of Love project ~
C/O Diane Tanerillo
600 West Main Street
P.O. Box 60 Denmark, Maine 04022

Feel free to include a card or other item with your mat but please attach it securely to your mat and do not wrap the mat! Your mats will be displayed so that the teachers can select the one that they want so do not wrap them. We will take some photos of your mats for the website. Please contact Lauri if you would like to participate.                 Should you have questions you can contact us via e-mail.

Thank you so much in advance!

Lauri Troutman ~ MizT(at)maine(dot)rr(dot)com
Diane Tanerillo ~ Deedeetan(at)fairpoint(dot)net

Raffle Rug News

The raffle rug is complete and looks beautiful (way better than this iPad photo shows). Thank you to all that lent their time and talents to it this year.

IMG_0123

There has been a change in the date of pulling the winning ticket. At our December meeting we were made aware of an issue with outstanding tickets. It was put to a vote of the attending membership on whether to precede to pull on the Dec. date as printed on the tickets or to wait until our January meeting. The group voted to wait……So the winning ticket will be pulled at the January meeting.

Inspiration & Symbolism with Michele Micarelli

Click to play this Smilebox collage
Create your own collage - Powered by Smilebox
This collage generated with Smilebox

Walking in and seeing the variety of rugs and then the wools for sale was inspiration enough for this blogger.   Then Michele spoke. She has such energy and love for this art form.

Hearing her stories about how a rug developed, how she shares parts of her life story within her rugs certainly got me looking at how we can make all our pieces unique and reflective of ourselves.  

As a rug hooker who has never hooked a purchased pattern, focuses on geometrics and loves colors in a scrappy look, below are some bits and pieces from Michele’s talk that caught my attention:

  • light comes forward, dark goes back
  • exception – pathway will get lighter as moves away
  • distance steals color clarity
  • Almost never the color. It’s the contrast
  • Drawing is learned skill, so practice, practice, practice.

Would love to hear how other members took inspiration for possible future pieces from what was presented.

Raffle Rug 2012

The raffle rug is well under way and looking beautiful. 

So now it’s time to sell the tickets for the December drawing. The raffle ticket booklets will be available for members to pick up at the Oct. meeting.

If you are interested in purchasing raffle tickets for this rug, but will not be having contact with any Maine Tin Pedlar member please send an email to us at tinpedlar(at)yahoo(dot)com and we will arrange to get you the tickets you want.

Pettengill Farm Days

The weather held.  In fact it was a beautiful Fall day.   Between exploring the event, doing some personal hooking  and sharing our art form with many interested individuals,  Kim D, Lauri and Debbie agreed they enjoyed the day.

With so many families attending the event we again had many children trying their hands at rug hooking.  They picked it up quick and totally enjoyed themselves. Think there will be some brownie troop projects and Christmas ornaments made in a few families this year.