Category Archives: Presenters

Cashmere People Yarns

These attending the Oct. 13th meeting of the Tin Pedlar of Maine were treated to an engaging presentation by Casey Ryder, owner of PortFiber, 50 Cove St, Portland, ME 04101, on Cashmere People Yarns.

Casey shared how she became involved in this Cashmere People Yarns, a 4-year development project funded by IFAD (International Fund for Agricultural Development). The project’s objective was to create opportunities for rural women in remote areas of Tajikistan and Afghanistan for earning income. The project’s aim was to help co-operatives of women in processing local fibers from Cashgora goats into high quality yarns and linking to the global marketplace for sale of the fiber. Cashgora goats are a cross breed between angora goats (mohair) and cashmere producing goats. The Cashgora goats are raised in Tajikistan and Afghanistan. The harvested fiber is washed in Afghanistan, dying and handspinning of the yarn is done by the co-operatives of women in Tajikistan. Cashmere People Yarns are produced in a socially responsible and environmentally sustainable way. The artisans are earning a fair wage and are fully in charge of their business.

Casey shared photos of her March 2017 trip to Tajikistan to meet the groups of women spinning the yarn and learning more about the program first hand. She did not make it to Afghanistan because of weather. She explained how the Tajikistan groups were structured in 2 different parts of the country. How they meet and worked in the group leader’s home until workshops were constructed. How they went from using sheared fibers to hand combed fibers to increase the quality. She provided some history on the strain og goats that provide this incredibly soft high quality fiber. Casey shared her experiences visiting homes and workshops. She shared her experience of the language barrier (English vs Russian), rural travel, and very different culture. Casey shared stories about Skyping with these groups of women as part of their collaboration on marketing their yarn. About how this project has not only provided a source of income for these women, but also an opportunity to gather as women in a social group.

IMG_5611

Each skein of Cashmere People Yarn provides a small bio card on the woman that spin that skein. Casey shared how she is also sharing information on how the yarn is being used by US knitters with the co-operatives.  IMG_5964


Imagine hearing and seeing how a handspun yarn you were responsible for creating has been knit into a beautiful scarf… By seeing the individual who did the knitting and wears the finished item…


Visit the Cashmere People Yarn site to get a complete picture of the project, journey of the fiber and the women of the co-operatives. You can also shop online for this yarn from both the link on the site or if in the Portland, Maine area visit PortFiber. You can also watch this short documentary  to learn more about the history of the area, people, culture and this project.

Casey also shared some of the other fiber art pieces she purchased during her visit, and the handmade socks she received as gifts during her visit.

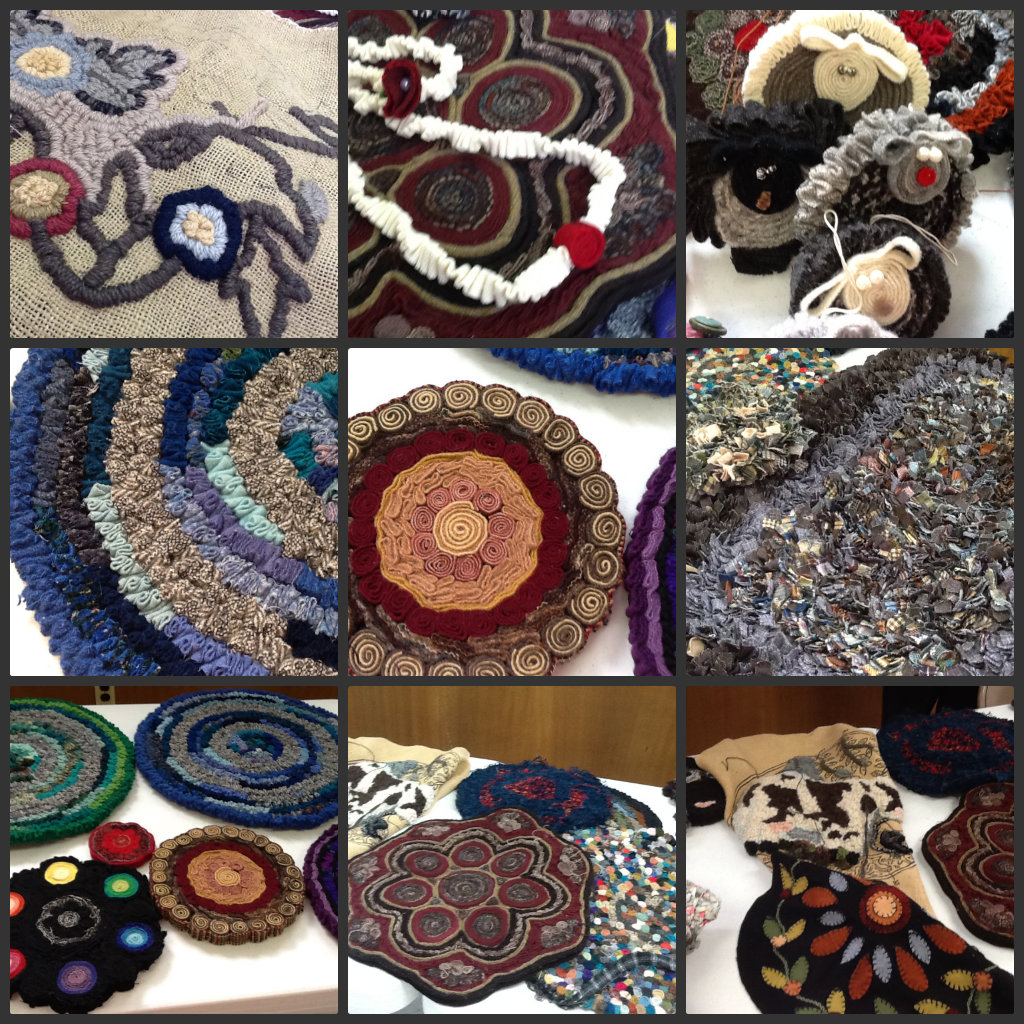
We are a group of rug hookers, many of whom do a variety of fiber arts, and it’s always fun to see the work of others.

—————————-

You can also connect to PortFiber and Cashmere People Yarns on Instagram and Facebook @PortFiber and @cashmerepeopleyarns.


Loretta Scena’s Doll Brooch Workshop

October has the Tin Pedlars hosting Loretta Scena, from New York, when she presents a short talk and following workshop. Those that wish to make doll brooch similar to those pictured above will join Loretta in our separate workshop room.

Workshop and kits for the doll brooch are $25.

Some have already signed up, but for any others wishing to participate please sign up by sending a note and check to Rachel by Oct 1, 2017.  The check is made out to: Loretta Scena.

Fur and Feathers with Jon Ciemiewicz

Jon’s presentation in Feb. 2014 was to walk us thru the process of creating great shading and dimension in our fur or feather rugs. As a side bar members were encouraged to bring in any rugs they had hooked with fur or feathers. (Some of those rugs are pictured within this posting.)

IMG_0724Jon started rug hooking because he was looking for a hobby. His wife suggested a visit to an area shop. When Jon visited and was told one could learn to hook in five minutes, he bought a kit and started. Jon is what many of us would call “self-taught”. After about 4 years he took his first class. At the class it was suggested that he begin teaching. His first weekend class had 19 students. They were spread throughout the facility which provided its own adventure. Jon has continued to present workshop since then.

Jon started dyeing wool when kits he was purchasing didn’t have the colors he wanted to complete the design. 

  • Mottled wool is great for hooking fur/feathers as it gives more life than a solid/plain natural wool. 
  • Let the wool work for you when hooking fur – dip dye, heavily spotted.

Jon has no formal art background, but he saw a huge amount of the world through flying with the Air Force. He started to draw his own patterns, so he could have the design to hook that he wanted. Since he started hooking Jon finds he is noticing more details of the surrounding natural environment and animals.  He notices the variety of colors present, which shows in his pieces. Knowing the habits of animals for eating etc. helps when you are hooking as you are more awareness of special features.

Following are details that are important to become aware of and bring into your hooking to make it more realistic.

  • IMG_0723Start by being aware of the light source direction as that provides your shadows. Shadows go from darker color to lighter to provide depth.

 Fur:

  • When hIMG_0730ooking fur think about direction fur going on the animal you are hooking.  Hook in that direction. Our eyes pick up ditches in the hooking. Hook in the direction that you would pet that animal body part.
  • Colors provide depth seen in the image. Example: A black panther needs purples/blues/grays for shadows. Whites need grays also pinks, purples.
  • The natural length of fur affects the length of your hooking line.
  • Fur/hair does not grow in straight lines. Hook fur with curves and not exactly side by side, vary the direction for a realistic appearance.

Feathers:

  • Watch out when hooking feathers, so they do not end up having a too symmetrical appearance. Feathers do not grow that way. To hook for a natural appearance you need asymmetry in width and length. Vary the shape of the tips. Feather tips are different shapes depending on where they are located on the body. Hook the feather tips first and then fill in. Check for quill lines, if you can see them, then you need to hook the quill lines in.
  • When feathers are dark use light for tips to help create the natural appearance/illusion of feathers covering the body in the finished piece.
  • Many common backyard birds have areas of solid color that need to be hooked with a solid color.

Eyes:

  • With faces as a main image in the design there will be a focus on eyes.
  • IMG_0733In cats eyes when the light shines on them the pupil constricts to a vertical streak/line.
  • With sheep it is a horizontal streak. With dogs and humans the pupil is circular.
  • The wrinkles around an eye actually support the eye.
  • When there is fur, the eyes will have a dark streak coming from the inside corner of the eye.
  • IMG_0725Not all eyes will be whole. It will depend on the head position and direction the creature is looking. It will also matter on where the eyes are naturally set on the head – front or side – prey will be on the side (squirrel).
  • Eyes are flatter top and rounder on the bottom on mammals.
  • Reptile and bird eyes are very round, as there is no eyelid that drops on top.
  • When hooking an animal getting the eyes, then nose/mouth right really makes the image. Since this is true its best to hook these features first. Hook around them some before make a final decision on reverse hooking or leaving as is.IMG_0727

General Hooking Tips:

  • Moths do not eat clean wool. They eat for the food and oils that are impregnated into wool. Freeze recycling wool for 2 days to freeze moth eggs, then bring in and wash.
  • Pattern lines are the outside edge of a feature, so hook inside not on the line.
  • How long a cut worm of wool is needed to hook a run?
    • #4 needs 4x length of the run 
    • #5/6 needs 6x
    • #8 needs 8x
    • Loops for 6 and 8 have higher finished loop so more fabric needed.

IMG_0731  IMG_0728

IMG_0729  IMG_0726

Finishing and Framing Workshop with Beverly Mulcahy

IMG_1339
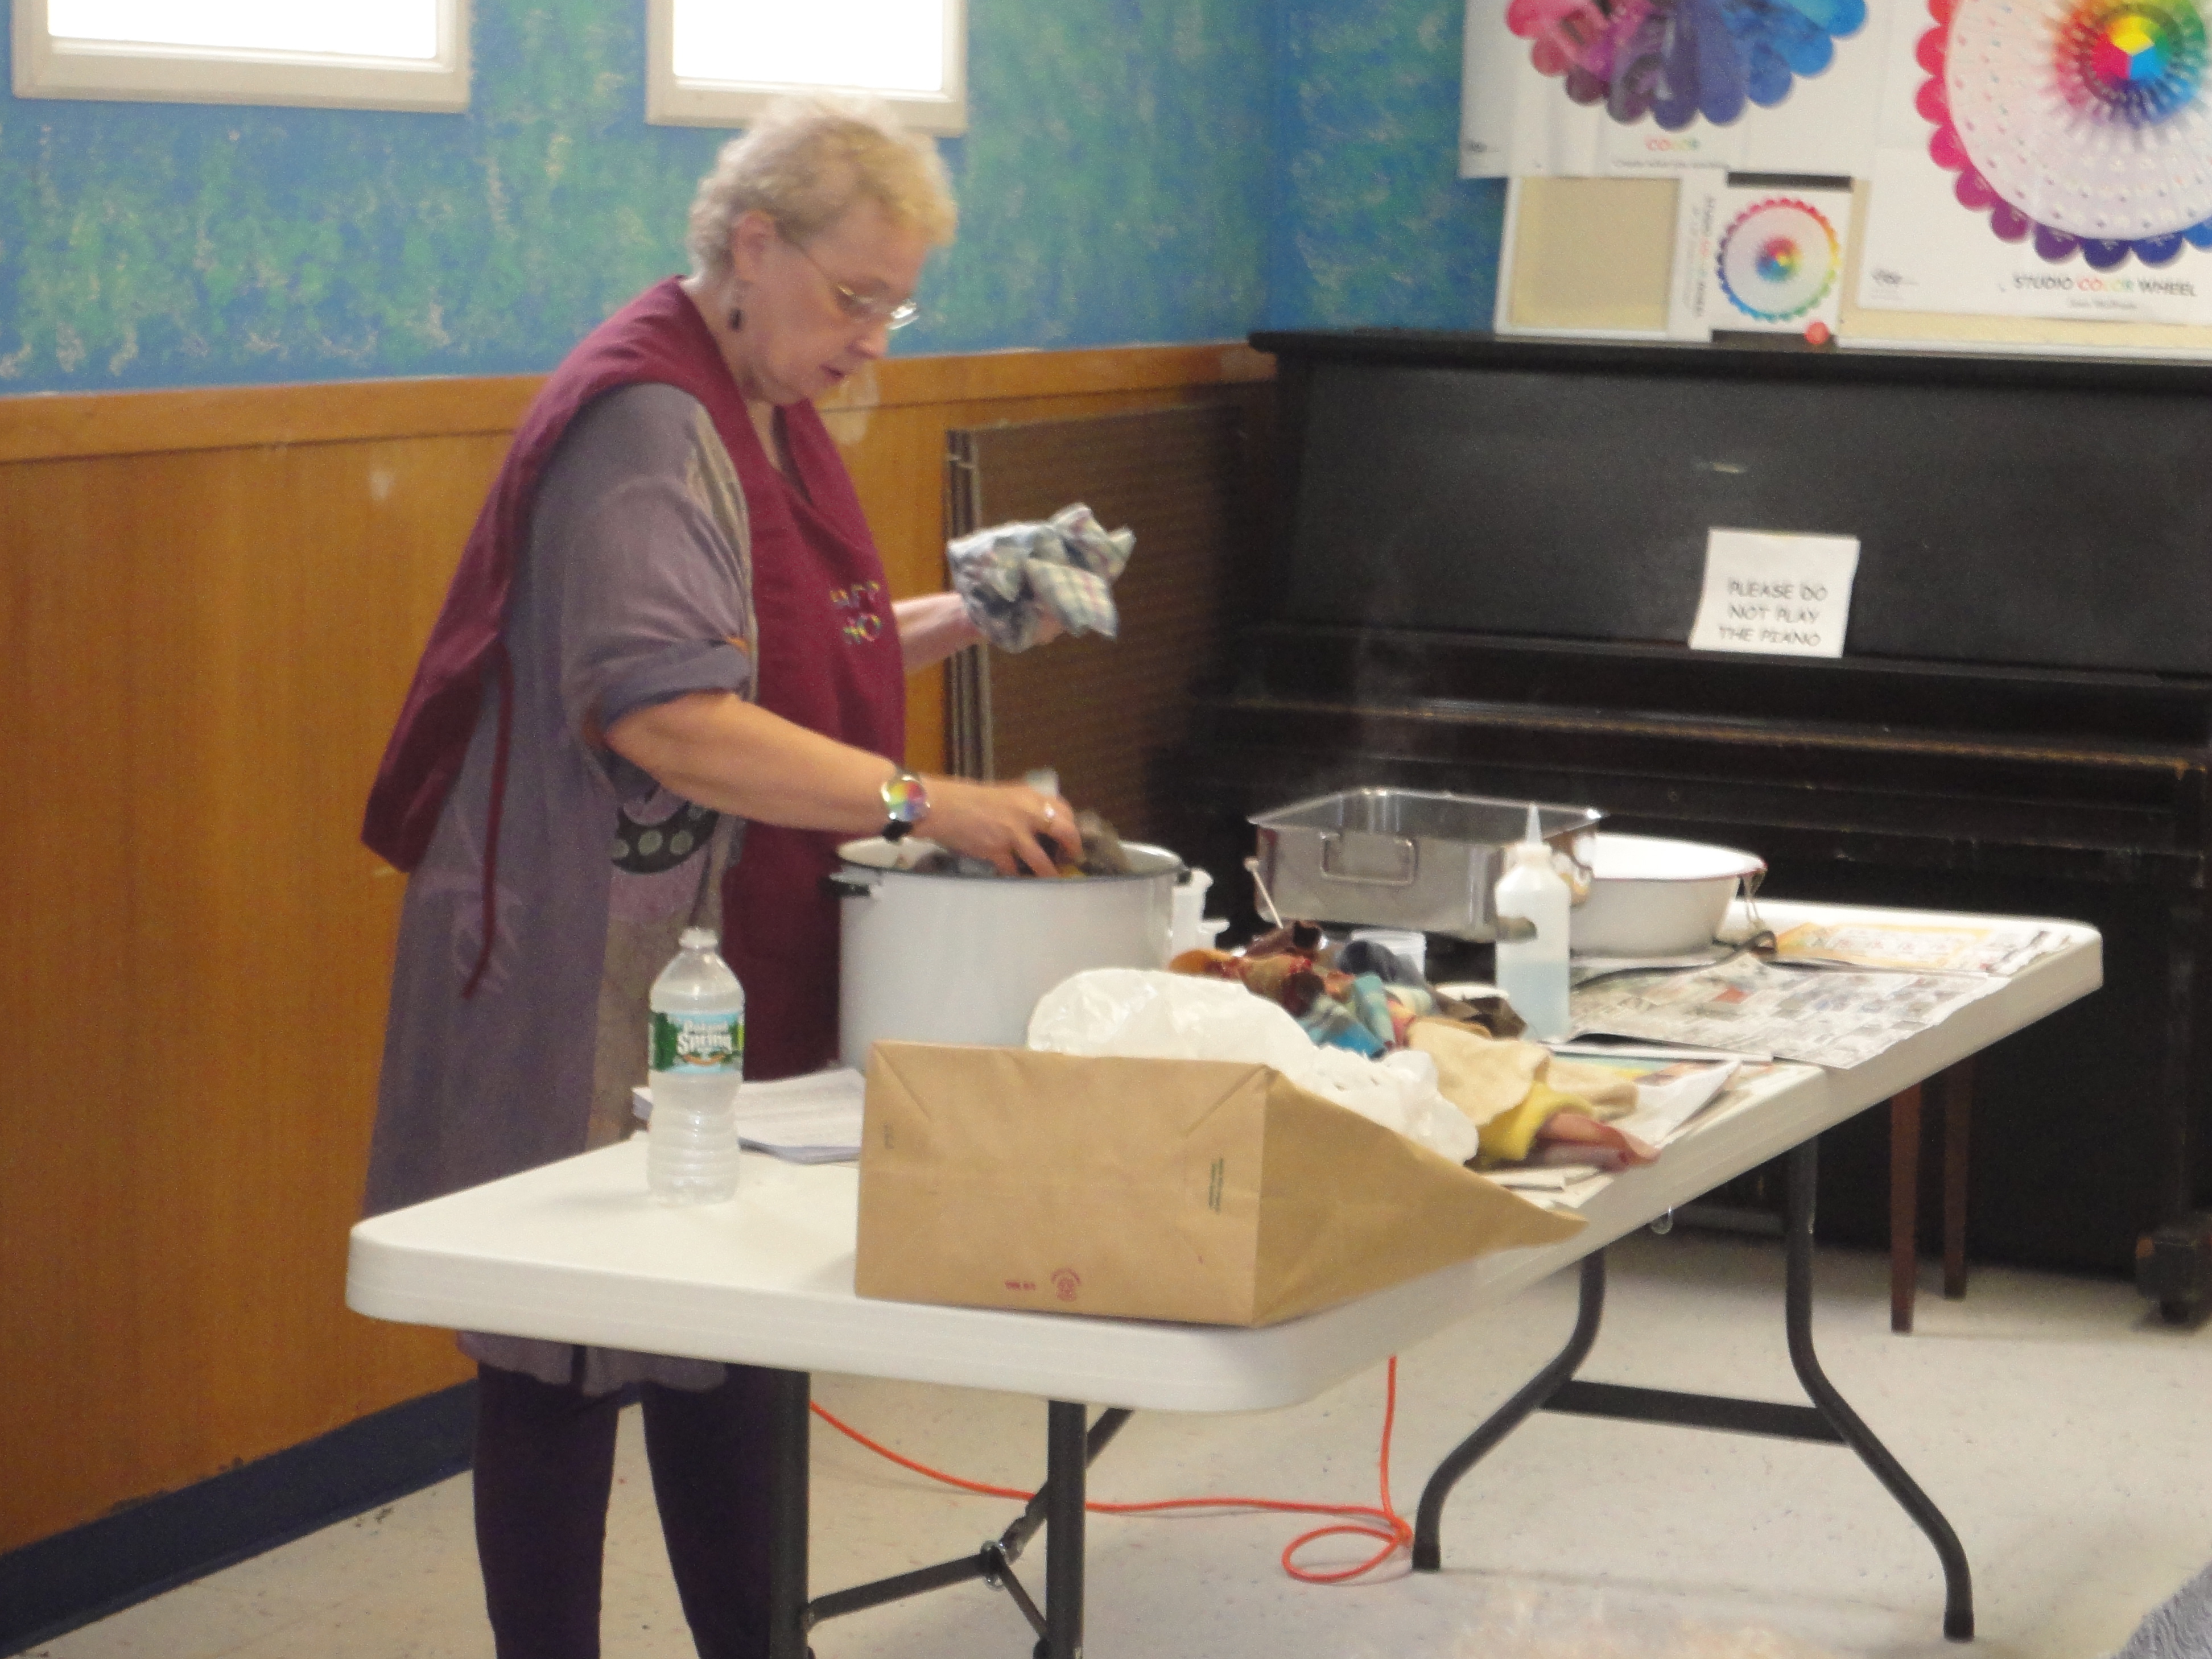
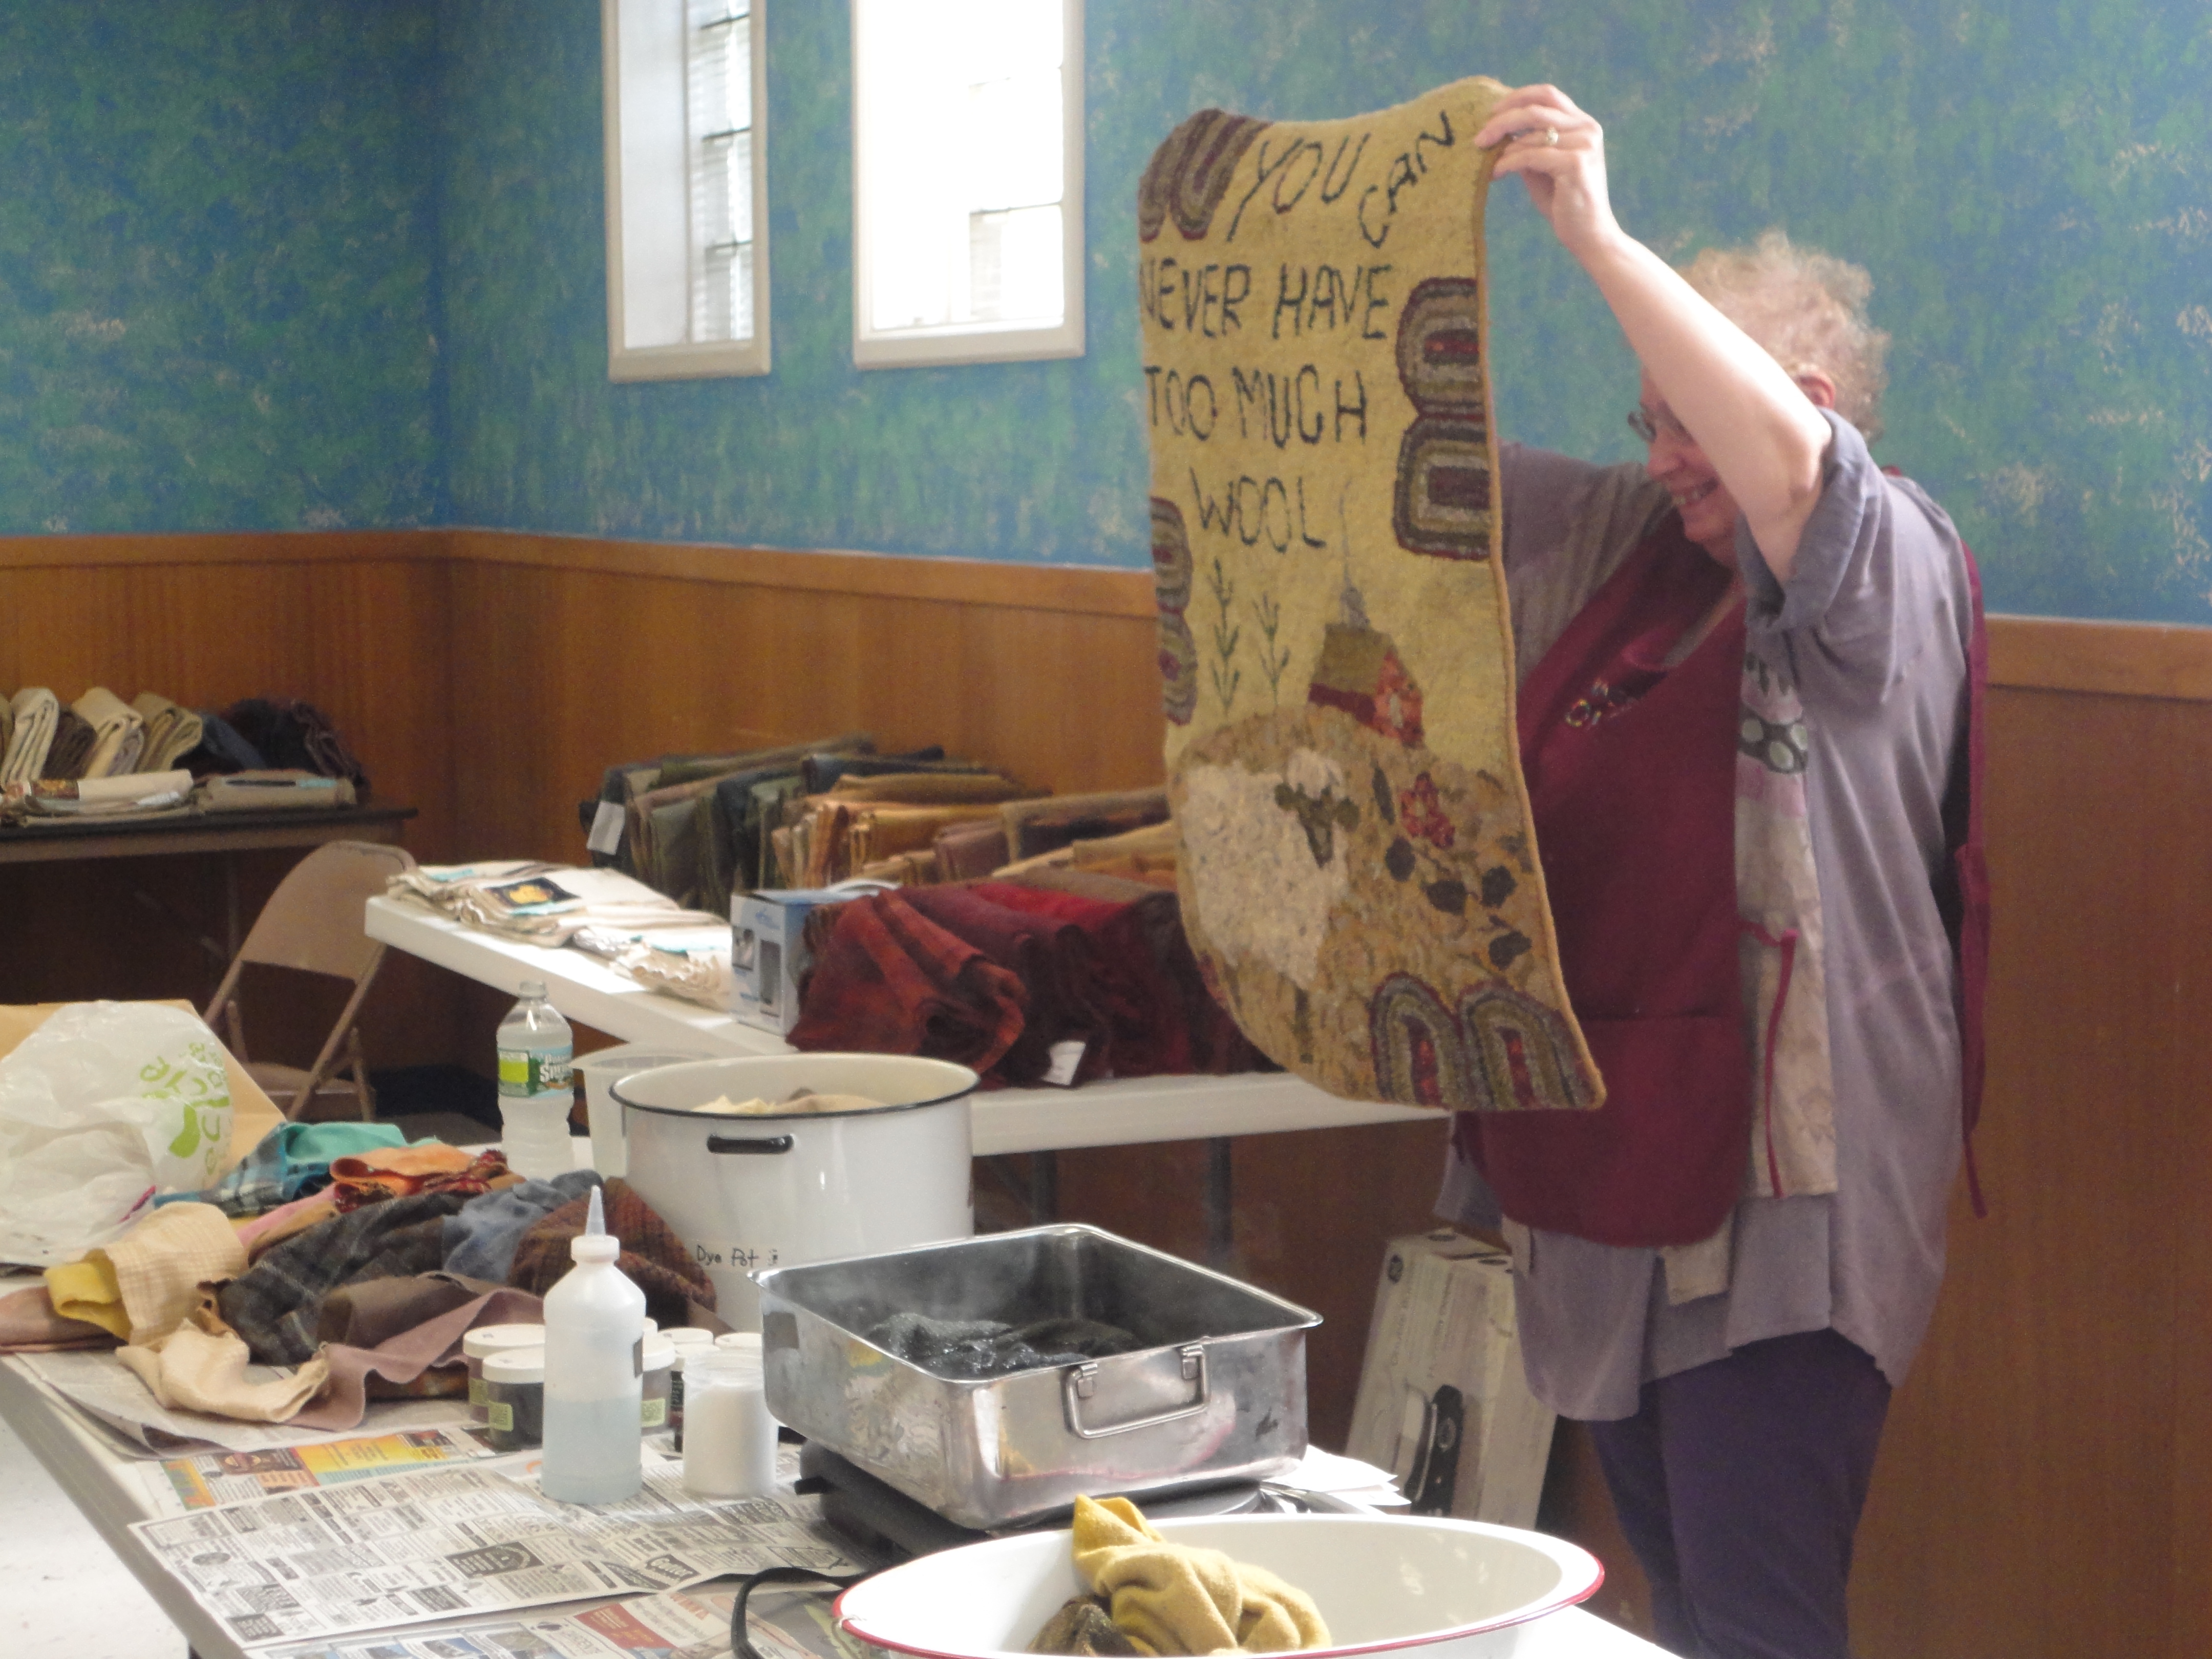
Beverly joined us in April 2014 to demonstrate different finishing techniques that she has used over the years to finish hooked pieces.

Following will be a compilation of the tips I picked up during the presentation.

WhenIMG_1341 
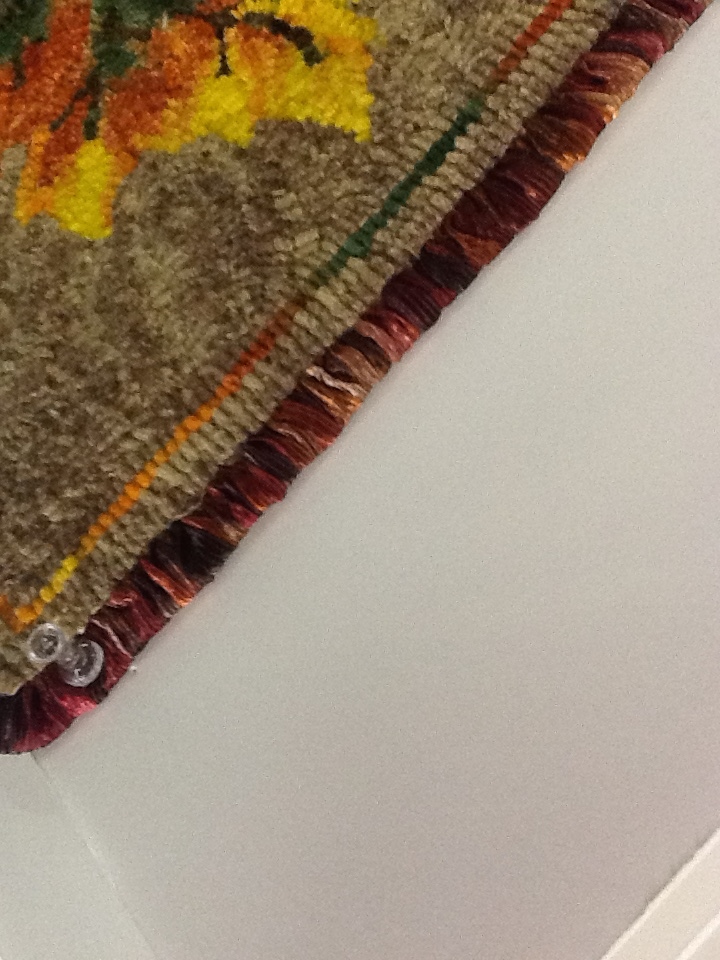
using a binding start by pre-sewing the binding at what will be the finished edged of your hooked piece. This allows you to hook right up to the binding.

Baste down the edges of your binding to hold out of way.IMG_1343

When done hooking flip over binding and hand sew down.IMG_1349

You can leave the binding plain or whip.

Beverly likes Cascade yarn for whipping as there is no pilling. Use single thickness. No cording required, but pay attention to the thickness of your finished edge.

She suggests that you mix yarn colors to work with a plaid background

Stretcher bar framing: 

IMG_1345
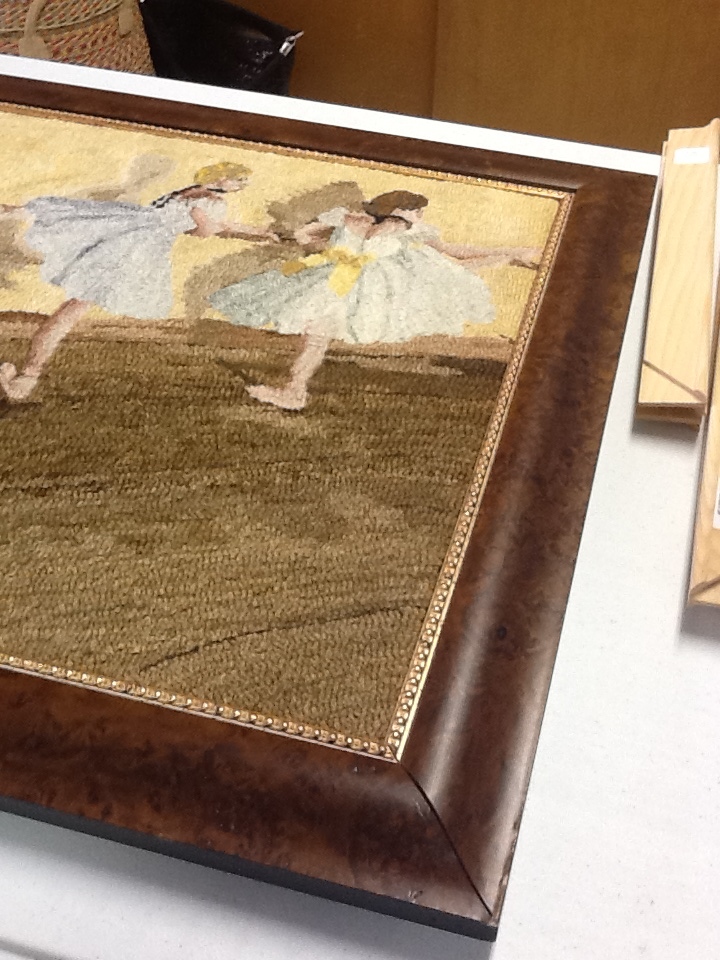
Start by taking your finished rug to the store with you to get the correct sized frame pieces.

Cover the bars with wool. Wool piece lays across frame and wraps around the frame bars. Can sew or staple in place.

Then sew rug in place across the top of the frame and slightly around each top corner.  This maintains position and shape of rug as it hangs. Does not curl if sown only at the top like this.

Now cover back of frame with another piece of fabric cut to size. You can use a staple gun to attach this fabric.IMG_1347

Now you can place hanging hardware where desired. Screws go right through the wool.

     IMG_1346

Pillows: 

Back the foundation with fabric if not completely hooking the pillow top/front. 

IMG_1350For a pillow with a wool border get it in place before you start hooking the pillow top.

Cut wool border strips to size being sure to extend beyond as shown in photos below. Sew longest sides in place first.

  IMG_1352 Fold back then sew top piece on. IMG_1353 Sew bottom on.

IMG_1354

Fold all back and baste, as you would for a binding edge.

To finish you would sew your backing fabric to the finished pillow top right sides together. Leave an opening to turn through.

IMG_1355

This technique works great for making mats.

IMG_1358
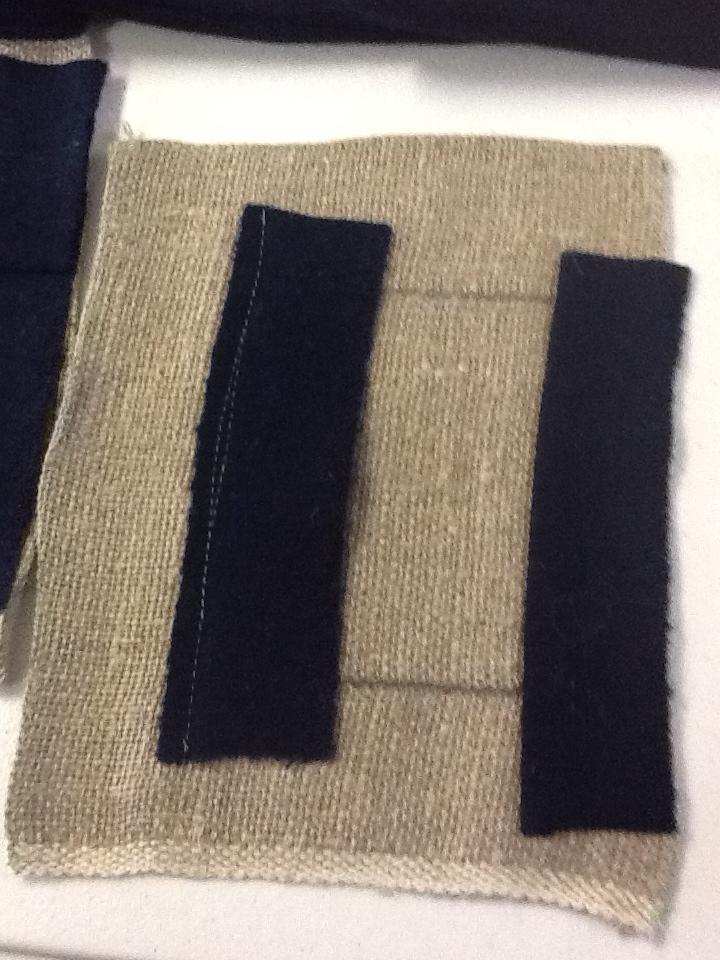
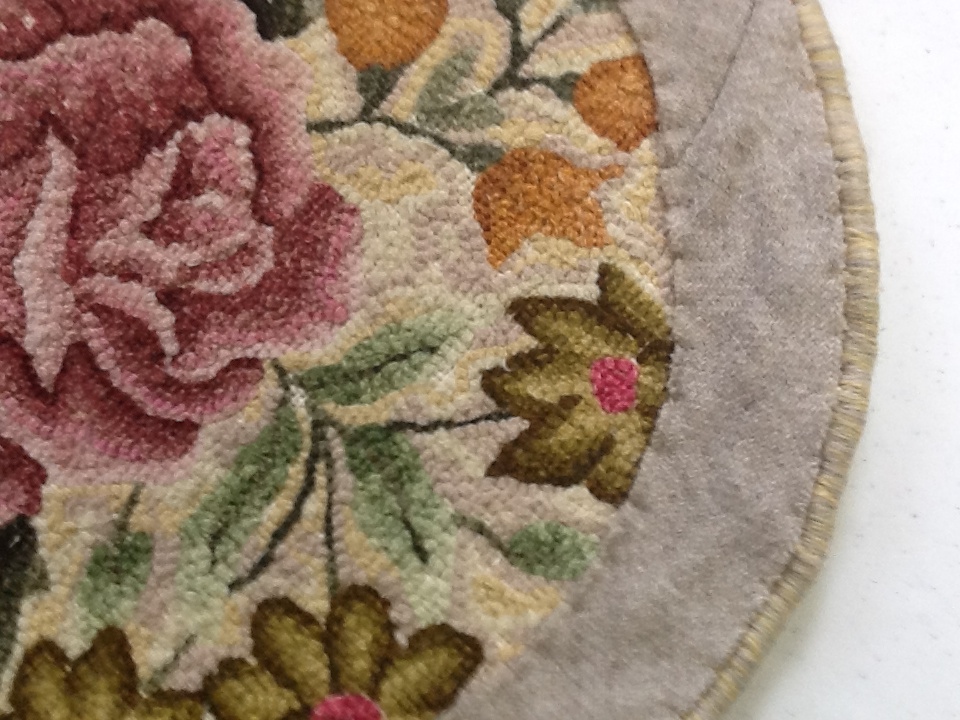
Finishing round pieces has different issues. 

Whipping too tight causes the piece to buckle.

Using bias cut wool that is slightly felted is a nice finish choice, especially for round or oval pieces. Lightly felted wool cut on the bias will not unravel, so does not need to be finished.

To whip finish a round piece fold back, whip with single thickness (thread), then finish with the strip of wool. IMG_1359

If finishing without binding you want to baste the turned foundation in place. Turn 1/8 to 1/4  and hand sew. Then whip the edge.

  IMG_1360

IMG_1357

Sometimes the expenses of having a piece professional framed is just worth it.


IMG_1356
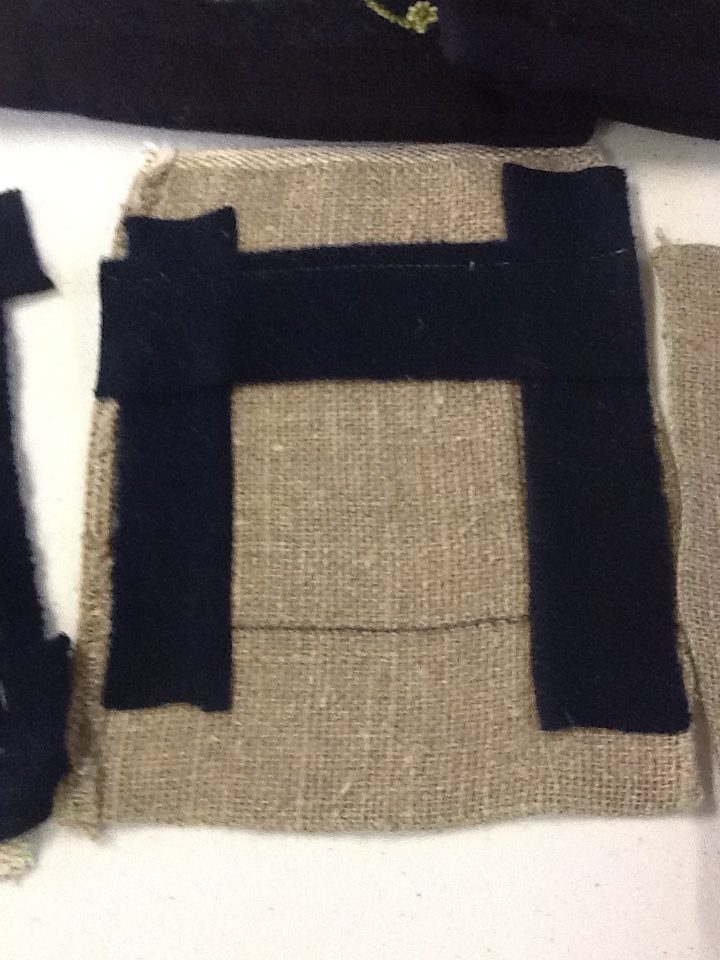
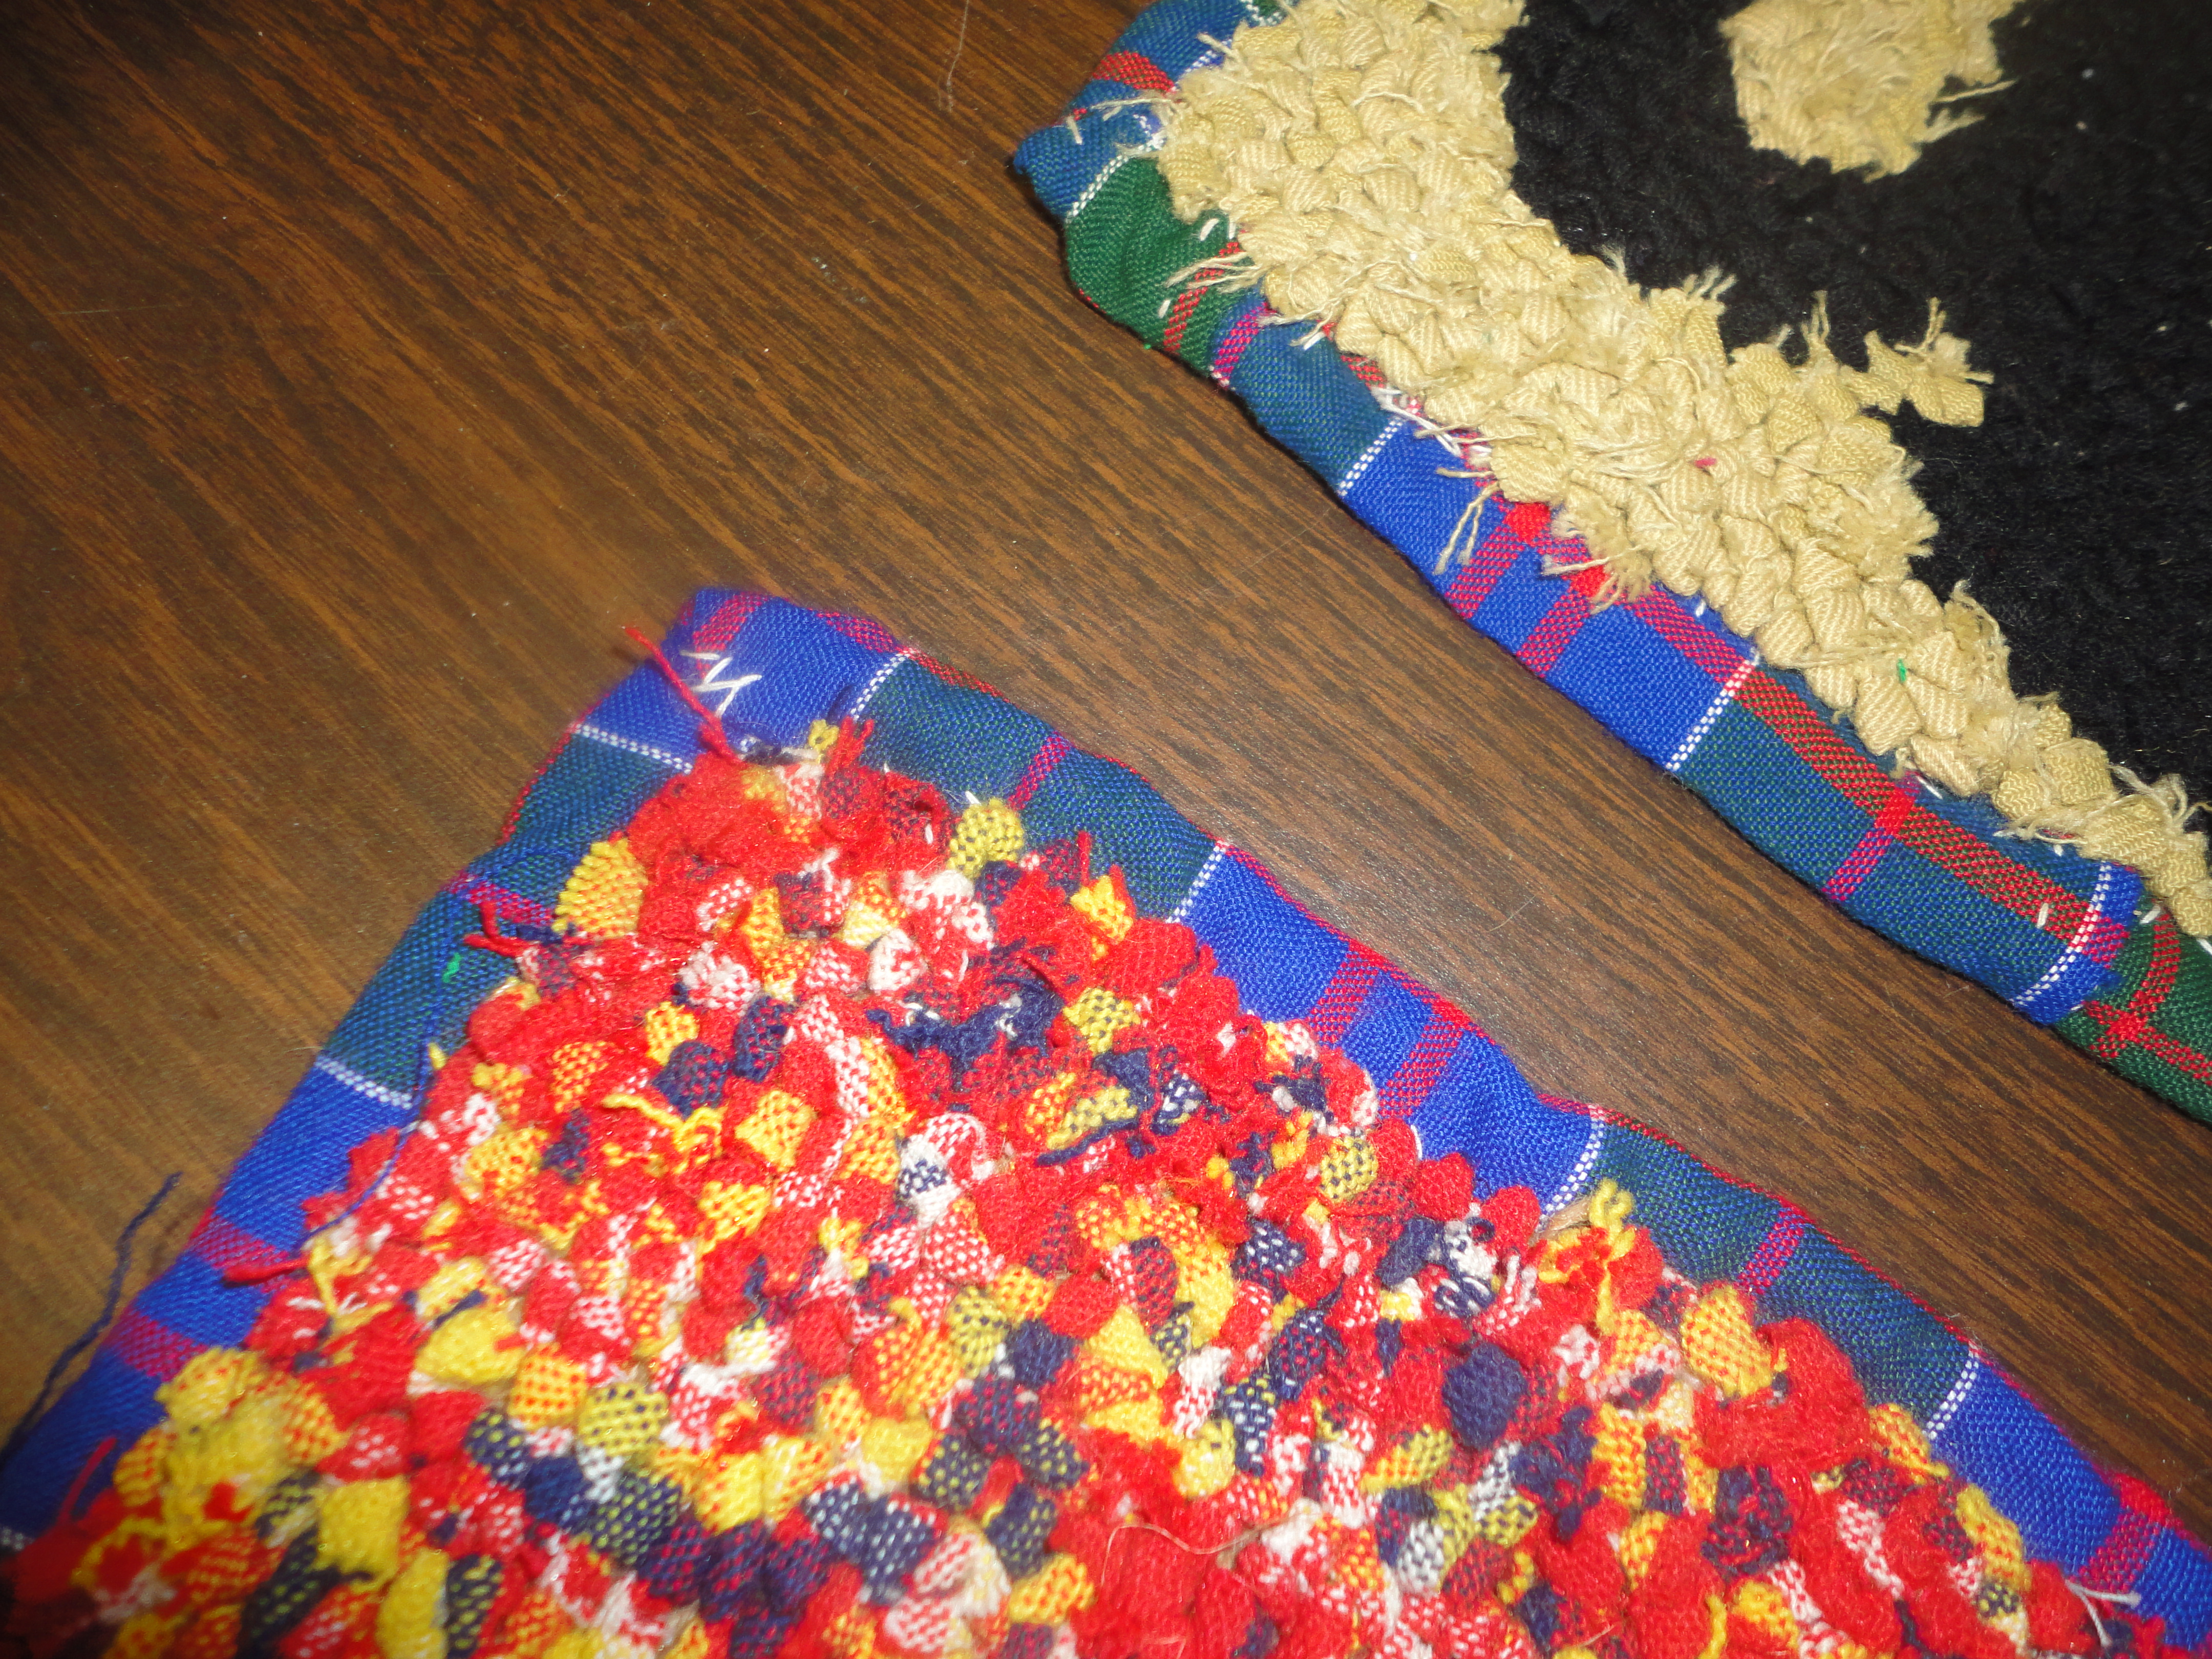
This unfinished Tote bag. The foundation has a sown edge and will be sown together to form the purse/tote. There is no binding.


Great finish for purses are the purchased metal purse kits.

Shading a Leaf with Casserole Dyed Wool by Cindy Duade

leaves

I’m a self-taught rug hooker, no time yet for classes, rug camps, etc. Learning new or fine tuning my skills happens from workshops offered at our monthly meetings. Wish I had known if I would be at the May meeting. Instead of actually participating today, I observed and took notes that I’ll share here. Cindy Duade graciously agreed to let me take photos to share along with my notes. IMG_1383 
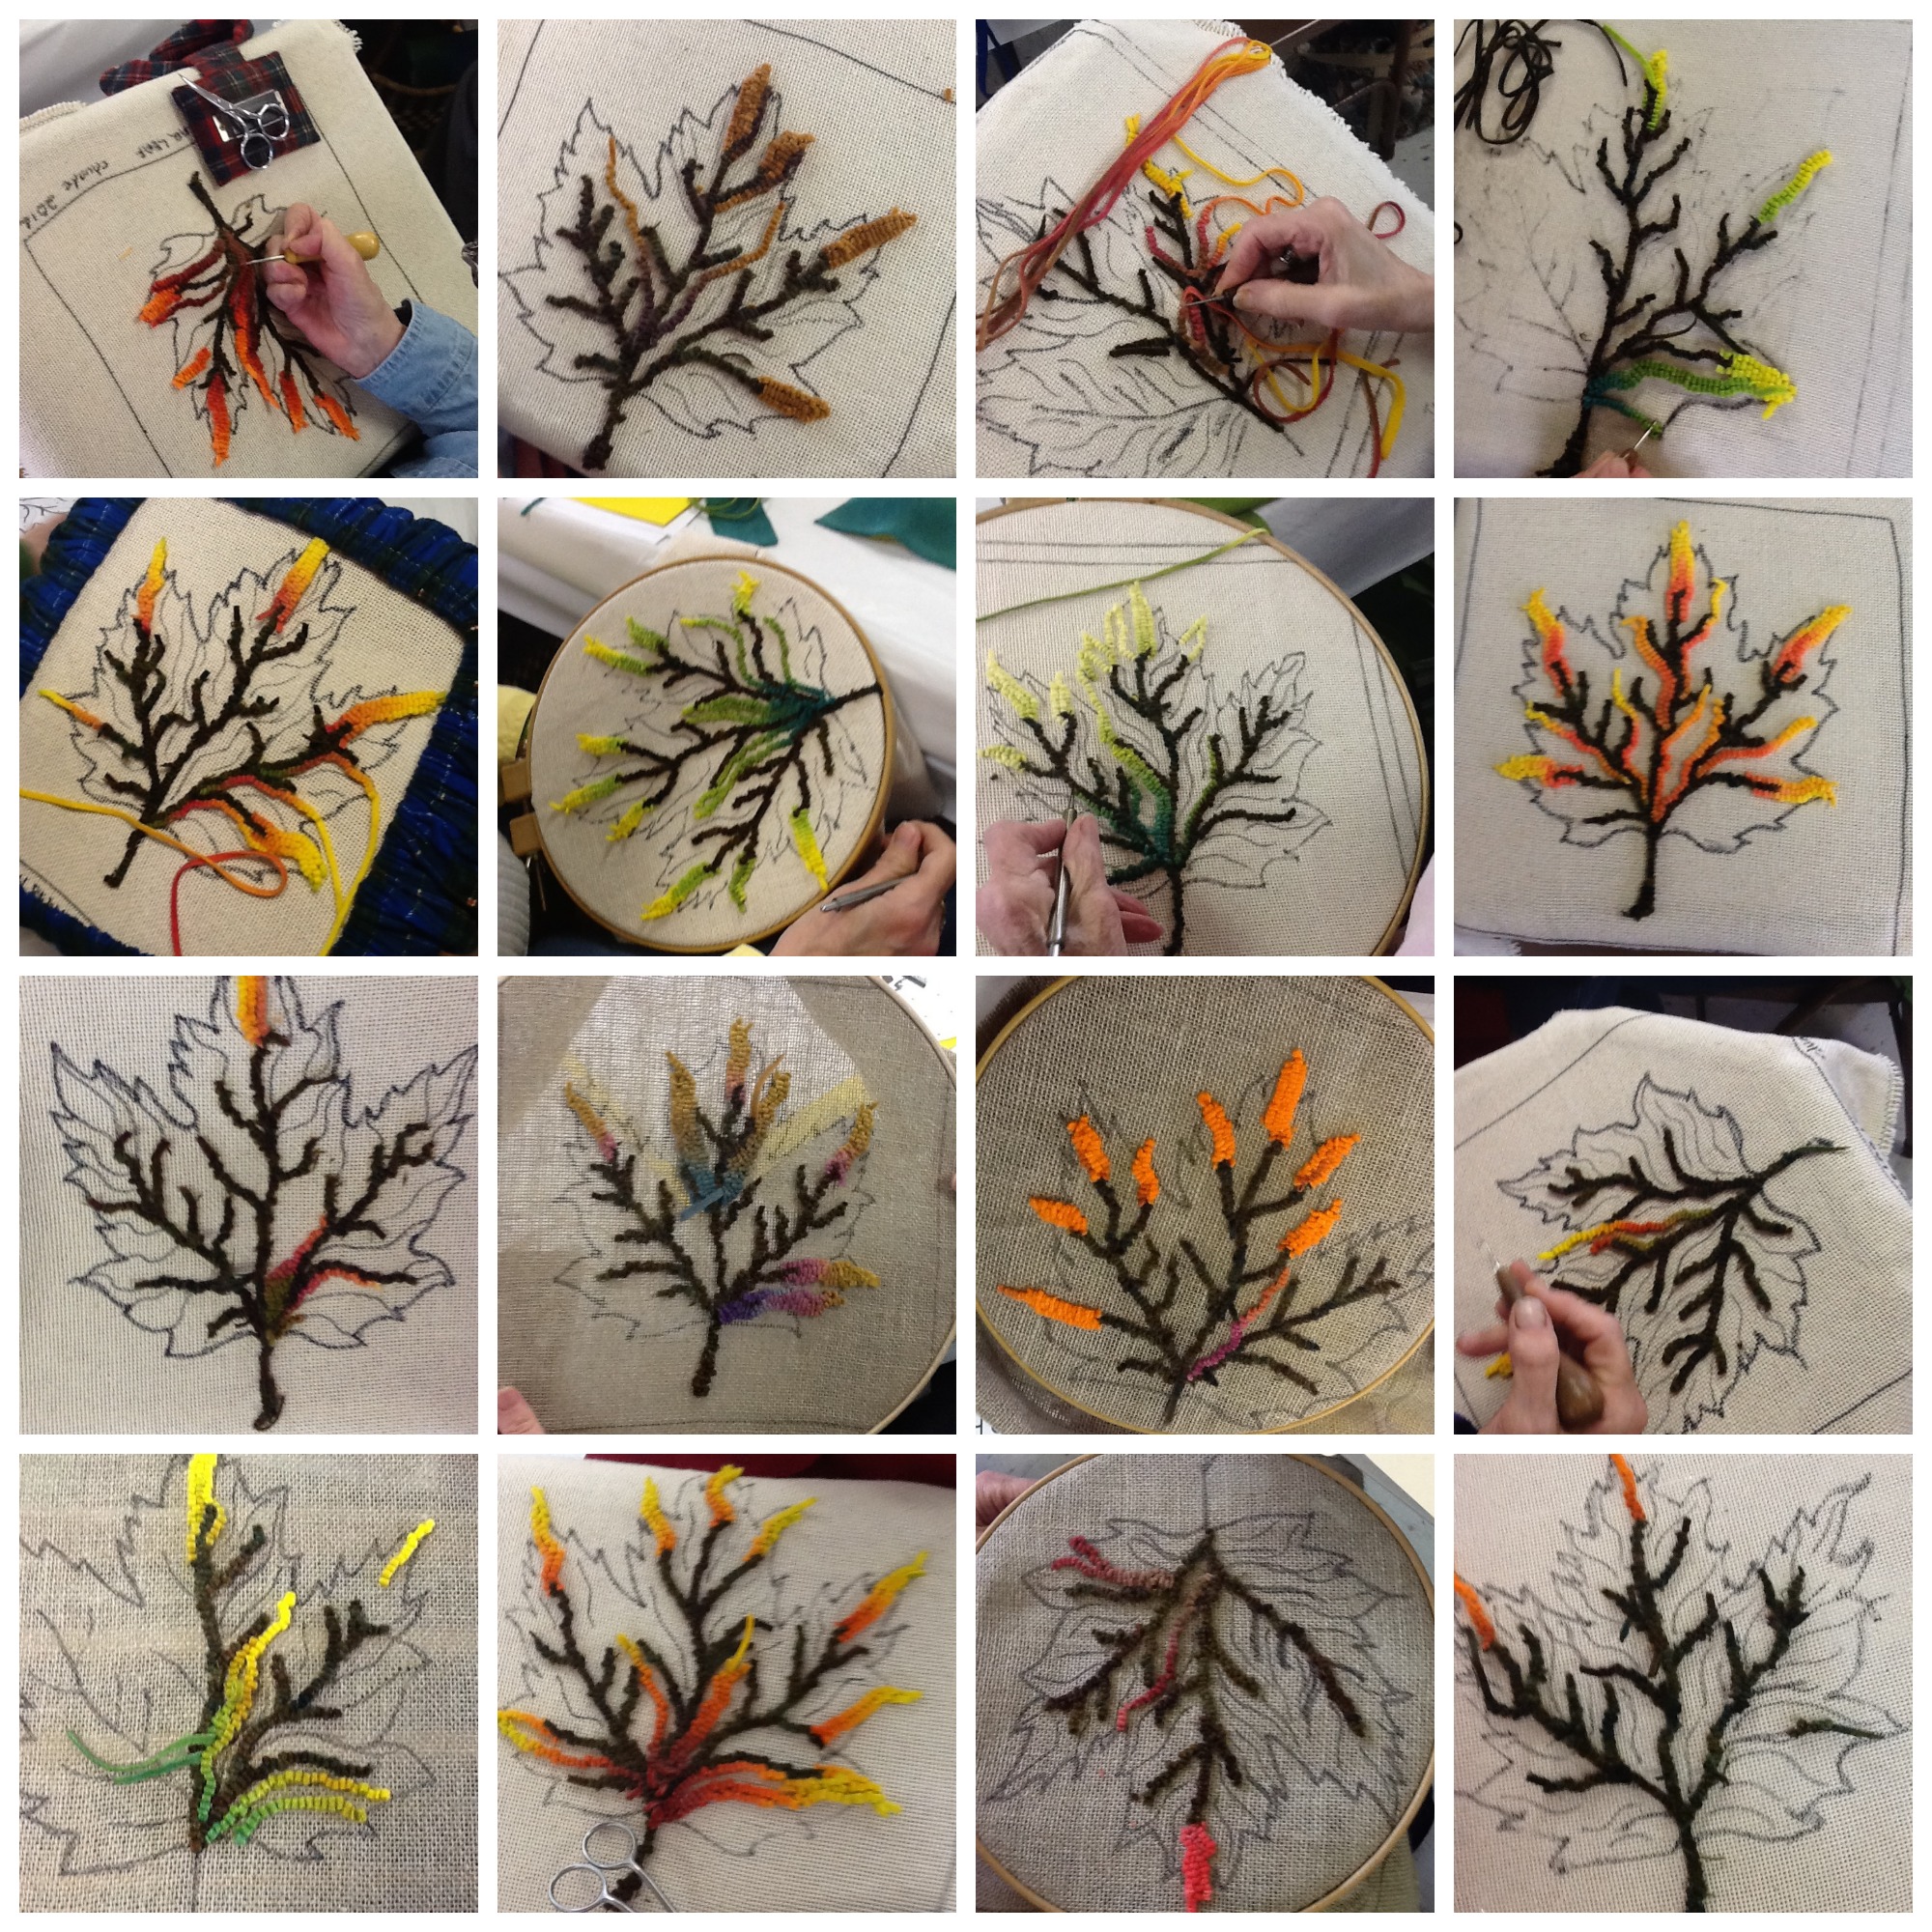
It was a wonderful workshop with clear information, helpful tips and a teacher willing to help and allow time for members to work each step. Members were definitely busy hooking away. We seemed to have a much larger group still hooking after the noon pot luck than usual. IMG_1410 (just one of 3 table areas)

The collage above shows what leaves I was able to get photos of as the meeting drew to a close. Will be interesting to see how they all finish up. (Maybe an October Show and Share side bar VPs ?)

Now for my notes and take aways ~

Let’s start with a close up of the 4 hooked sample leaves Cindy had for display. These showed different ways to approach the light and dark of the leaf as well as different backgrounds.

IMG_1406  IMG_1409  IMG_1407  IMG_1408

IMG_1405 Using a real leaf, Cindy designed a special leaf pattern for use at this workshop.  The pattern was copied onto foundation of choice. Red dot is great for that.IMG_1377 These who participated in the workshop got an informational folder with such items as the pattern and photos showing progression/steps IMG_1384 and casserole dyed wool. IMG_1389 It was fun to see what members chose for their pieces. Wool was cut #4 IMG_1394, then carefully placed in order. Tip: use folder with masking tape to maintain the cutting order.  IMG_1395 IMG_1397   Tape over ends or loop the tape so a sticky side is up to just lay cut strips on. IMG_1393 One side can be used to organize the cut off pieces. IMG_1399

Work with up to 6 colors on one piece of dyed wool (light to dark). Colors may seem too bright, but they settle in together once hooked. For background just about any wool works, whether textured, as is wool, spot dyed or solid.

NO Straight Lines! Remember a natural leaf has curves, not straight lines.

Veins are hooked in first. Leaf is not outlined.

Leaf points either all start light or dark. Once decide then you are ready to start.

Hook from leaf edge to veins. Cut off unused section of strip and set aside.IMG_1400  Once have these main points hooked in, time to start work on center. First draw in additional curve lines into design for guidance. Start at base (vein) with opposite color end than points (dark here since points light) and hook the strip out. IMG_1402 (Can see the dark blue in the center along vein. Hooked all the way to a minor point.)

IMG_1403 (Can see different positioning again off the center vein.) This also leads to minor points being hooked more with the colors found in the middle of the strip.

With hooking all these first strips remember to never use one you have cut off. Always work with a new strip.

After get some dark runs you start to fill in. To match up the shading/color you can do by pulling the tail out until reach the color you want and start hooking, or you can pull a loop until reach color, start to hook then cut at the starting loop. (I would do pull the tail as you can see with the green strip here.IMG_1428 (I would also be checking those cut off sections to match up colors, as I’m a use every piece type of rug hooker.)

Do Not end each strip on the leaf edge. It is not a look you want. On some turn and hook a bit back along side.

To finish Cindy recommends using ribbon. IMG_1387 Tip: to sample the look the ribbon will give once whipped, wrap some around a pencil and check against your background fabric.

You whip through the foundation and the attached finish backing material.  Lay pencil along edge of finished hooking to get a nice even, but small edge. Mark and trim.  Tip: for attaching backing fabric which often moves around as you whip: Use spray adhesive like that used by quilters. This is temporary adhesive. Also pin edge.IMG_1404

Finished edge. IMG_1388

Who is Ellen Sullivan?

It’s never good when you look forward to an activity you need to travel to and are greeted by a driveway of ice and nasty rain. That’s what happened for many of our members on Jan. 11th. For those that could travel through the resulting messy roads they enjoyed a look into the life of Ellen Sullivan through her primitive rugs and the genuine personal stories told by artist John Neville. DSC04113Elaine Eskesen accompanied John to share how Ellen’s work has inspired her journey into rug hooking.

~~  ~~  ~~  ~~  ~~

First, presenters usually bring their work to share, but it’s been awhile since I’ve walked into a meeting and seen so many tables covered with the rugs of one artist. (just a sample)DSC04098 DSC04097 DSC04099  DSC04096 DSC04102  DSC04084 DSC04088

DSC04105

On closer inspection the wonder increased. Most of the works were not hooked in wool (yarn included). DSC04090

The binding was misc. pieces of fabric hand stitched in place. DSC04103 Foundation also seemed to be mostly burlap, but a woven red looked like it might be red long johns. John said “Ellen had tried linen, but preferred burlap for hooking on”.

Then you got beyond the fabric to really looking at the designs. Ellen Sullivan drew what she had to have been seeing in her daily life. Would one say she had a talent for drawing, not necessarily, but she definitely fits into a great folk artist.

Next comes the colors. Looking forward to hearing about the why they are what they are. Being one who hooks primarily with recycled wool think I have an idea about this.

~~  ~~  ~~  ~~  ~~

Born in 1907, Ellen spent most of her life in the Black Rock, Halls Harbour area of Nova Scotia.  Growing up in a remote area without close neighbors or electricity her rugs depict images from her daily life. Ellen learned hooking from her mother and maintained at least one lesson from her throughout her years of hooking. “Using green for the eyes will make them stand out.”DSC04100

Ellen’s rugs were made for a utilitarian reason. They were drawn free hand with carpenter’s chalk directly onto the foundation. They were hooked from whatever material was on hand and much of it was material passed along by neighbors/friends within the community. As John told it, “Ellen would cut apart the clothing, laying it out, cutting and tearing it into strips.” This use of repurposed fabric explains the colors for many of the pieces – she used what she had available, no dyed wools. Looking at the backgrounds you could see how she hooked/worked until a material ran out and then started another. self portrait

Ellen’s rugs also often had 2 birds within her rugs. DSC04095 The story passed on was that this comes from a poem: “One for Sorrow”. John remembered it was “One for sorrow, Two for joy, but was not sure of the others verses. Ellen included the images of 2 to represent “Joy” within her hooking.

“One for Sorrow” is a traditional children’s nursery rhyme about magpies. According to an old superstition, the number of magpies one sees determines if one will have bad luck or not. Here is the most common version – One for sorrow, Two for joy, Three for a girl, Four for a boy, Five for silver, Six for gold, Seven for a secret, Never to be told.
 

Ellen’s father was a carpenter who was born at sea on the ship his father was captain of. Ellen lived near the ocean in a salt-marsh farmhouse for much of her life. She also had a brother who drowned at sea. So it wasn’t surprising to see ships in many of her pieces. What caught many’s attention were the works with what appeared to be swimming sailors around the ships.

DSC04092  DSC04093

Ellen wasn’t afraid to hook in the natural state either here or in her Adam and Eve/Tree of Life rugs. DSC04085

DSC04083 
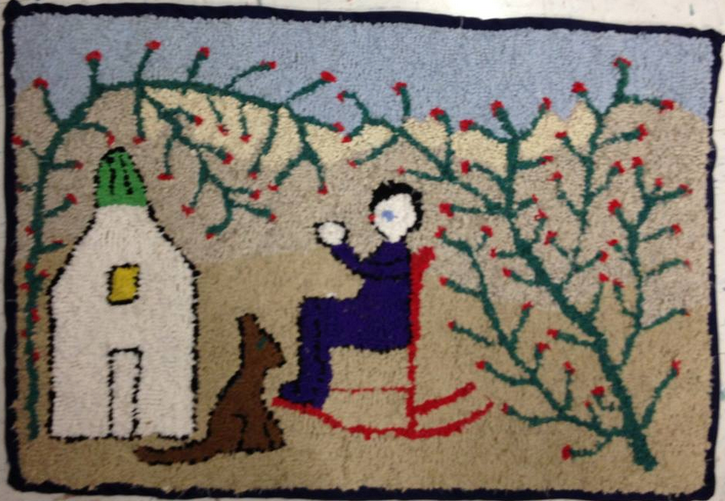
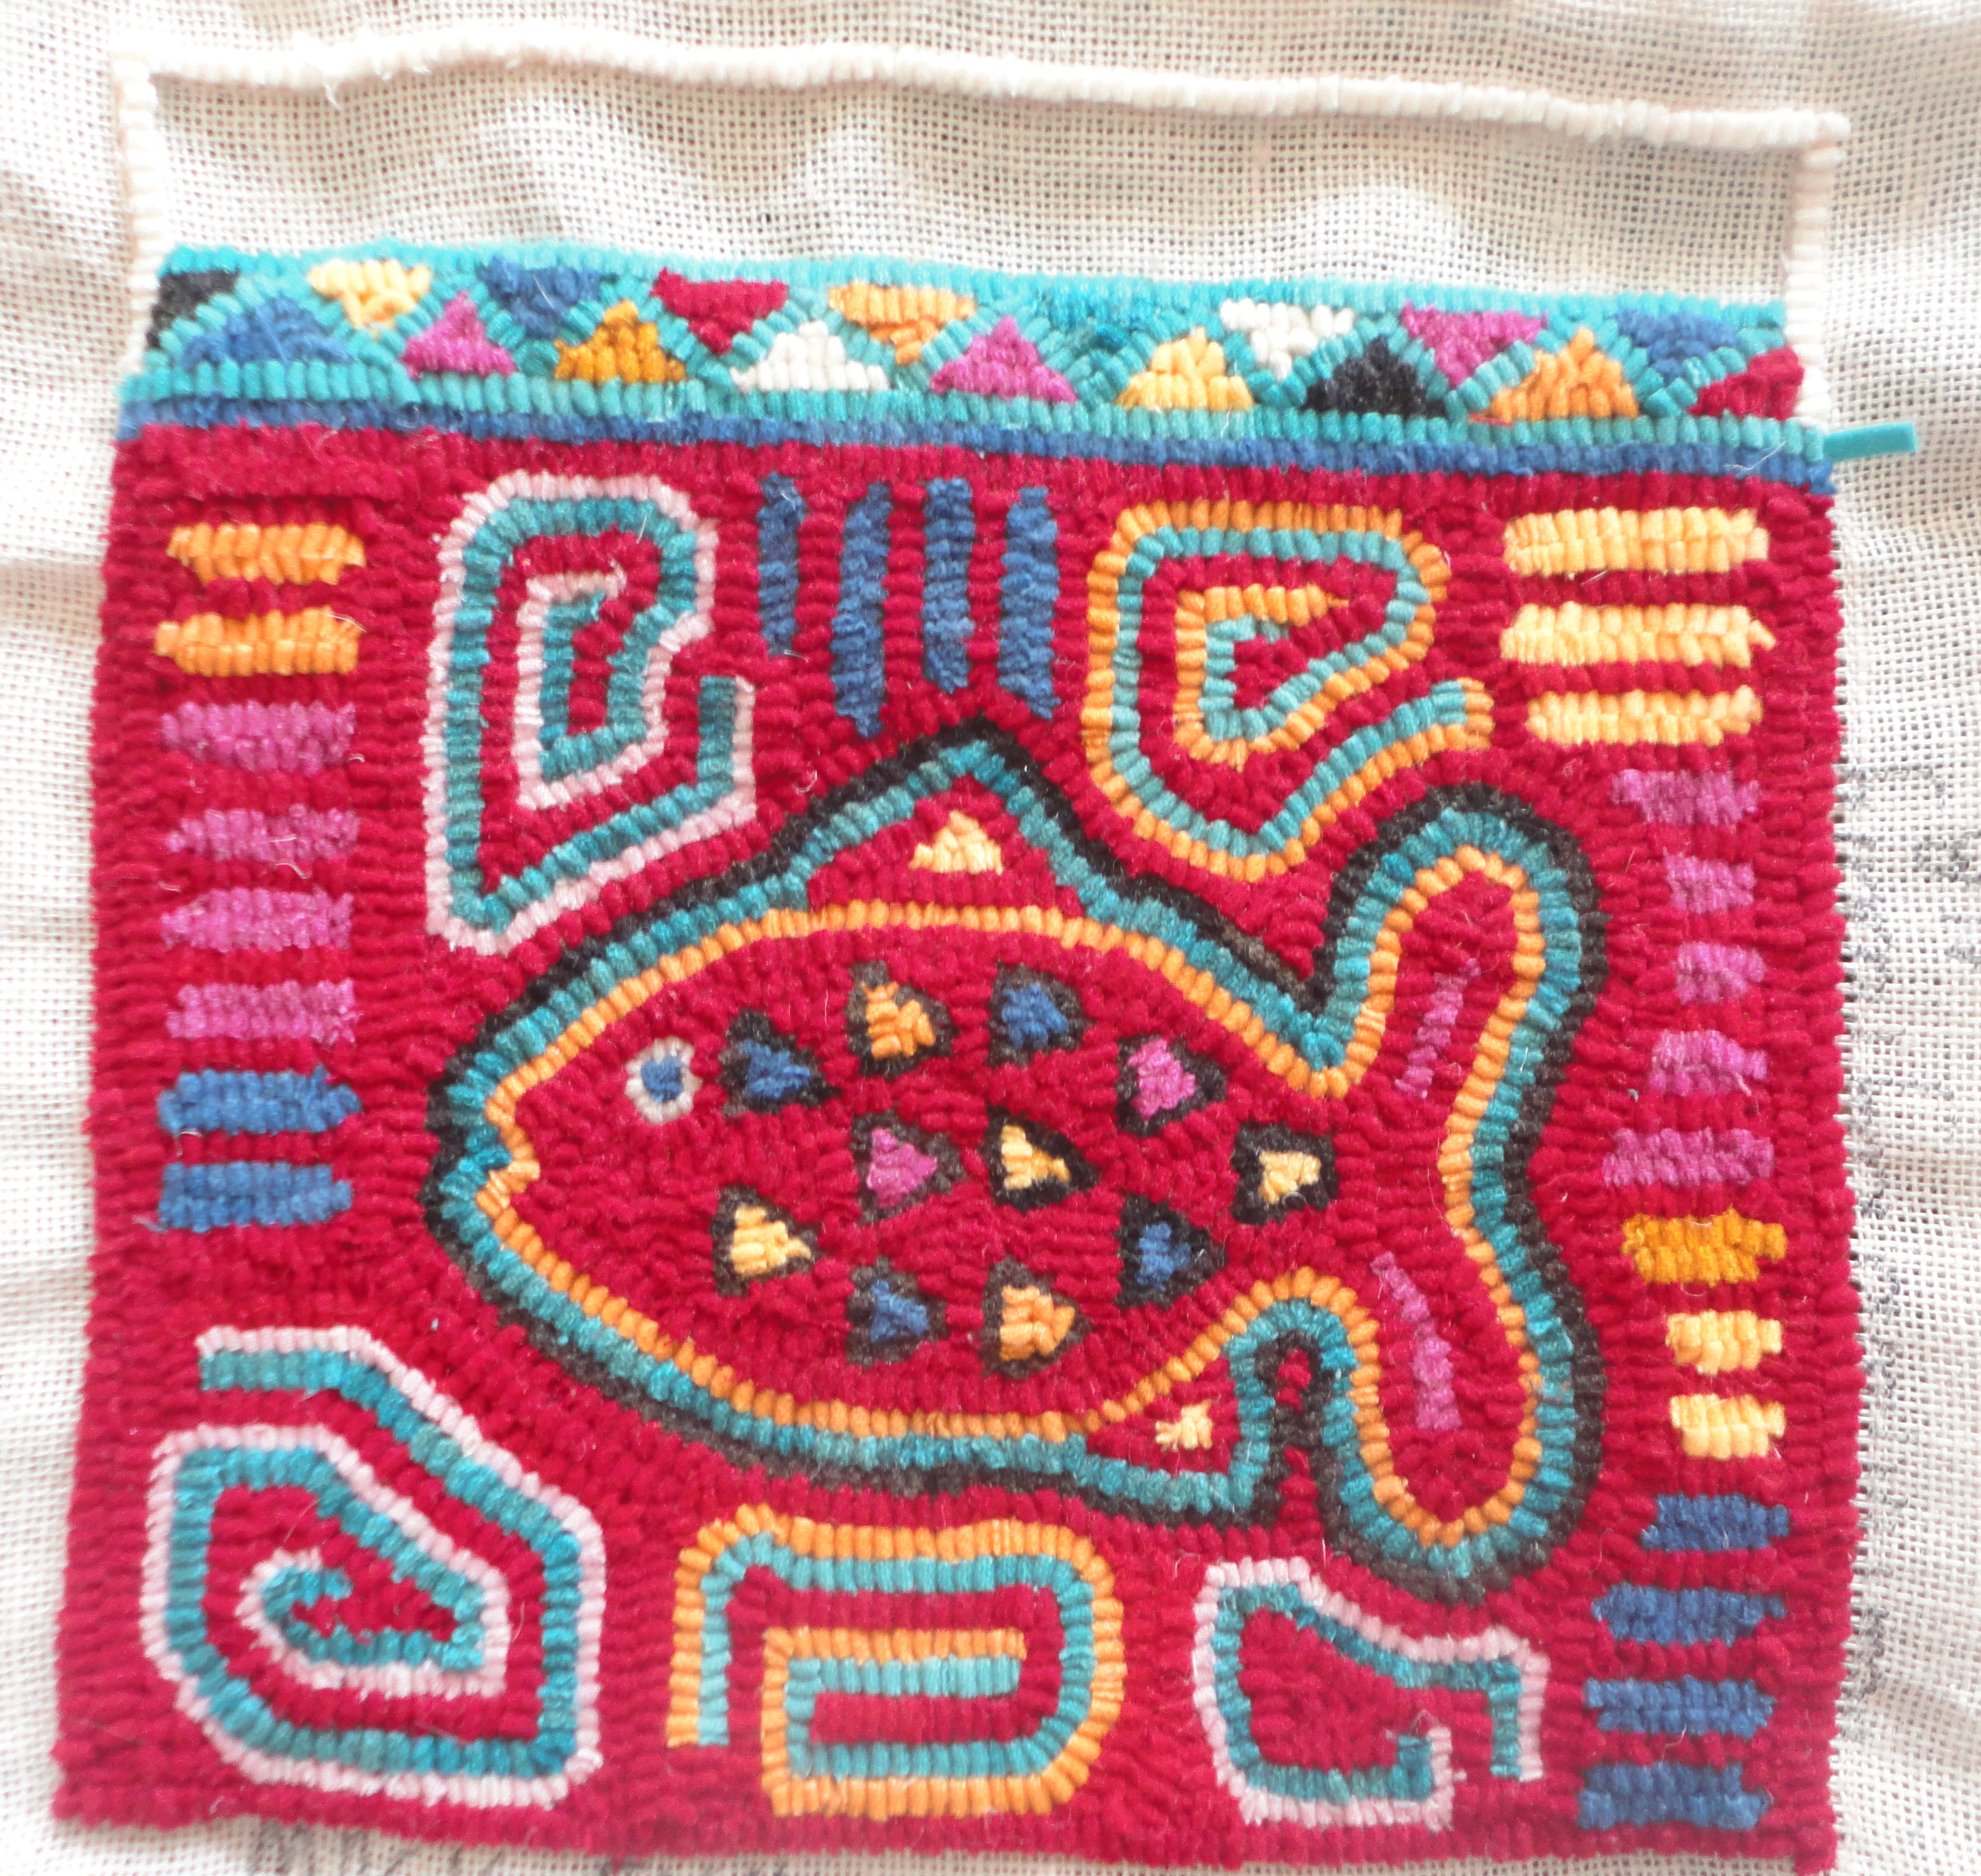
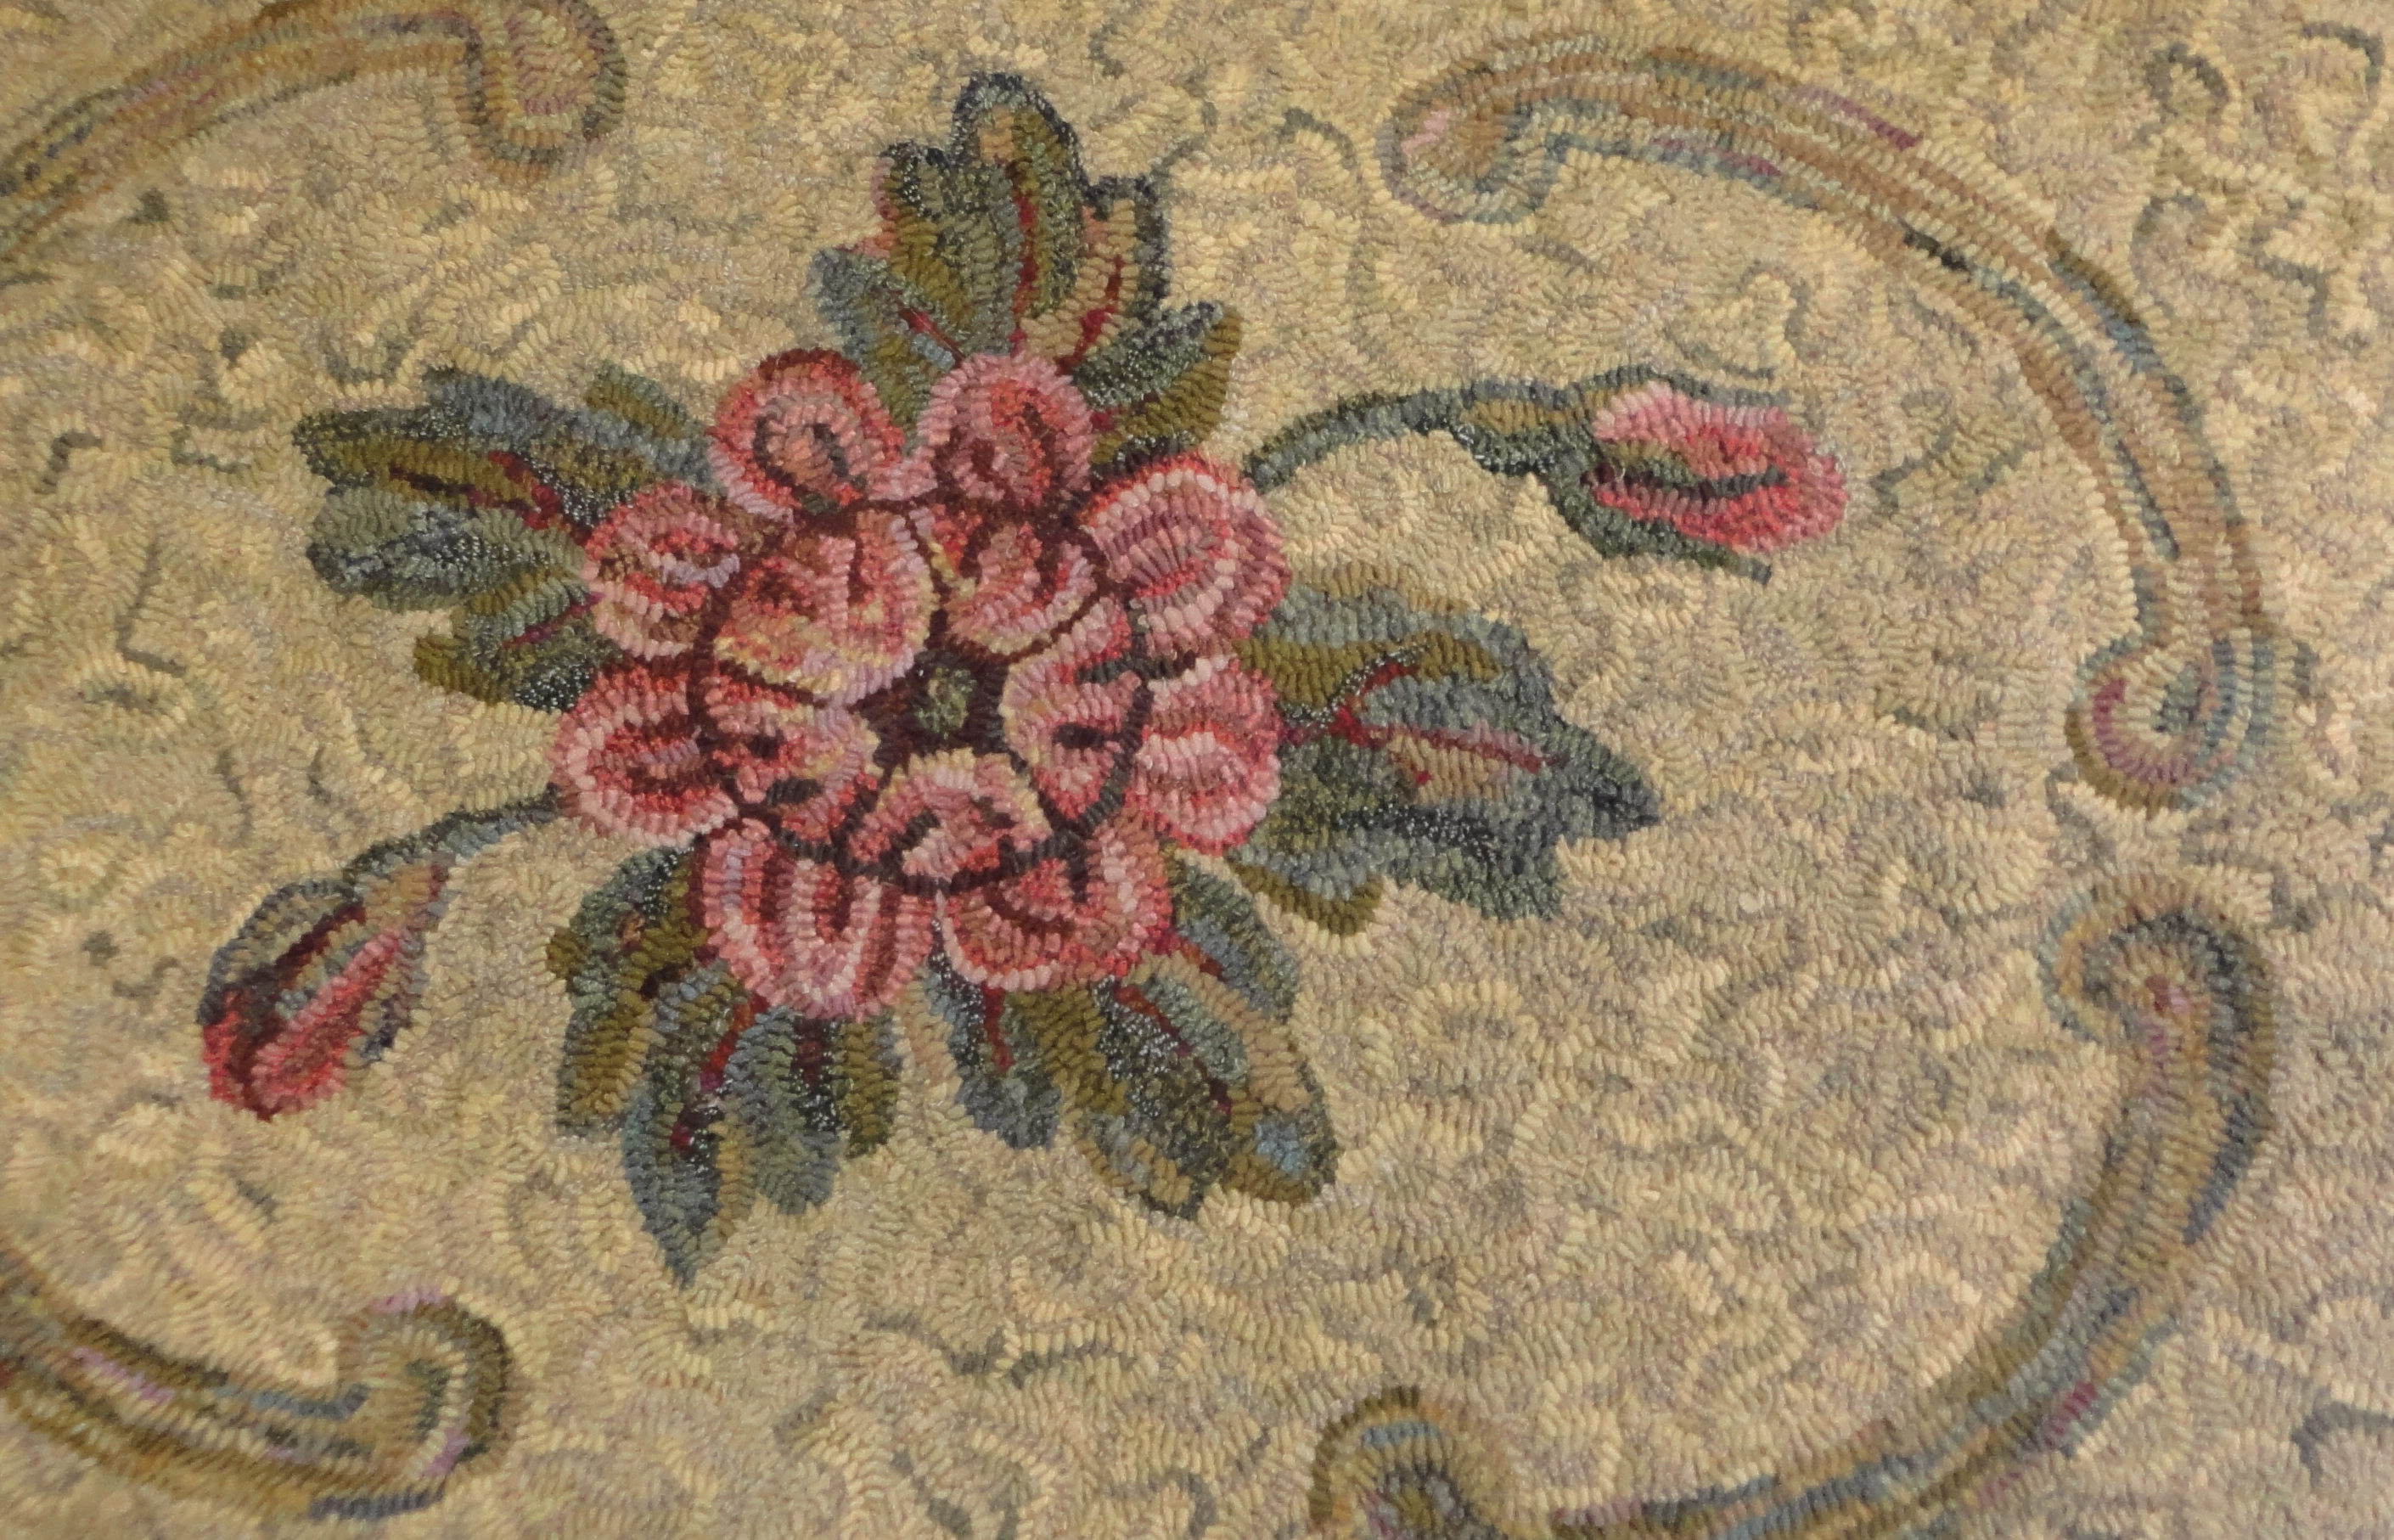
John recalls this rug as being inside the door of Ellen’s home. The family used their rugs throughout the house, but also hooked over the winters to have rugs to trade for linoleum mats/rugs. Interesting how they saw more value in the linoleum than their hand-made pieces.

Ellen sounded very self sufficient – growing her own food, raising food animals  DSC04089 (2 cows with those green eyes), and bartering rugs. John had a pencil drawing showing Ellen chopping her own wood. Ellen started selling her rugs when she found herself a widow caring for her two grandsons.  She also did some commissioned work. John told us that The Tree of Life was a design Ellen hooked many times with many of them being commissioned. DSC04086 John had a gallery/shop that sold some of her work (never taking a consignment fee). When asked about her prices John responded “It depended on who you were.” Ellen would barter for goods with friends or charge money with strangers. 

Ellen did some pieces which included herself within her community. DSC04091 As one would expect with this primitive folk art style the figures are not in proportion. Ellen’s use of outlining with black was also interesting. There were times that it appeared she ran out of black, because the outlining just stopped.

Ellen hooked into her eighties passing at age 87. Most of her pieces were not signed. John had one with an “ES” in the lower corner. John remembered her hooking on a frame made of four wooden boards and C-clamps rested against the kitchen table or the edge of the couch in the kitchen room. DSC04116 
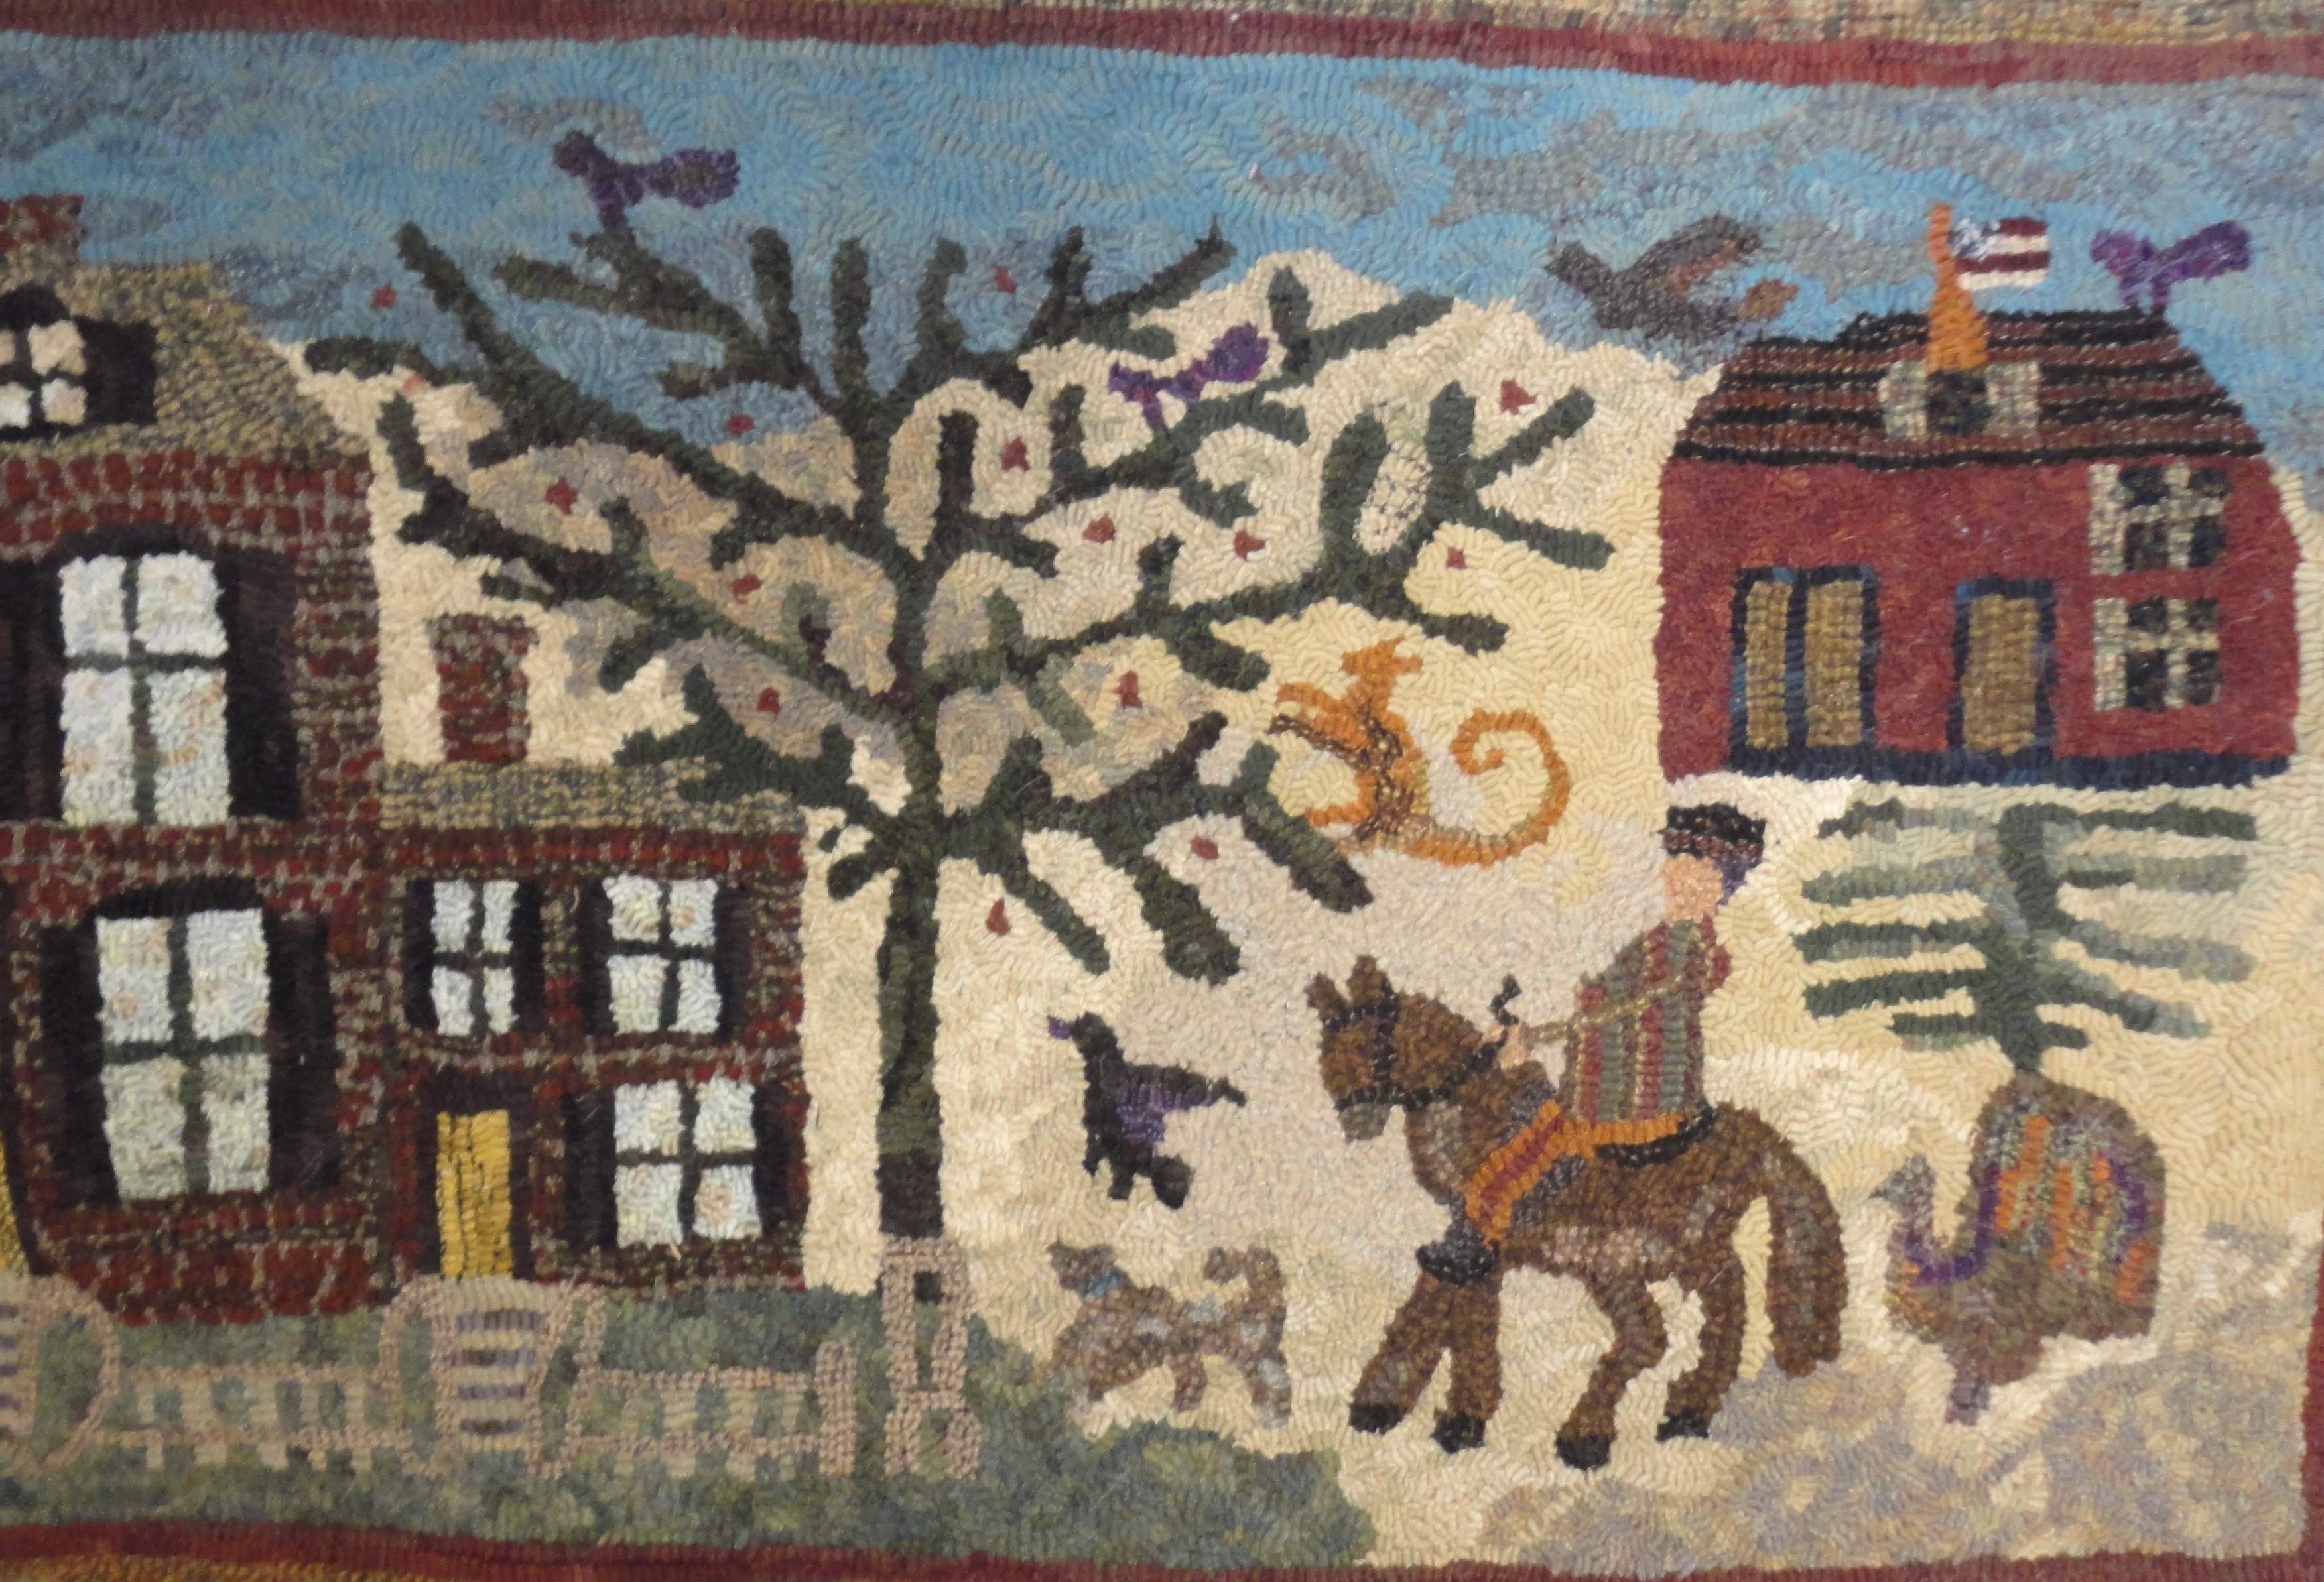
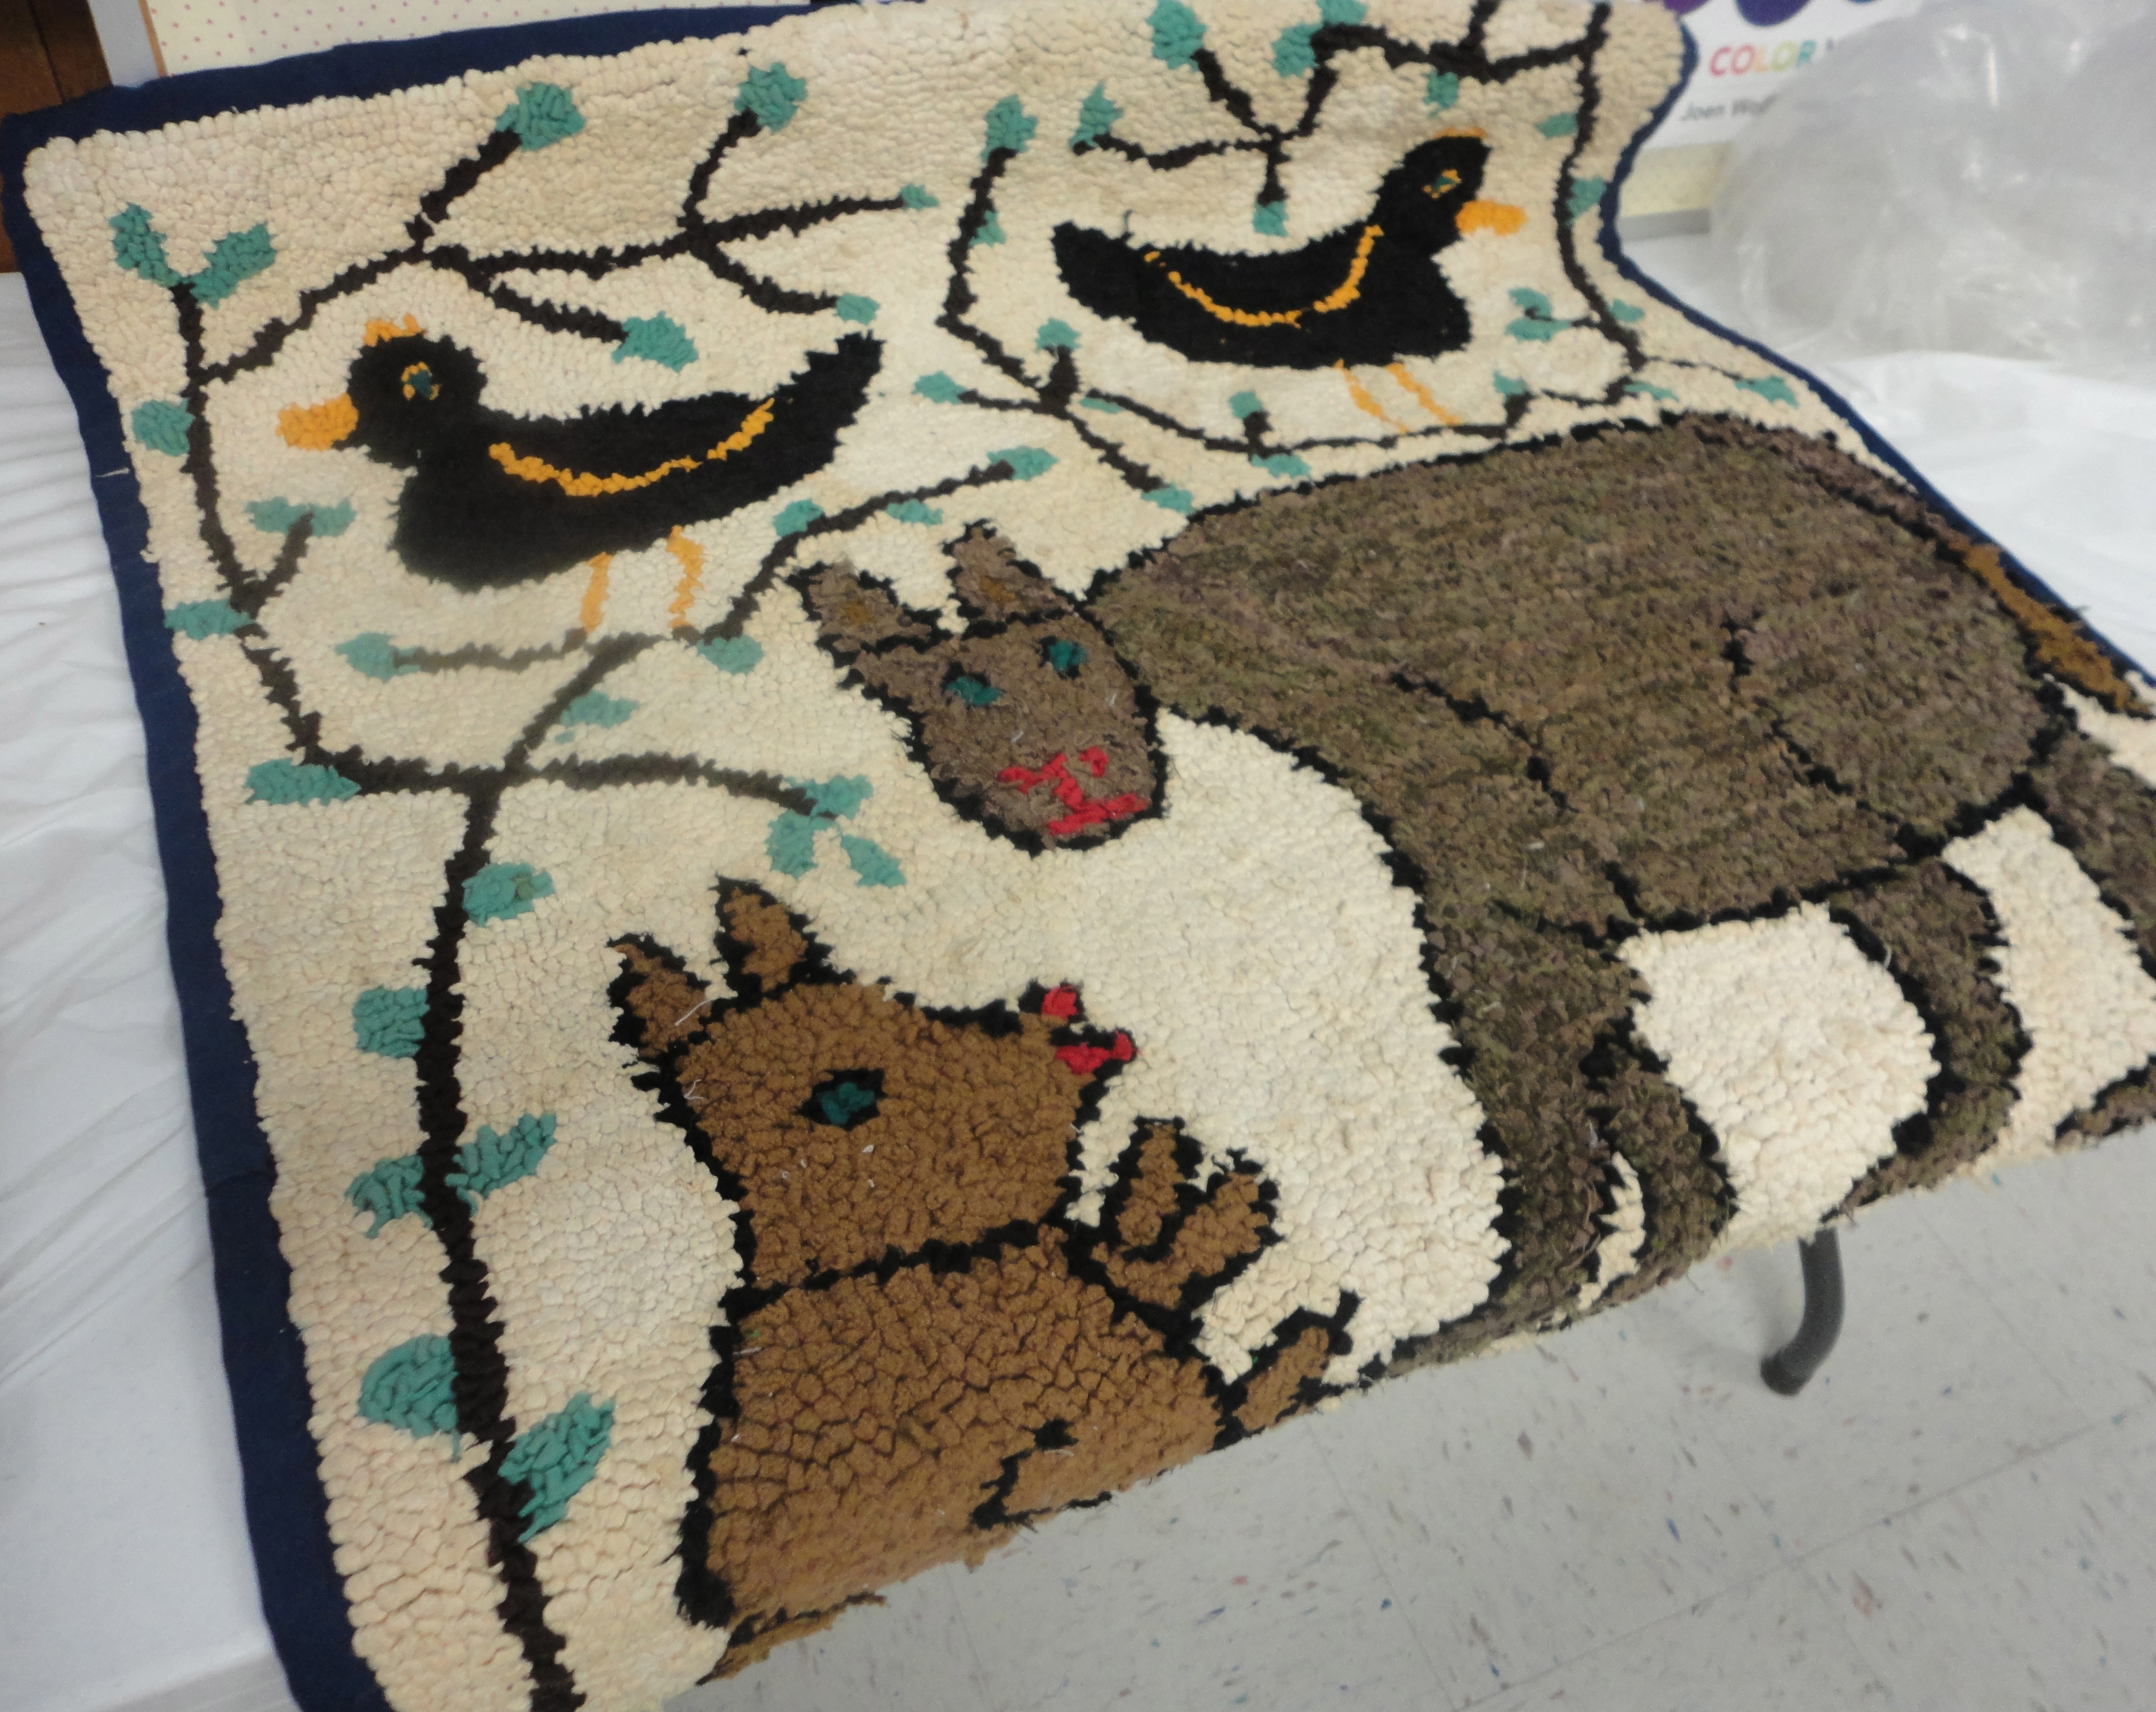
I got to try one of her hooks with aged metal shaft and well-worn wooden handle.  Hooking a #8 strip it worked just fine. Ellen also knit (find some gloves knit for John in a photo above – clue look for the cat and eagle). In talking with John afterwards about Ellen’s creativity he told me she had crocheted her own wedding gown. She truly sounded like an interesting and many talented lady.

Her work has been included in museum/gallery exhibitions in Canada and Internationally, but she is not very well known. John is very willing to share his knowledge of Ellen’s life and the collection of her rugs he has. DSC04094 Upon getting a check for $500 from a museum Ellen asked John for help. She did not understand what the check was for as she had gotten her rugs back, nothing sold. She asked John what to do. He helped her cash the check as she had no bank account. 

~~ ~~ ~~ ~~ ~~ 

After meeting John at an event around Art Inspired Knits, Elaine Eskesen, author of “Dyeing To Knit” and owner of Pine Tree Yarns opened in 1990 in Damariscotta, Maine (now added Wool for Knitters and Hookers Rughooking Supplies), became inspired to try rug hooking seeing Ellen’s work.  After becoming involved with rug hooking communities in Canada, studying under different teachers and following her love of color Elaine has taken her original inspiration point and is creating …

DSC04108  DSC04109
DSC04111 DSC04107

It was fun to hear how she cannot draw. She paints out her design and then John has been drawing them on the foundation. Elaine is highly allergic to burlap, so hooks on linen. A TP suggested for her to try painting directly onto the foundation and then just hooking. Elaine found that interesting. She has been primarily hooking #8 but is starting to work smaller. Having been initially taught in Canada she worked in yarn, but is now enjoying working with wool strips. Fun story on her “Dog” rug. Her daughter who lives in New York was having apartment trouble because of her dog. To help, Elaine suggested the dog come to stay in Maine over the summer. Without seeing the dog, she designed what she expected. She joked that dog is still in Maine.

(* please note that “quotes” attributed to John may not be perfectly word for word. They are quoted here, so it is understood they are part of the story John told us about Ellen. – Debbie A.)

Rose Ann Hunter

At our Nov. meeting Rose Ann Hunter presented on Heirloom Rug Techniques Traditional Rug Making 1790-1850

As her site mentions, Ruth Ann was chosen in 2005 as craftperson-in-residence at Old Sturbridge Village. She lectures at various museums, conferences and guilds throughout New England and the US. Ruth Ann has adapted and developed over 30 techniques of rug making.

For this presentation she shared rugs and other handcrafted items showing many of these various techniques. Part of the presentation was explaining her journey in rug making and researching these rug making techniques.

ruthannhunter

Following the general presentation Ruth Ann offered a mini workshop where members were able to experience first hand (with guidance) some of the basic techniques while making a small sheep hanging or ornament.

IMG_0466IMG_0469IMG_0475IMG_0477IMG_0478

~~~~~~~~~~~~~~~~~~~~~~

If interested in information on standing wool techniques check out these linked YouTube video demonstrations by our current President: Stitching a Standing Wool Mat (Part 1) Stitching a Standing Wool Mat (Part 2) also found in our How To page.

Our How To page also has a written description for making a Shirred Rug from a Tin Pedlar member.

Molas with Norma Batastini

(my thoughts – Deb A.)

When I heard our program this year included a presentation on Molas I was surprised. I knew a little about Molas having made some paper ones as part of summer art projects with my child care and wasn’t sure how they fit with rug hooking. Needless to say I looked forward to this presentation and was not disappointed. (disclaimer* In over 15 years of rug hooking I have never bought a pattern or kit until now – 1 kit and 2 patterns)

Oct. Tin Pedlars 018

To start – walking into our space one noticed all the wonderful color with the wools for sale and the rugs spread out. (As those in the group know I love color, scrappy and geometrics.)

IMG_0416

The presentation by Norma Batastini explained how she came to research Molas as part of developing a program (I believe she said was for Teacher’s Workshop). While talking about the history of molas Norma shared slides depicting the Kuna Indians of Panama and molas made by the women.  The women wear these molas on the back and front side of their blouses. Oct. Tin Pedlars 001 There was an explanation of the sewing/applique process and examples were passed around for the closer inspection Oct. Tin Pedlars 006 needed to see and appreciate the detailed stitchery.

Oct. Tin Pedlars 010

Through the presentation these are the points that gathered my attention:

  • background same color as design. It’s all about the outline colors.
  • duality
  • need white for the eye. IMG_0417 
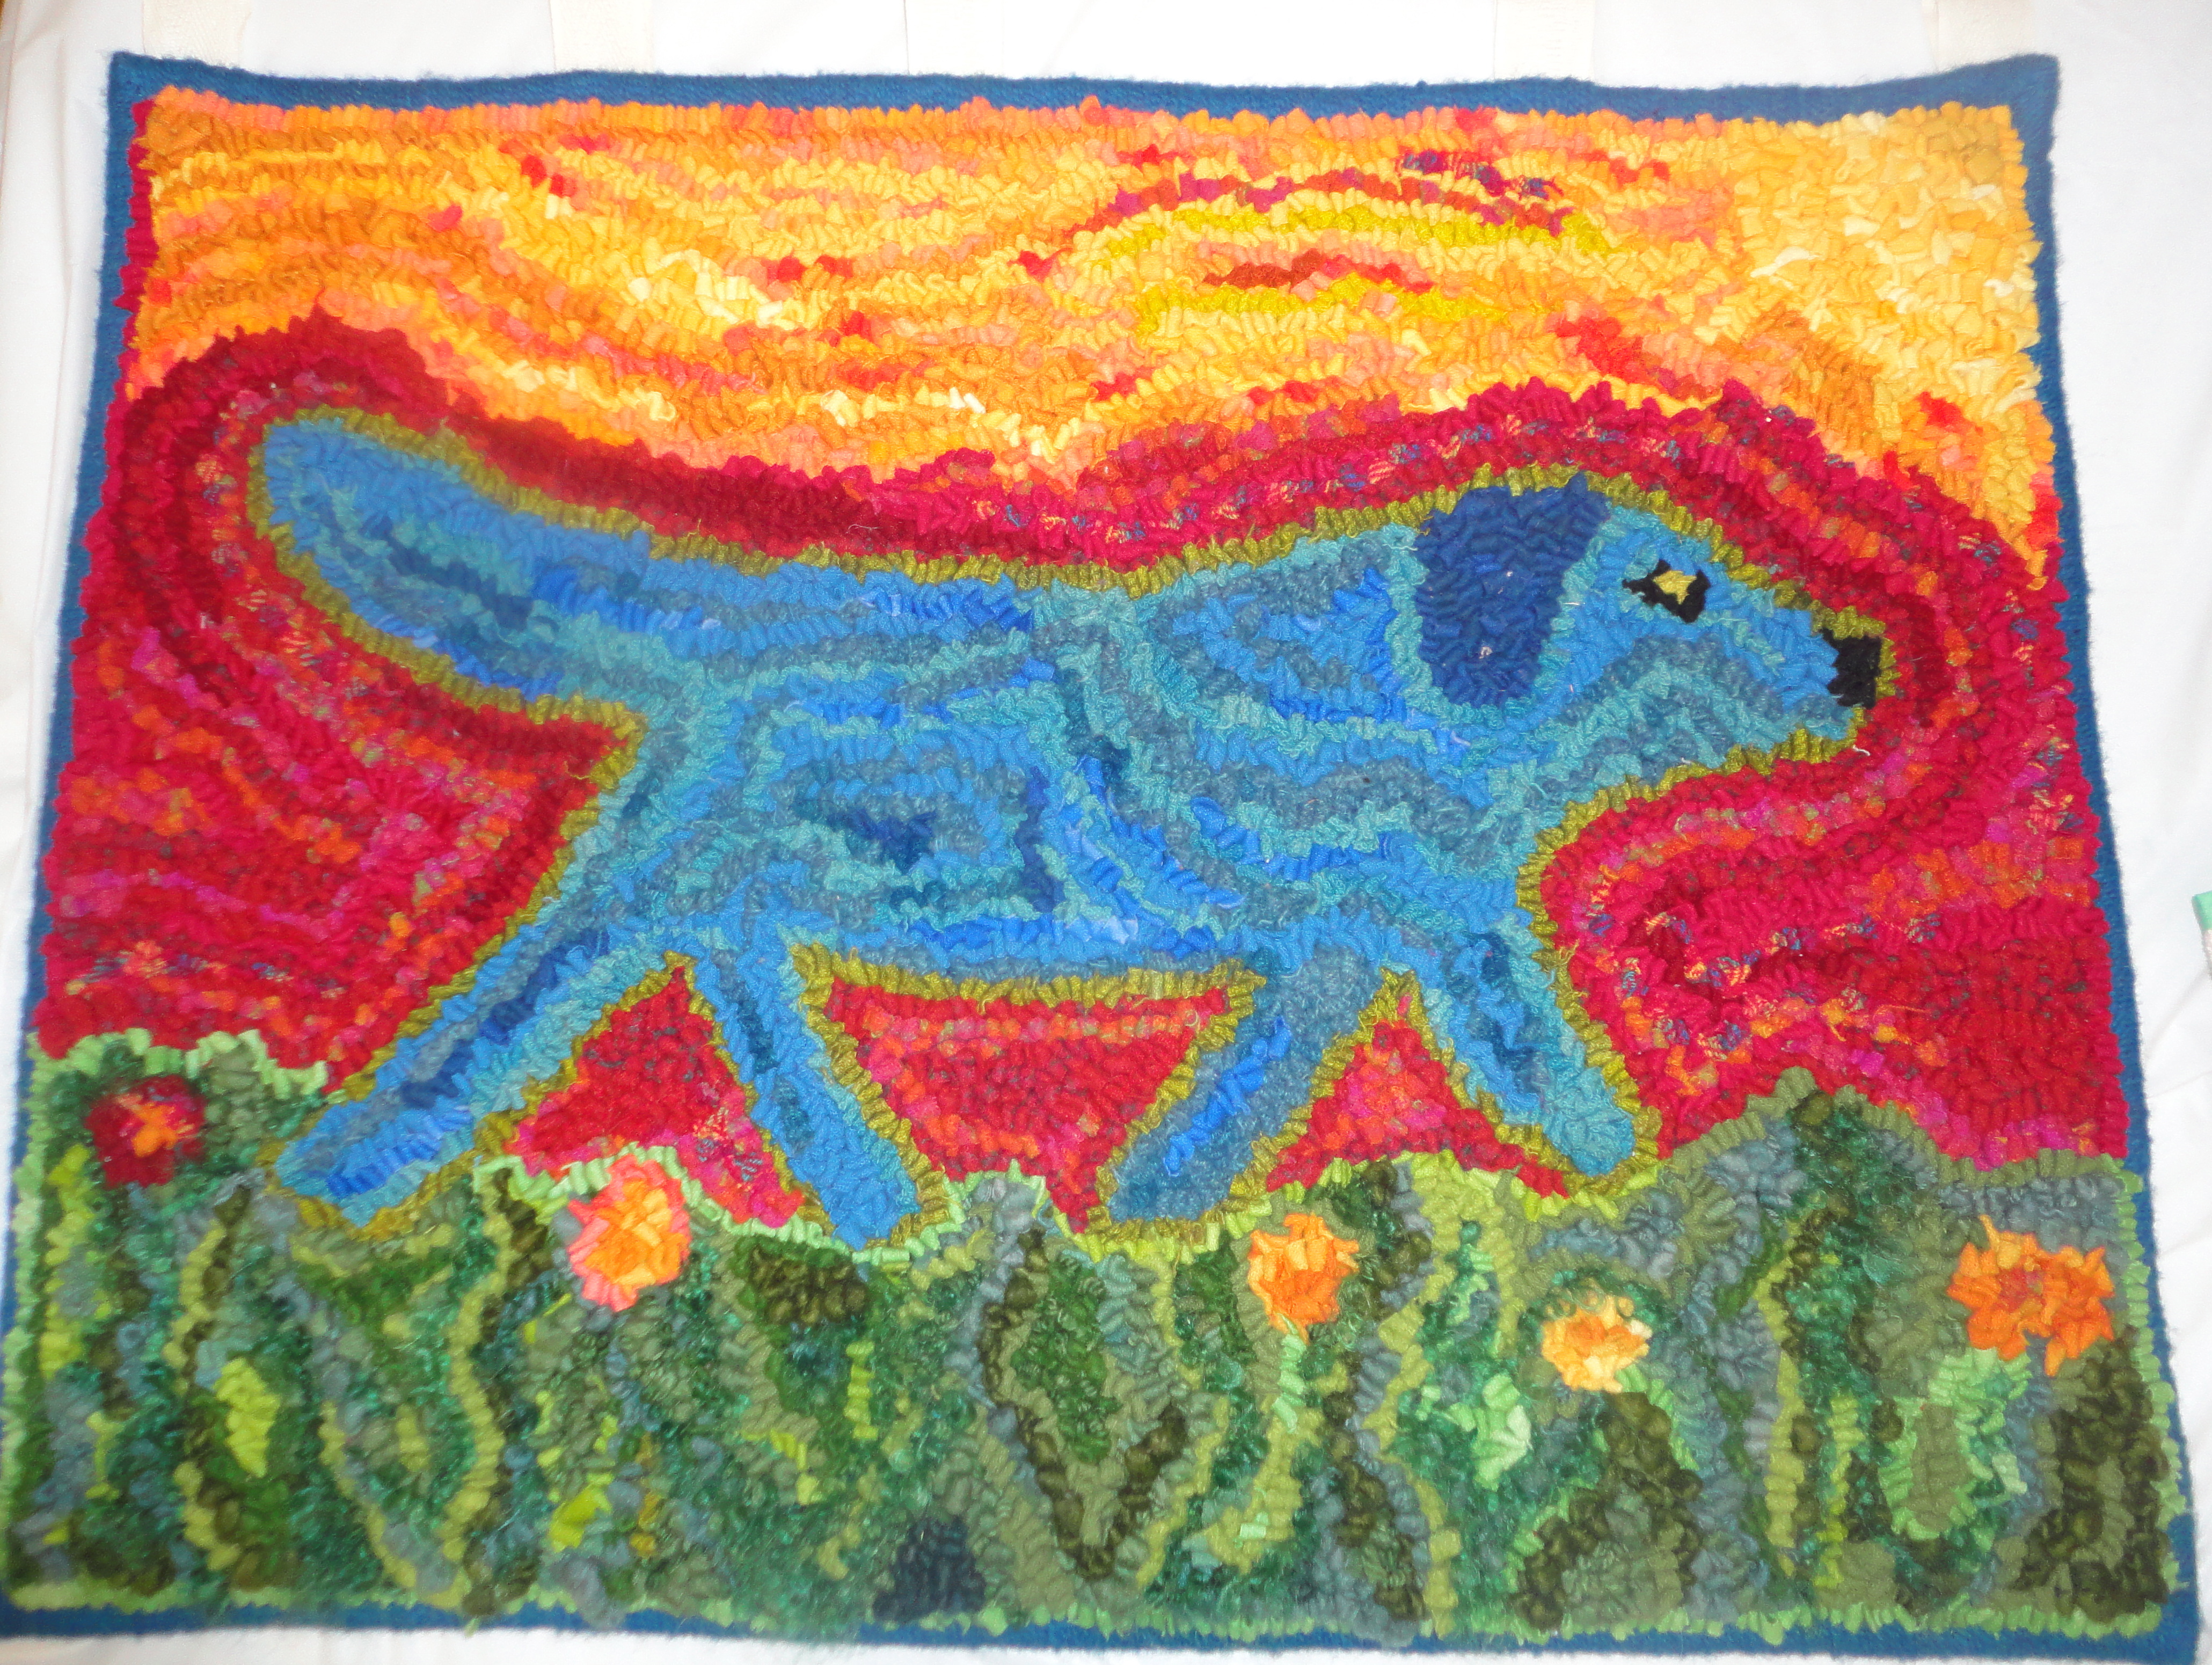
Mouths often have a white part to them.
  • intensity of color for the balance, not always the same color – but same intensity
  • darker burgundy background is common
  • dull color used to balance the brights
  • shapes, cut-outs, labyrinth for filling in background
  • designs adapting for touristsIMG_0414
  • always a border at the top
  • for hooking dip and dye work well
  • majority if not all work done with solids, not plaids
  • build design – add leaves, sea, etc.
  • figure out the number of outlines want, then how will fill in spaceIMG_0415

For more information you can check out this link to Norma’s article on Magnificent Molas  found in the November/December 2011 issue of Rug Hooking Magazine.

Before beginning my mola I wanted to see other examples and found this nice site with history and examples: Panama Mola. However, this was the site that I found the inspiration I was looking for in regards to finishing off the kit I had purchased: Molas of the Kuna Indians. I had in mind to make a pillow from my kit, so after hearing about the borders used in attaching the mola to the blouse I wanted to add a border and even a representation of the blouse. Need even more inspiration? If you are on Pinterest try typing in molas. If not check out what I found when I typed it in.

Here is the progress I’ve made with the added border. I used a #8 cut which spread the design, but that was ok by me, just needed a little adapting on the filling in. The area outlined with white will become the blouse and I plan on using a variety of greens for that.

DSC03789

A few other members had worked on their kits/patterns and brought them to Nov.’s meeting. It was fun to see how the same pattern/kits worked up. A few members planned on designing their own Molas and one had theirs on hand.

If we can get members to share their Molas on completion we’ll post them in the gallery.

If you like color, exploring other forms of artistic expression, or just challenging yourself you might find a mola to be perfect for that.

Dyeing for Primitive Rugs with Jeanne Benjamin

Jeanne Benjamin started our 2013/14 year off with a lot of Bob Dylan references as she walked us through her dyeing of antique colors.

DSC03497

Some quick hints:

  • most important thing is to not make MUD (primitives do not need to be dirty and dull to start with)
  • Do want contrast
  • No white – use oatmeal, light mocha, or light dirt
  • to dull a color use it’s complement (opposite on color wheel)
  • the darker the base neutral the deeper and muddier final color will be, especially with grays
  • dyed wools are lighter when done/dry

Jeanne shared some of her finished pieces with us as the wools from our members played in the dye pan.

DSC03501 DSC03504 DSC03506 DSC03507

When dyeing always recover your dyes immediately – no inhaling desired.

Jeanne on average dyes 50 yds a week on her commercial gas stove with pots that handle 3 yds at a time while listening to Bob Dylan. With all that dyeing it helps having a separate cooling section. She’s now including secret messages in her rugs – Bob Dylan quotes.

In a primitive rug not everything is the same value and need some textures.

Jeanne believes you learn more by doing and playing than just reading or watching. She loves to play around with no set recipe just seeing what she gets. Doesn’t like – just continues playing with it. When dyeing a color can come out too strong, so use black or compliment color to dull.

Drive-by dying – is not starting with a totally clean pot – just keep using that dye pan for some fun results.

Jeanne recommends clearing your dye spoon in citric acid between dyes. Once that solution gets “black” enough do not throw out save for adding when dyeing antique blacks. She feels citric acid helps pick up dye better replacing vinegar. It also easier to haul around.

Altering colored wools ~
RED: dull with green; deepen with black; adding blue gets you cranberry to purple

ORANGE: add red for oriental red/orange; purple gets copper tone; yellow gets warm red; rust or brown dyes for pumpkin colors; blue softens; spot dyeing for great fall leaves

YELLOW (versatile wool): spot dye for fall leaves; add red or orange for warmth; blue get greens; green gets green; dull with purple; brown gets warmer brown

  • golds brings a little glow or sparkle when over dyed

GREEN: red will gray and dull; yellows swing to yellowgreen; blue swings to bluegreen; purple is just interesting; bronze/olive/browns also interesting variety

BLUE: dye with yellow(gold) get greens; bronze and browns for leaves; reds go to purples

PURPLES: most colors are nice over lavender, except yellow; yellow grays; deepen a dark purple to eggplant

NEUTRALS: light or pale tans, beiges, grays, oatmeals look good with just about any color

  • gray fabrics are great with red dyes

BLACKS: dark plaids and odd leftovers in dark colors make best antique black

Black is nice when it’s finished color is black enough, but still light enough to show some of the original colors/texture.

  1. Take a mix of darks and into the dye pan. Add some black dye (cushing runs to purple – prochem black is truer). Add a couple of complementary dyes like blue and orange to soften.
  2. Dyeing one wool only. With a black watch plaid you would use prochem black and red, as the red complements the green and the black deeps it. Works for red plaid also only use black and dark green dye.
  3. Dyeing antique black with a green cast just use green wool and black dye. Or take dark neutrals and over dye with green and black.

Inspiration & Symbolism with Michele Micarelli

Click to play this Smilebox collage
Create your own collage - Powered by Smilebox
This collage generated with Smilebox

Walking in and seeing the variety of rugs and then the wools for sale was inspiration enough for this blogger.   Then Michele spoke. She has such energy and love for this art form.

Hearing her stories about how a rug developed, how she shares parts of her life story within her rugs certainly got me looking at how we can make all our pieces unique and reflective of ourselves.  

As a rug hooker who has never hooked a purchased pattern, focuses on geometrics and loves colors in a scrappy look, below are some bits and pieces from Michele’s talk that caught my attention:

  • light comes forward, dark goes back
  • exception – pathway will get lighter as moves away
  • distance steals color clarity
  • Almost never the color. It’s the contrast
  • Drawing is learned skill, so practice, practice, practice.

Would love to hear how other members took inspiration for possible future pieces from what was presented.